Soldering. Love it, hate it, tolerate it, but if you are into electronics, learn to do it. Are you making it more difficult for yourself than it needs to be?
In a recent Twitter
I’m usually of the belief that we should not blame our tools, but there are occasions where the wrong tool does not just diminish your output, but can cause problems beyond the projects you work on.
Bad soldering irons were like that for me. I made a few additional mistakes, but the thing that held me back the most was my iron. Well, that and trying to solder without knowing how.
Start Right, Get Better
My first soldering experience was in one of my early IT jobs. My boss told me to solder up a bunch of serial cables for colleagues who needed TTY connections to our RS6000.
I asked for advice but he didn’t give me any. So sketched pinout diagram, RS232 connectors, wires and solder in hand, I did the best I could.
Soldering isn’t rocket science, I got by figuring it out for myself. This was pre-web, of course.
The soldering iron took ages to heat up. I accidentally burned myself a couple of times in the process of working on those cables but I am sure the iron never actually got up to optimal temperature.
If a soldering iron can not get up to, and maintain, proper heat …
- You end up damaging the wires and components as heat spreads.
- You get poor joints as oxides build up.
- You get bad connections and introduce inconsistencies in your circuits.
Technique
The blame for not getting help is mine — I should have asked someone else for advice.
Yes, I was even shyer as a youth, and with my boss rolling his eyes I figured I was woefully deficient and was too embarrassed, but I should have sucked it up and asked.
You have the advantage that the knowledge is available right at your fingertips, shame-free :)
So I had bad equipment, and bad (no?) technique. I did, however, get a lot of practice with that crummy gear.
The Right Stuff
Bad equipment made me think I was bad. Practicing with that bad equipment made me solidify my bad habits.
Invest in something decent. Not necessarily expensive, but something that will do the job.
This is what I said on Twitter in reply to Chuck:
I used to think I was bad at soldering. Turns out a good iron with consistent heat, good tips, fine leaded solder at correct temperature, all make a huge difference
While a cheap “starter” iron will melt solder, it will often fluctuate the actual temperature, and will be unlikely to have that temperature configurable.
I like the Hakko so much I bought two (my first went missing).
You don’t want to be using a tip that has more akin to a pool cue than a precision instrument, and those tips need to work well with solder rather than be fighting with them.
Solder – Lead or No?
Speaking of solder … I changed my mind on using lead-free and now I use
Yes, lead is bad for you. But I actually find lead-free as harsh on my lungs, so I use a soldering extractor fan. It’s probably the flux rather than the solder itself.
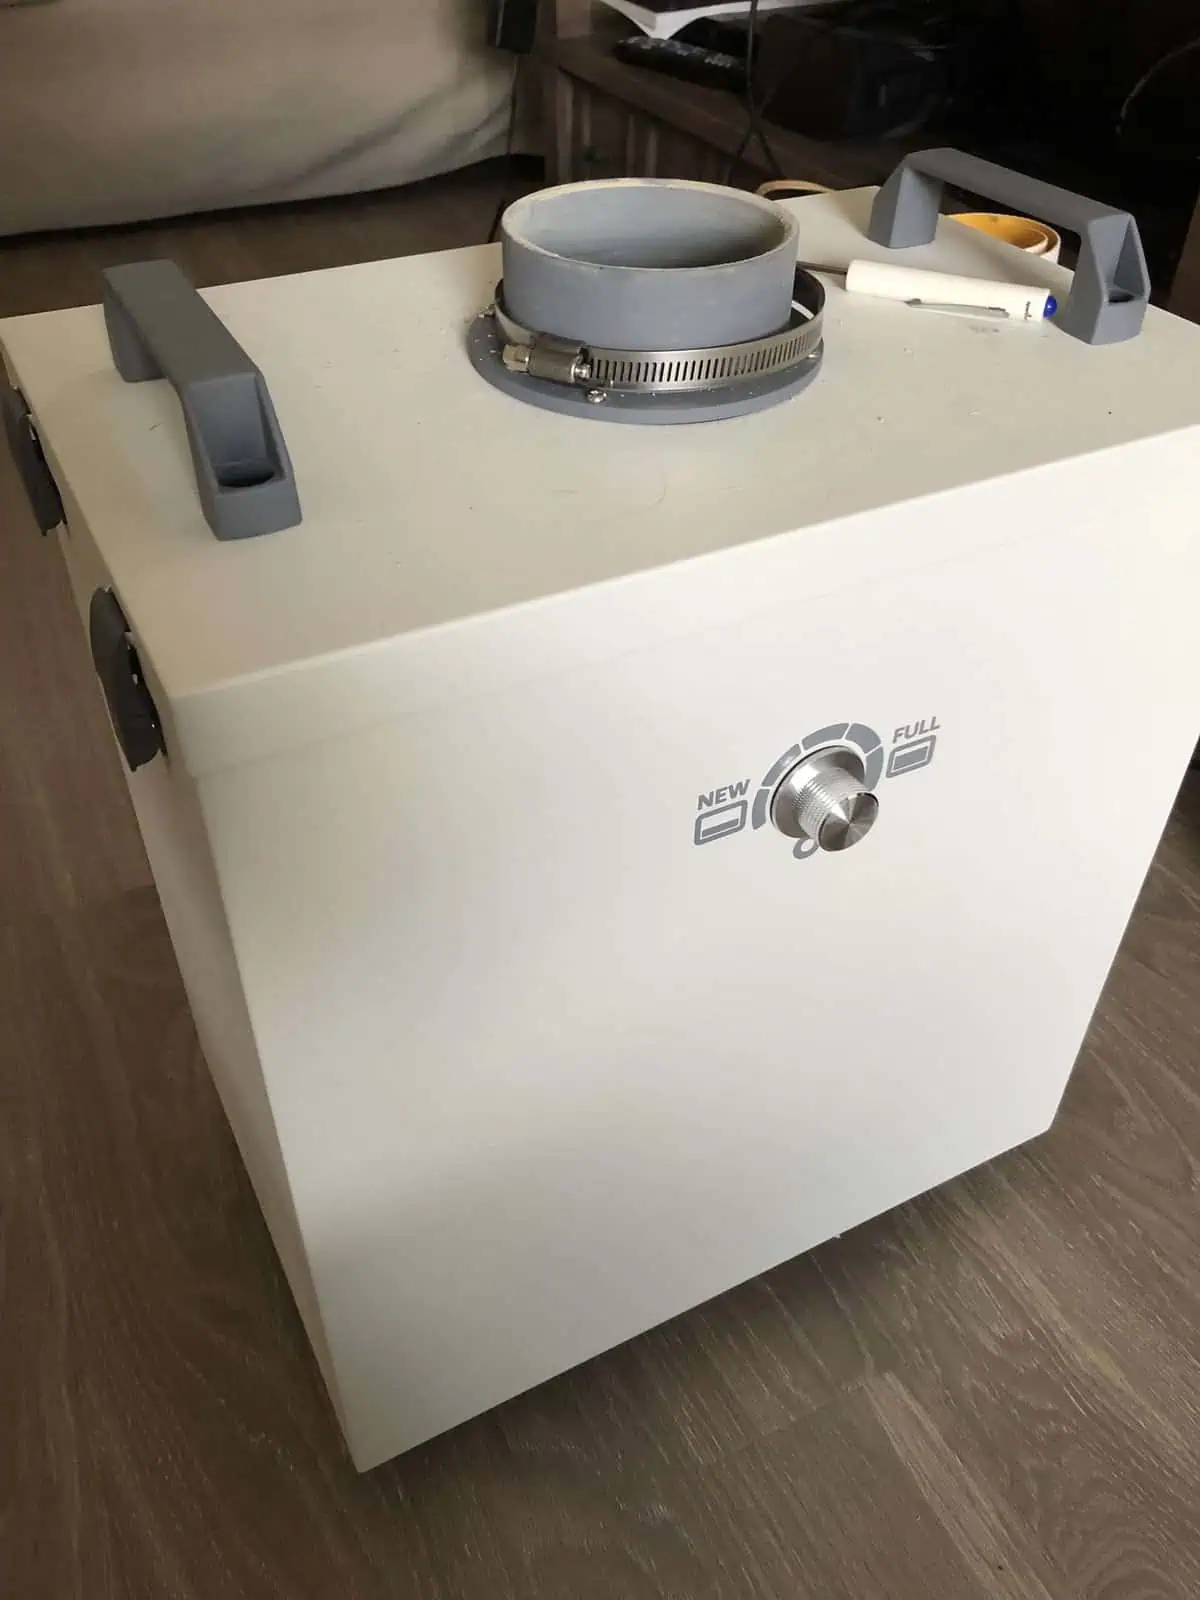
Ensure you have good ventilation and wash your hands after touching the stuff. I use a cheap smoke extractor that I really should upgrade, Hakko do a nice one for under $70. If nothing else, crack a window.
Working with leaded solder made a big difference for me, as did
Workspace
As well as good equipment and consumables, clear your workspace of clutter. Yeah, do as I say, not as I do.
Get a good set of helping hands and maybe a circuit board vice/holder. I have a set of the bendy tentacle kind of hands plus the kind with the light and magnifying glass because old eyes. Thingiverse has a bunch of helpers that you can 3d print.
I try to work on top of a nice cutting mat since I have cats who chase anything shiny – it means I can more easily clear up the globs of solder and wires that inevitably appear after working for a while.
Bottom Line
Good equipment didn’t transform me into being good at soldering, but it did allow me to get better!
Hopefully these tips will help you too.
As always, let us know what you think in the Facebook Group.