The Ender 3, as the name suggests, is the improved successor of the Creality Ender 2 3D printer kit, with a larger build area (~220mm+ x 220mm+ x 250), but still with the aluminium extrusion based semi-built-kit construction of the rest of their 3D printer kit line.
Back in June I gave my first impressions and since then it has become one of my favourite printers. While it is smaller than my other Creality printers, the CR-10 and CR-10 S5 (that I love), being smaller actually helps.
Having less mass to move around can help quality at higher speeds, plus it is a smaller bed to heat up and cool down.
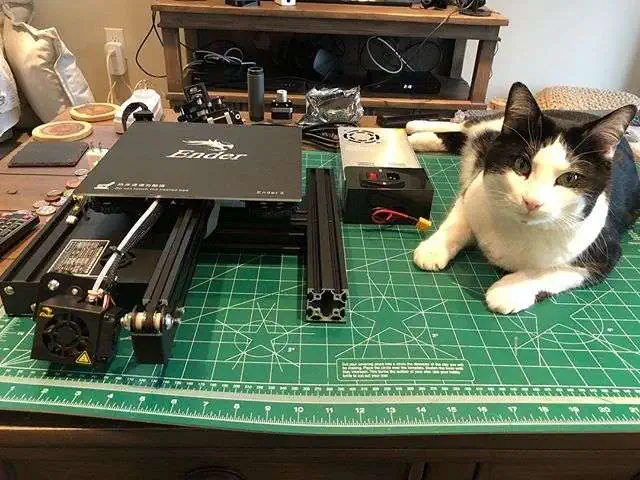
Ender 3 Unboxing and Kit Assembly
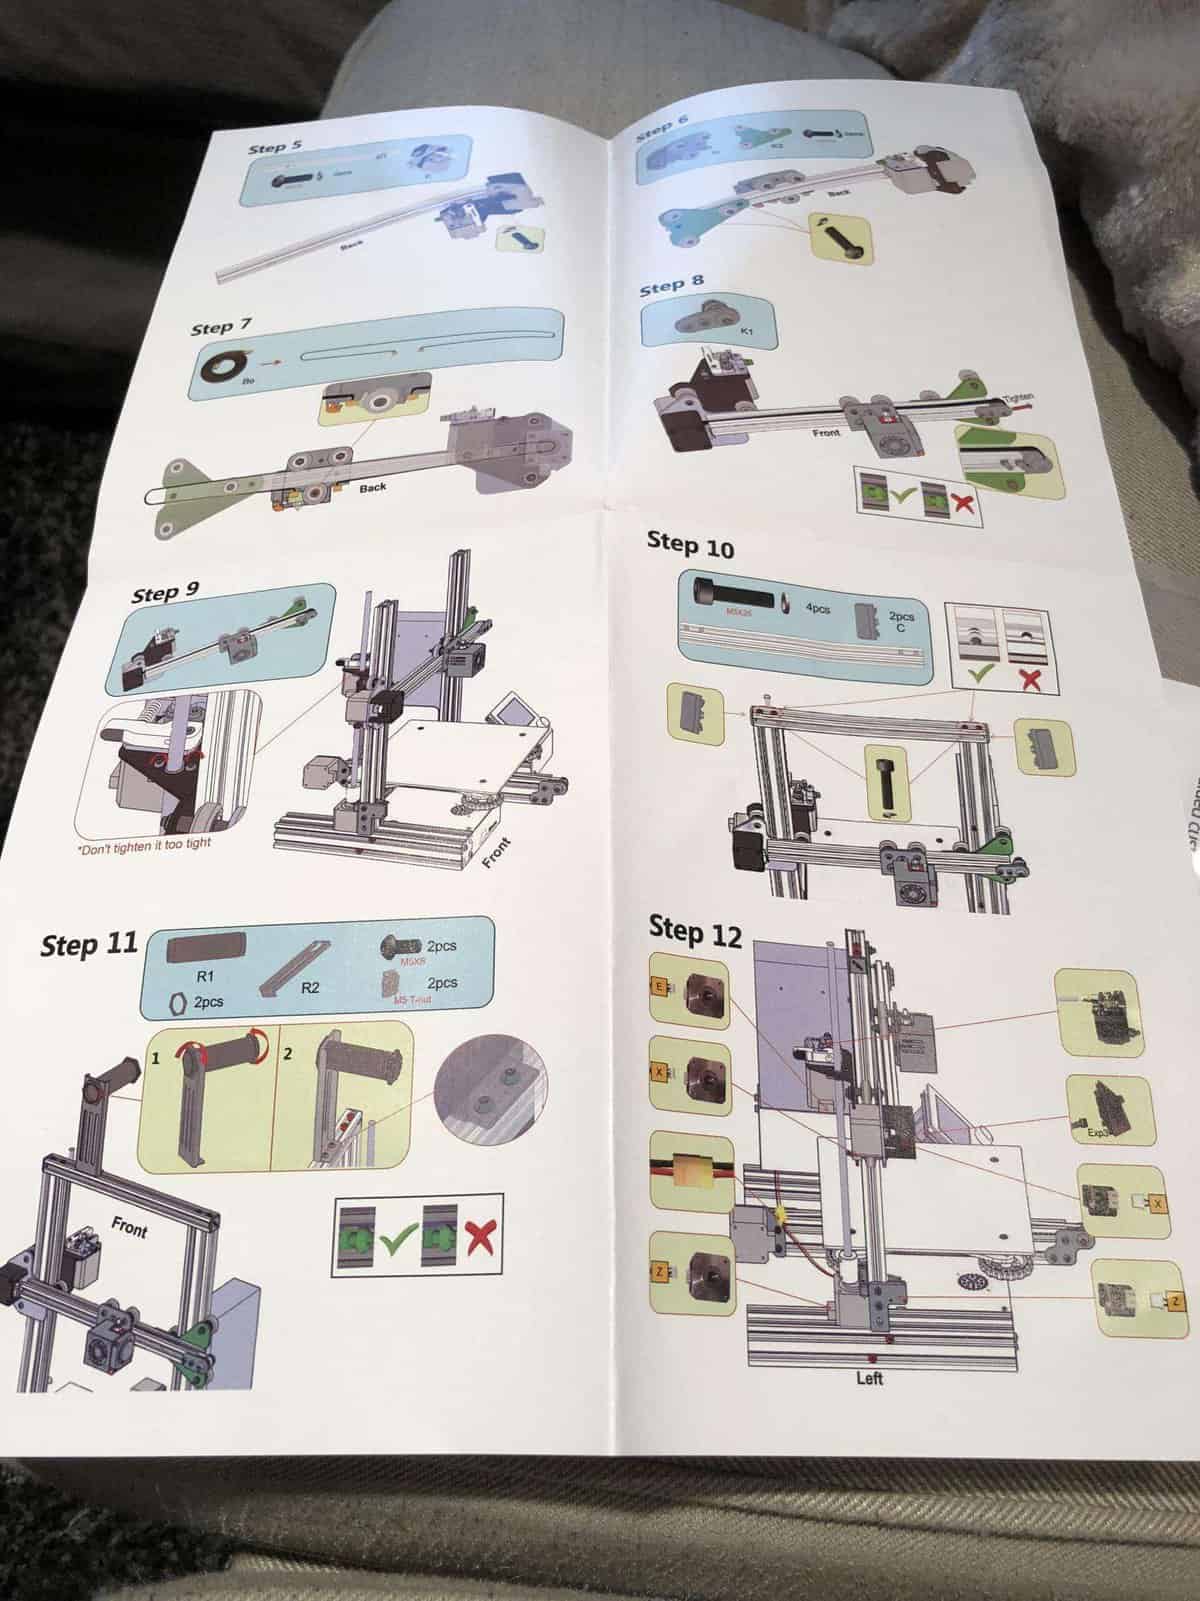
As mentioned, it is a kit, even if a lot of the fiddly pieces are premade for you, it is still more of a kit than, say, the Mini. The instructions are fine. Not stellar, but ok.
While it arrives flat packed, which will save you on shipping, even if you buy it from within the USA, you also get the benefit of intimately knowing your printer, without the really frustrating parts or any soldering.
You get a one printed sheet of instructions, and a more detailed digital set on the included SD card (with an included card reader, which is a nice touch).
Included in the box are the main tools, which is always a nice touch, but you will likely own better quality in your existing toolbox. I used my own
Having them there is better than not having them and needing them, of course!


Buying the Creality Ender 3
Partly due to the fact you build it yourself, it is available at the shocking price of under $300 USD from USA resellers. Tiny Machines 3D (who I bought my CR-10 from) have it listed for $270.
If you buy through my GearBest link you get it for $179 USD! The trade-off for the extra cost is with Tiny Machines you do get extra support and service.
Ender 3 Features
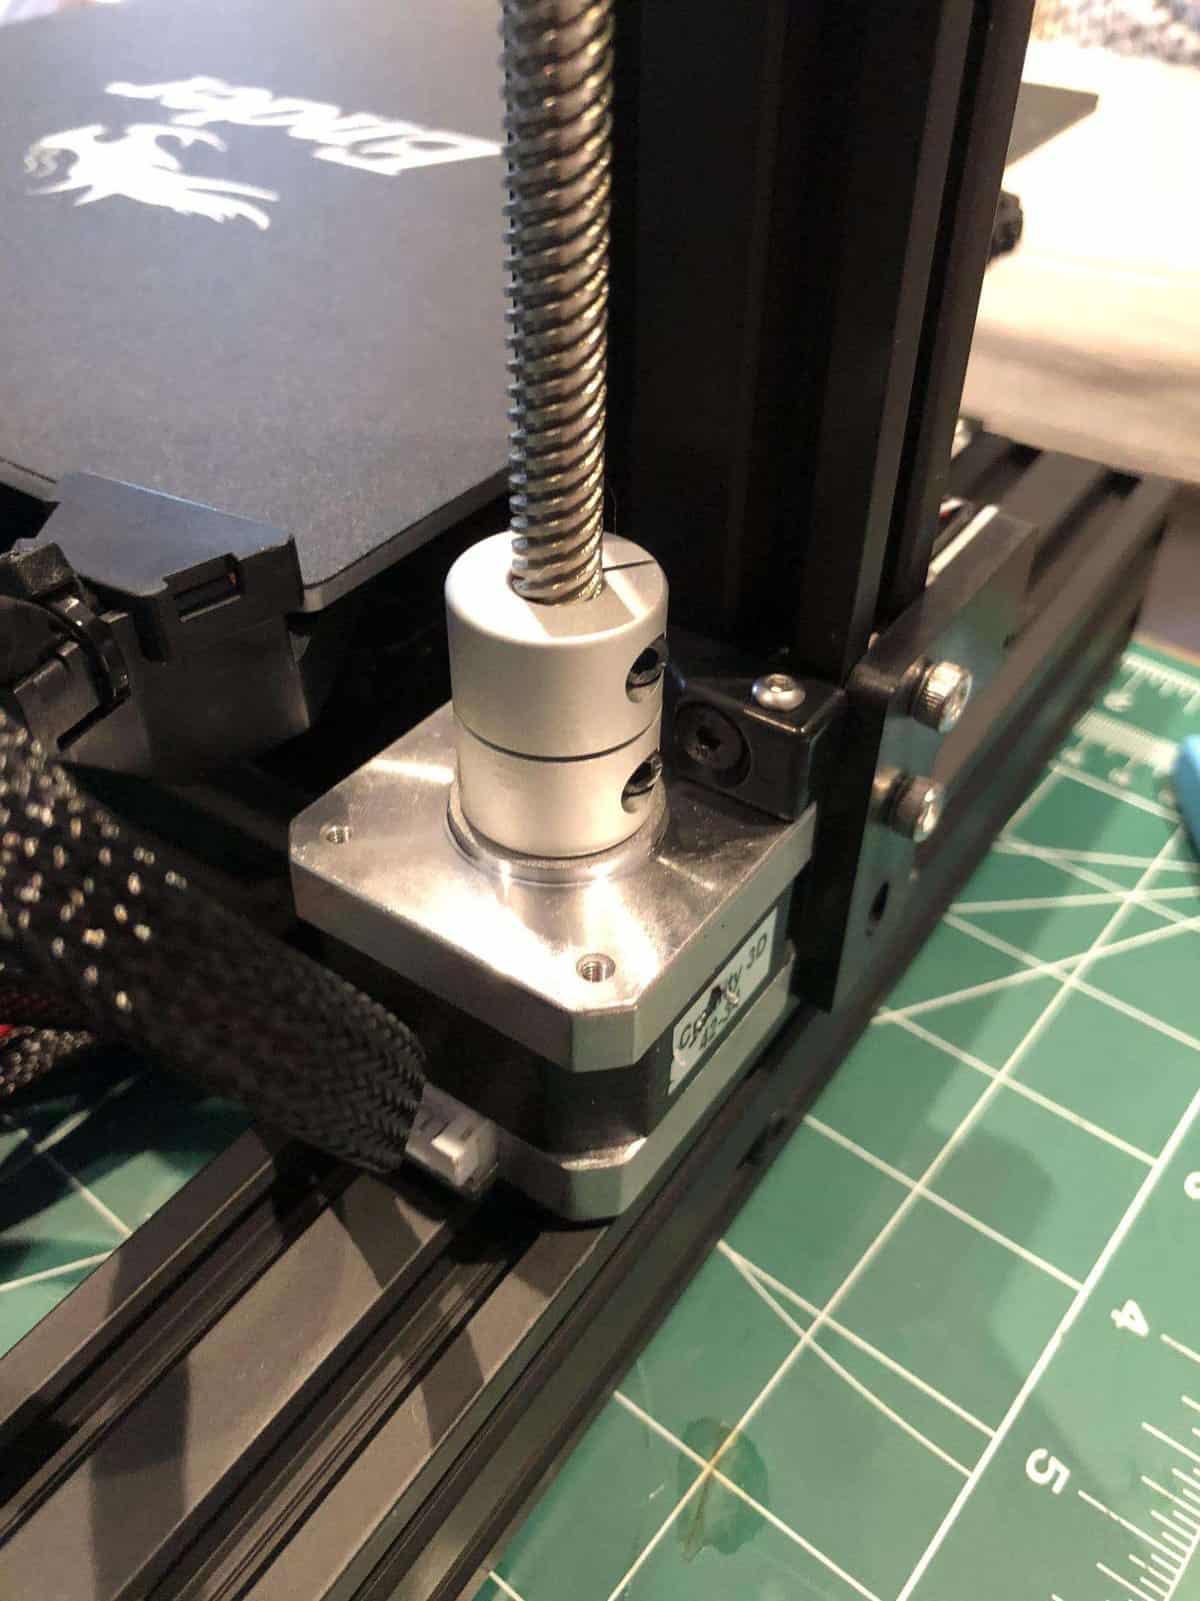
Unlike the Ender 2, it has two uprights and is supported at the top. It still, however, has one Z motor (the Ender was fine, and even my CR-10 has only one z motor, so I am not worried).
It uses the same clone Mk10
Speaking of clones, Creality did open source the firmware, which has been a big deal in the community, so glad to see that progress being made.
The bed is 24v for rapid heating (PLA does stick nicely on the
Speaking of power, apparently it has power cut detection, which I haven’t had the need for as I run my machines off UPS, but nice feature to have.
Everything is well constructed, with no 3D printed parts, and it feels sturdy when assembled with no discernable wobble (even after being mauled by my attack-cat).
While it does NOT have any bed-level assistance, the smaller build plate and the nice chunky leveling knobs make it less of a chore than on my 500mm x 500mm CR-10 S5.
Ender 3 User Experience and Print Quality
You can print over USB or with the SD card via the LCD screen and controls, just like the other Creality printers.


Conclusion
I like this printer a lot, and not just because it is an amazing printer for the price point, but it is an amazing 3D printer period.
It’s not perfect. Consider paying extra for that USA testing and support. If you assemble it carefully, keep an eye on the bowden tube (or better, swap the guy out), and you use a good slicer profile, then you should have a good time.
Compared to the other printers in the Creality line-up, it is still excellent value, and in my judgment, edges out the CR-10 Mini. It does take more assembly, but I think it is worth the effort, and it is still less of a kit than the extreme to which I would go, and that would be the Anet A8.
My guess is if you need large build volume you are going to skip over that and go for a full-size CR-10, and if you don’t need the build volume you will definitely want to go for the Ender 3.