Original Prusa Mk3s Review
Original Prusa Mk3s Review is now available!
Continue reading for the old i3 Mk2 review below.
The Original Prusa i3 Mk2, not just any “Prusa i3” 3D printer. Reviews of 3D new printers can get you in trouble at best of times, RepRap or not. Heck, I used to recommend one particular printer that I no longer can recommend just through long term ownership experience. But the Prusa is especially tricky. It’s famously ubiquitous and people have been waiting for an update for a long time. In some ways expectations and hype can destroy a product before it gets a chance to prove itself. Another dangerous area is where copycats degrade a brand at no fault of the originator. Both are factors when talking about the Prusa 3D printer. The design is so popular, so well known, and revisions are so anticipated, it’s almost unfair to go into a review as someone who has been around 3D printers for any length of time. And yet, how could you not?
This is my review after building and owning the kit for a week. It’s my first impressions of the build and in use. I will come back and give my longer term impressions. Sound fair? OK, then let’s continue …
Overview
The Original Prusa i3 Mk2 is not the snappiest of names, and it is perhaps an early sign of just how nerdy this machine is. That said, the nerdiness is both warranted and well executed. Prusa is, as mentioned earlier, synonymous with RepRap 3D printers, but is actually the surname of the designer, Josef Prusa. i3 is the major version of this printer, with Mk2 being the latest incarnation. No, I do not know why it isn’t an i4, especially when some … less original … printer builders are already marketing under that version number (or perhaps because of?).
Attention to detail is super important in 3D printing. Something that is sorely lacking in even well thought of machines. This printer has that nerdy detail it it’s DNA. Everything about the printer and the experience has been thought through.
You can only buy this printer from Prusa Research. Don’t look at Amazon (yet?), and certainly not Aliexpress. It comes in kit form for $699 US (which is what I bought), and also pre-built for $200 USD more, though you do also get elevated warranty and email support with the pre-built. That R&D and support, from the man himself and his own company, is the first reason to purchase this machine. If we are to get any more innovation then the innovators, not the knock-off, should get as much encouragement as you can afford!
I would love for these to be sold via Amazon, but the shipping was smooth and reasonably priced, considering it came all the way from Prague, Czech Republic.
Kit or Pre-made?
Should you go for a kit or pre-made? I went for the kit because my experience has been that I end up taking these things apart anyway so I might as well know where every nut and bolt goes. In addition, the price comfortably fit into the amount of money I had to spend, thanks to my recent birthday :) That said, if I was to buy a second then I would get the pre-made because I have had that experience now and they for sure could do a better job of it. You should also get the kit if you are on a budget and need to save that $200. If you are a business and need that warranty and support, or if your time is worth more to you than $200, then also go for pre-made.
Unboxing
Everything was well packaged and made sense. Unboxing was all I could do initially as the printer arrived just before a trip to Vancouver. Buying from well-respected brand like Prusa Research, and knowing there would be actual support and warranty, meant I had no worries about accepting the package and going away on a trip without inspecting every part. Unlike, again, some other companies I could mention.


You get everything you need to build the printer, full quality printed guides, properly 3D printed parts and the correct power cable for my country (again, shouldn’t need to be said but my experience tells otherwise). I don’t expect to have to reprint any of these parts unlike with another of my printers, but the files are all there if I need to because open source.
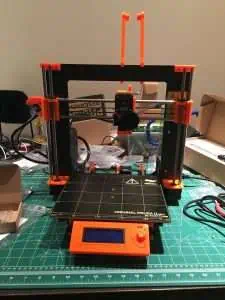
Building the Printer
Fortunately for me, while I was away Tom received his review items. While the documentation for the Prusa, both build and user guides, are excellent, I knew after following Tom’s video instructions for building the Printrbot Simple Metal, I was in good hands.
I followed Tom’s build video and the online documentation. I could have followed the printed book, but the online system is always going to be the most up to date, and has high resolution images that you can zoom in on. This can be important in a couple of places where part orientation is crucial.
While I am the first to admit I am not an expert builder by any means, building a printer can be daunting so the care and attention present in this build goes a long way to putting your mind at rest. There is no soldering, no messing around with mains voltage, and all wires are very clearly differentiated or labelled. Connectors are high quality and easy, rather than those bad green screw terminals.
I am glad to say this build went smoothly despite my intentionally slow pace, because I wanted to get it right and not stress myself out. OK, the slow pace was also in part due to watching Tom’s streaming video where he had to entertain his followers while being heckled by trolls and Josef himself! :)
There are so many neat touches and details, like cable paths to keep everything neat, and lego-style baggies so you know you have the right pieces for each step. You get all the tools you need. A bag of spares is also supplied. They really did think of everything.


Every single part is high quality, even the printed parts. I can never understand printer builders skimping on the parts they print when badly printed parts don’t just fail but rushed prints just look bad. Not so with this machine, they clearly have their printer farm configured right.

Rather than the usual threaded rod + coupler arrangement, the mk2 uses combination Prusa-branded motors and precision lead screws. In fact the Prusa logo is present a lot which is reassuring. Compare this to the inferior Aliexpress style parts you get with more expensive machines. The extruder is a genuine E3D v6 (temperature limit 300c so completely capable of printing nylon, for example), and the electronics is a genuine RAMBo Mini.
Using the Printer
It’s only when you switch it on that you realize how different this machine really is from anything you are used to.

- Printer self-test – This is massively reassuring, it rescues you from your own stupidity by checking everything is fully operational.
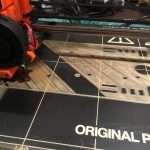
- More efficient “Mk42” heated bed – The bed heats up fast but apparently has been specially designed to heat evenly, compensating for cold patches like in the corners. It works well!
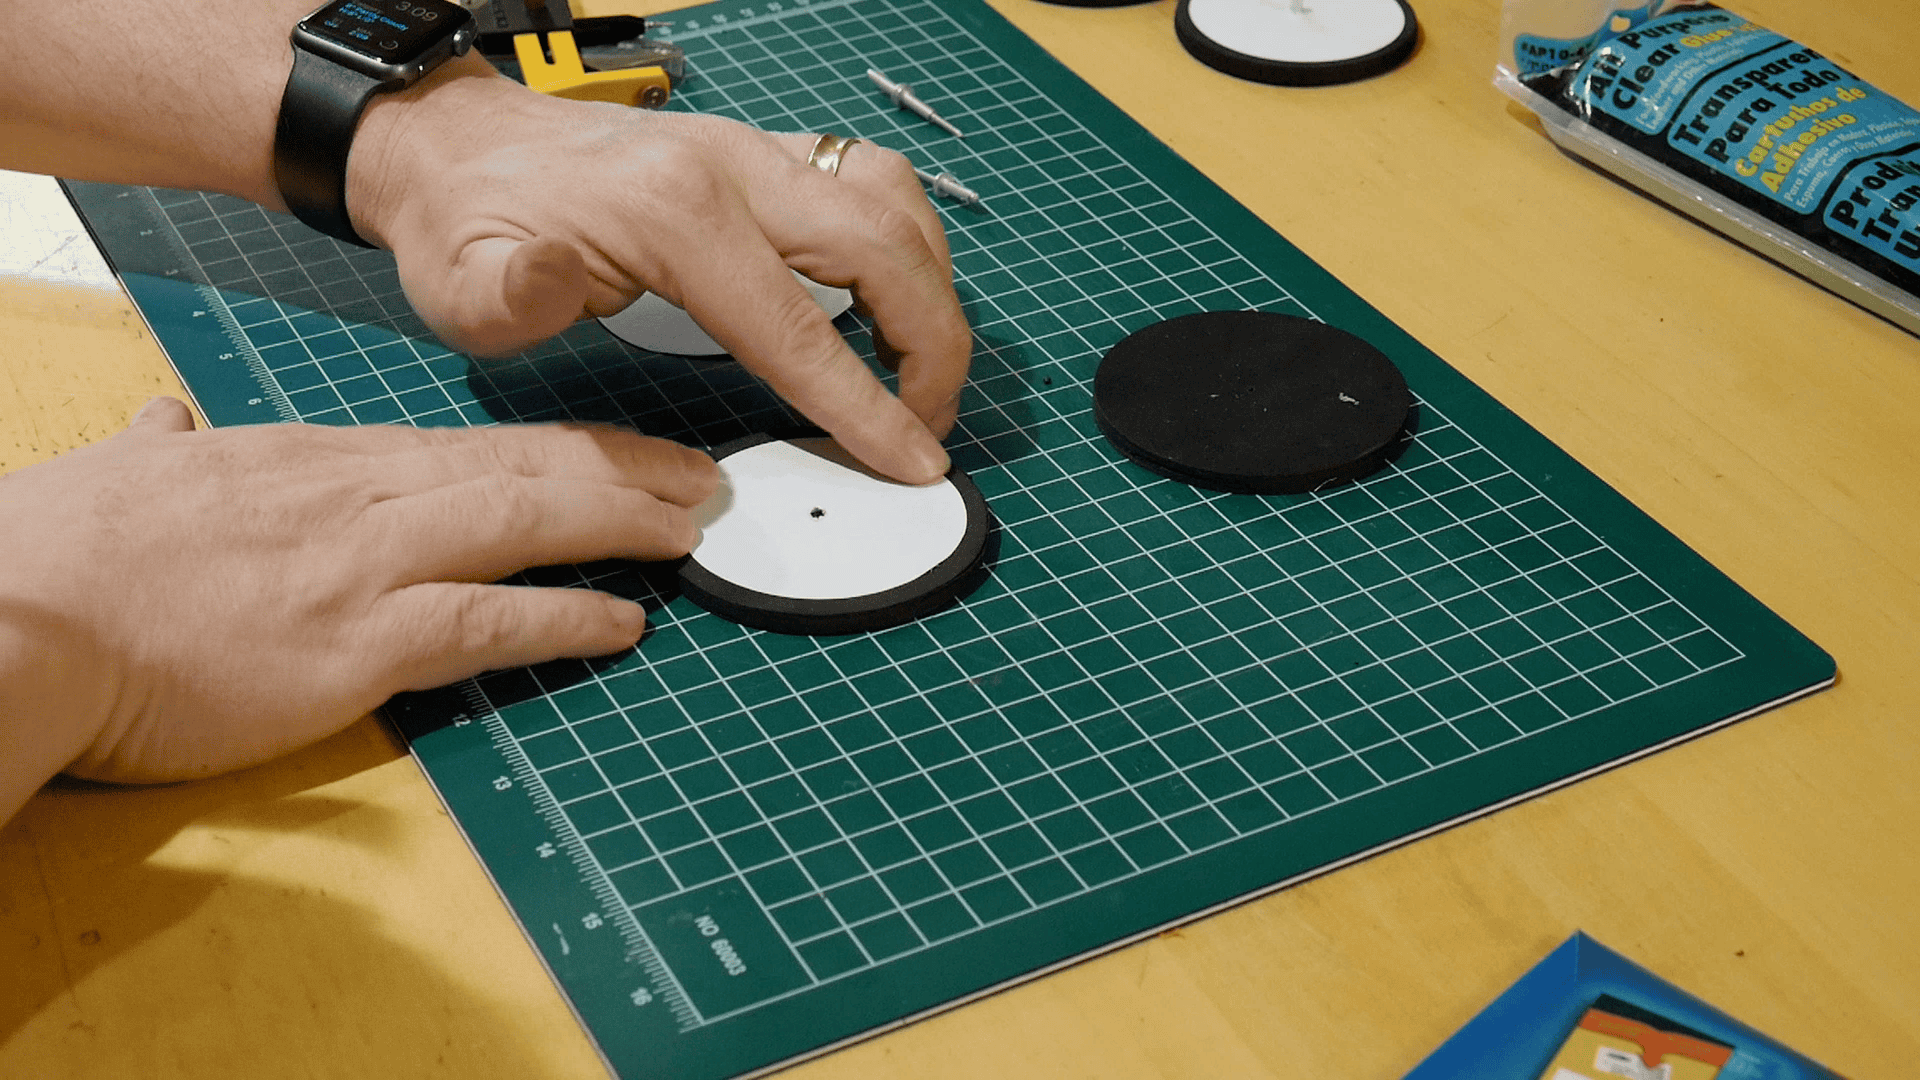
- PEI surface – I am a fan of glass print build plates. Correction, I was. This PEI surface (250mm x 210mm usable build area) is great. It did take me a couple of mistakes (and advice from Josef himself) for me to realize how greasy my fingers are. Grease is the one thing other than Z gap that will cause your PLA prints to come prematurely unstuck so isopropyl alcohol is a must! I already ordered a standby sheet of PEI (only $8 which I feel is very reasonable, but $20 shipping until they have a USA distribution) because I know this printer is going to get used a lot.
- Powerful auto levelling – Auto level compensation is something a lot of companies claim and a few deliver on. This machine takes it much further. Not only is it full mesh levelling (using multiple calibration points), it also compensates for skew in the frame!
- Live Z adjust – Once you have gone through the interactive calibration steps you should be pretty close, but the live Z adjust takes it one step further allowing you to literally dial in your z gap.


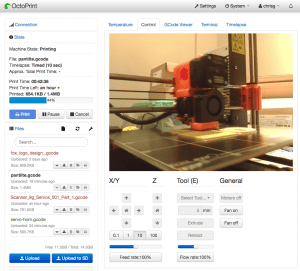
Octoprint works well with it, of course. You just need to ensure your software is up to date, set up your build area, and select that it has a heated bed.
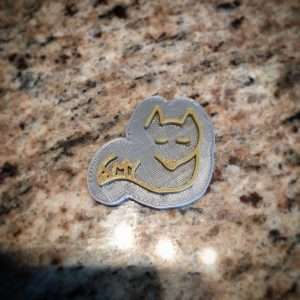
I have been printing every night since I put the machine together and I have been very pleased with the results. Of course I printed the usual benchmark prints (in my case, Benchy the Tug Boat, printed as instructed, and the Bender head), but I also went to useful prints that I actually needed right away, such as robot parts and a Raspberry Pi case. I used the bundled filament (a nice gold PLA) and the supplied Simplify 3D settings.


The only tweak I needed to make was turning the nozzle temperature down to stop the stringing and oozing.
Conclusion
The Original Prusa i3 Mk2 is an amazing printer. Even better it is an amazing open source, RepRap printer. You could make one yourself right now by sourcing all the parts, but of course you really do want the lovely (and tiny) sensor that actually works, and that improved print bed. I would recommend the kit wholeheartedly, but also look at it pre-made if that suits you better. It prints very well. There are features not included on any other comparable printer currently. Compared to non-branded no-name printers made with inferior parts it is even competitively priced.
I’ve updated the list of my 3D printers and the recommendations in my guide to choosing a 3D printer based on this experience, because this is now my go-to. As I said earlier, I will come back after a while to update my long-term experience, but if my first week is anything to go by, I think this relationship will last! :)