The TEVO Black Widow is a sub-$500 Chinese 370x250mm 3D printer kit. How good could it possibly be?
When I shared with the 3D printing community that I was going to purchase one of these kits, I have to say the response was … mixed …
More than one person warned me to step away from the buy button.
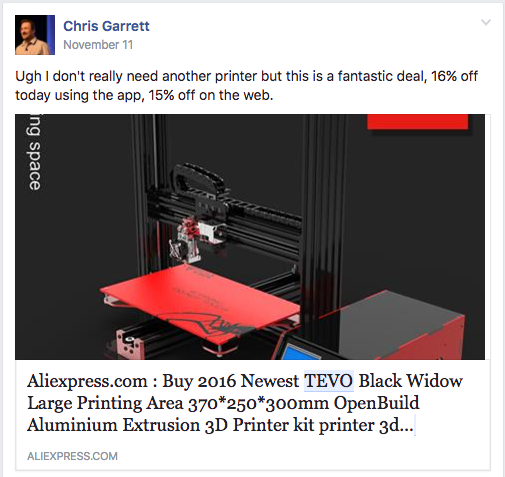
But then there was the 11/11 Aliexpress discount. So, yeah, I bought it, despite some of my friends strong protestations. What do they know, right? ;)
What you get in the box
Fear turned to excitement when the box arrived after a couple of weeks wait.
Did I tell you it was free shipping via DHL?
There is talk of North American distribution, so I expect the shipping to get even swifter.
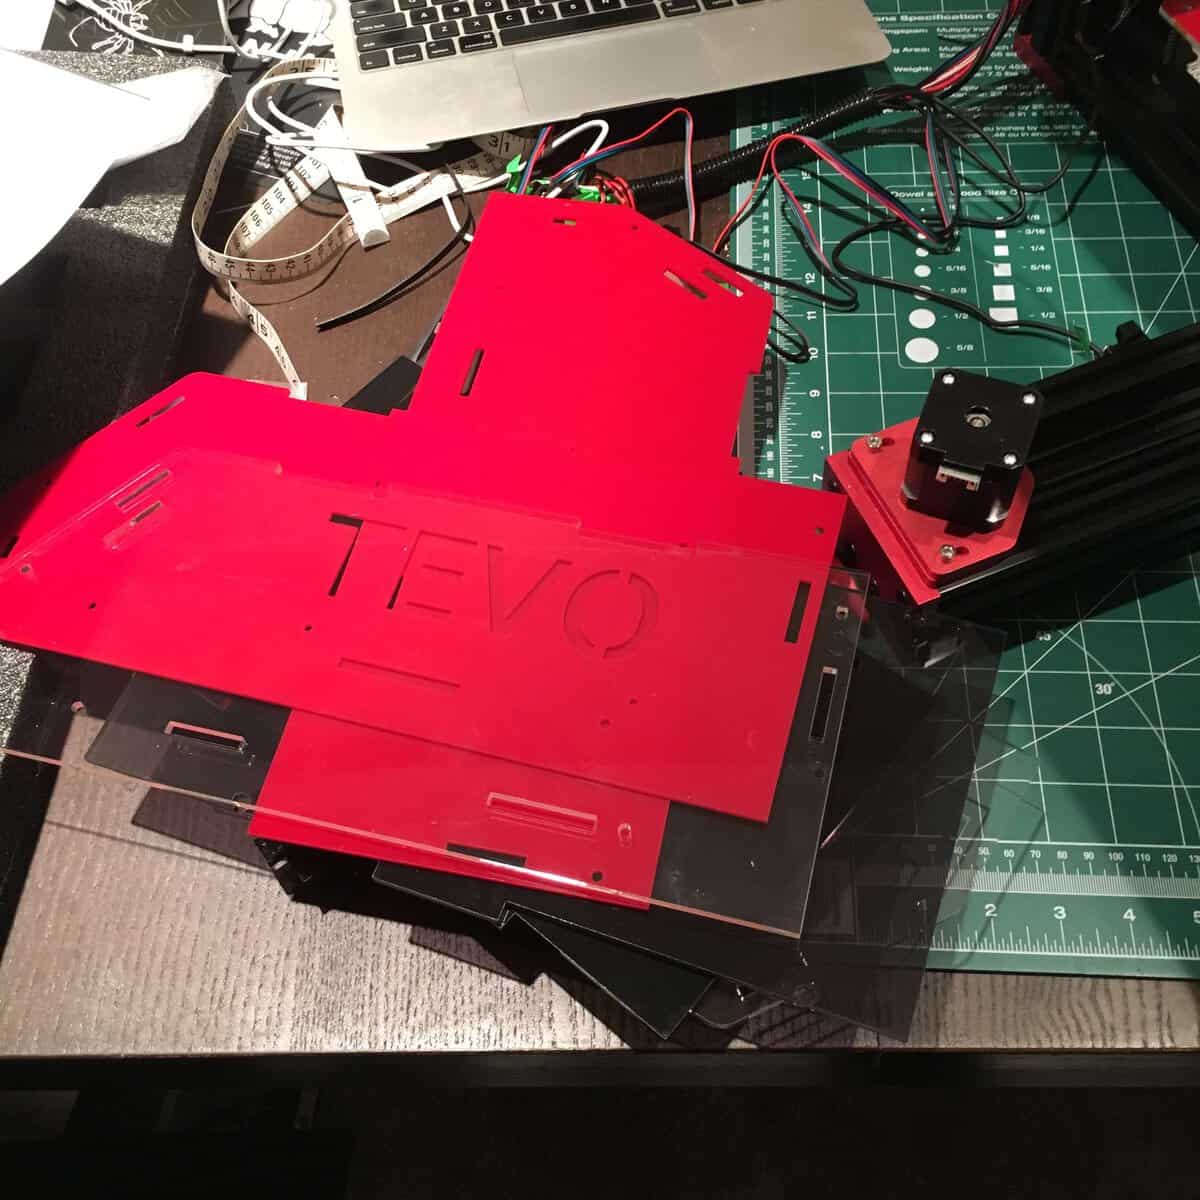
Unlike the Australian 3D printer, this was packaged very well. Nice laser cut foam, individual slots for everything, parts boxed and bagged, printed manual, set of tools.
It’s a RepRap cartesian style printer with Marlin firmware. I bought the version with the BLTouch bed levelling sensor (more on that in a bit), but either way you get a 370 x 250mm heated bed with a kind of Buildtak style surface. LCD screen, E3D V6 clone, MKS 1.4 board. Aluminium extrusion, of course, but also laser cut/CNC fixtures too. Red, anodized, beautiful, metal parts.
Points scored.
This might be a budget printer kit but they obviously are working hard to be up there with Mr Prusa.
The build experience


The build was a fun experience. Probably ambitious if this is your first 3D printer, especially if it is your first 3D printer kit, but certainly doable if you take your time and ask for help with anything confusing.
Was it up to the Prusa i3 Mk2 high standard? No, nor should you expect it to be, but I think they could get there, and the community is great at filling in the gaps. With Telli Mantelli, Chris Leonardo from TEVO, the videos, and the TEVO Black Widow Owners Facebook Group helping me, I got it working over a weekend, and had fun doing it.
There are a lot of tiny screws and nuts, so take my advice and print off a few of these bad boys. You don’t want these pieces rolling into a dark corner under your desk. Your sanity and eyesight depends on it.
Word of warning, the printed documentation has a parts list before each step, but in places the parts listed differs from the actual steps. Follow the steps and Dean Walsh/The Art of 3D Printing’s excellent videos instead.

Also, as is often the case with these kits, some of the parts you need will be in past or future bags. And the instructions are not always clear or complete. And the steps in the video aren’t always perfect.
Not to say those things are showstoppers, there are tons of happy Black Widow owners out there who not only got their own printers working, but will help you too. I (and I believe some others) have suggested TEVO take a leaf out of Printrbot and Prusa’s books and put the documentation online, so it is always up to date, and the community can comment with tips, questions and advice.
Disaster strikes
OK so some minor niggles aside, it all went well, right?
Not exactly. First start up my MKS board burned out.
I’d just got through celebrating on Instagram when I smelled the special odour of the magic electronic smoke.

The good news is the company was very responsive and are sending out a new board. Even better, I happened to have a spare on hand that I purchased as an option when my Australian printer RAMPS electronics did the same thing.
Then I did a test cube print and found the coordinates were doubling, the printer was trying to print off the back of the bed.
Turns out the firmware/board was expecting the purple stepper drivers instead of the green ones my new board came with. Rather than mess about with configuration I just switched over the drivers. Another easy fix (when you know the answers).
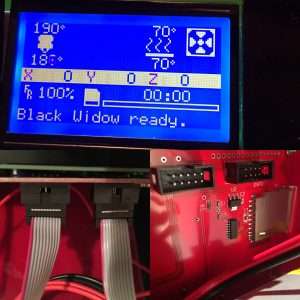
Success! A working printer!
I am going to do some upgrades and mods later, but to begin I will get a feel for it as supplied.
Not cool
No print cooling fan or nozzle? Really?
There is a fan for the extruder itself, but I would suggest a fan and nozzle should be included to cool prints otherwise overhangs etc will be a bugger to print.
Bypass the BLTouch
This is going to be an unpopular opinion, but I think you should save your money and get the non-BLT version. Levelling the bed is not that difficult, and the machine with the BLT option does not come with the mount for it anyway. I now have two unused BLTs sitting here. Perhaps I should do a giveaway.
Initial Impressions
Yes, it took a couple of days from unboxing to having a good print, but those were not full days, probably under 12 hours in total. Not bad at all.
It helped that I had a spare MKS board on hand, and I already ordered a new power supply because the failure rate of those early guys wasn’t the best, thankfully corrected now.

That all said, the first print off was not terrible, in fact to say I had done zero calibration, belt tightening, slicer tweaking, etc, it was impressive.
I am optimistic how well this is going to turn out well with some tweaking and upgrades.
The price is amazing for such a build area and an updated version 2 was released to new customers right after I bought mine.
Update January 18th 2017
As mentioned in my 3d printer guided tour video, after using the printer for a while I realized I still had under-extrusion, despite doing all the usual calibration and slicer tuning.

Turning to the ever-helpful Facebook Group, I was advised to check the Newbie Guide section on under-extrusion, and low and behold there is a “fix” to my version of the extruder.
Unfortunately the fix involves getting a replacement, adding spacers or filing down a section of motor body. Looking at my extruder, the spacer approach was not going to be a good option because I had good filament alignment so rather than wait for a new one to be shipped out, I went with filing down.


I also bought a 24v fan so I can get some filament cooling and will update further with more upgrades as I perform them.

I did reach out to TEVO who supplied me a new external mosfet and a new heated bed. These are part of the new package and prevent the problem I had with my MKS board burning (see above). Big updates and show that the company care about giving their customers care and attention!
September 2017 Update: You can get this printer for $389.99 right now, that’s amazing value for money!
Conclusion
I’d say if you are on a budget, you need a large build area, and are willing to put in some effort and problem solving, then this printer is definitely worth checking out. It’s a kit, so it doesn’t print right out of the box, but in building it you learn everything about the printer, intimately, which is priceless. Tevo have continued to iterate and are responsive in the community, which is kind of a big deal.
(Note: You know the drill. As I always say in my reviews, if you do buy something after clicking any of my links I might get a small sales commission, rest assured that commission does not influence my opinion or writing, and it never raises the price you pay at check out :) )