
What are they and how do you assemble everything? Read on!
What are Powered PCIe Risers?
As well as perhaps having some kind of capability in terms of built-in or on-board graphics, modern PC motherboard is going to have two types of slots that allow you to add additional graphics cards. These are called PCI-E 1X and PCI-E 16X.

Any pre-installed GPU will likely be in the larger, PCI-E 16X slot:

Using these “risers” we can add additional GPU cards without needing a new motherboard with more full-length slots, and/or we can free up space taken up by these cards by using the extra length afforded by the USB 3.0 cables.
Yes, they communicate over USB 3.0, but don’t let that discourage you, because for many operations, such as cryptocurrency mining, the bandwidth is absolutely plenty.
Will it perform as well as a card inserted into the motherboard directly? Probably not, though YMMV!
Installing the Graphics Card using PCIe Risers
Hardware installation is pretty simple. First, make sure your PSU can accept the draw of the combined card needs.

Next unbox your risers and your new GPU.


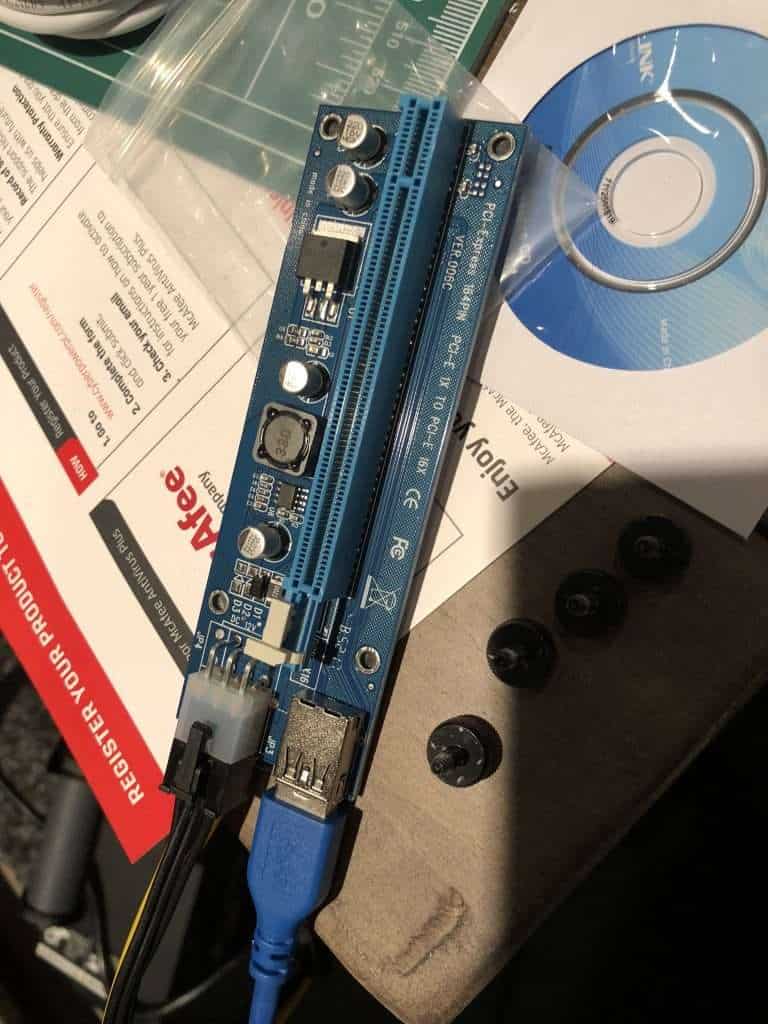
Plug in the USB cable and power. Then you can pull back the plastic “lock” on the slot, remove any covering on the card connector, and insert into the board, ensuring you line up the notch.

The smaller card goes into that short, free, motherboard slot, of course.

Depending on your card will depend on the power needs. In my GPU box I was provided cables that allowed me to attach to the spare PSU power cables. Ensure your GPU gets the juice it needs.
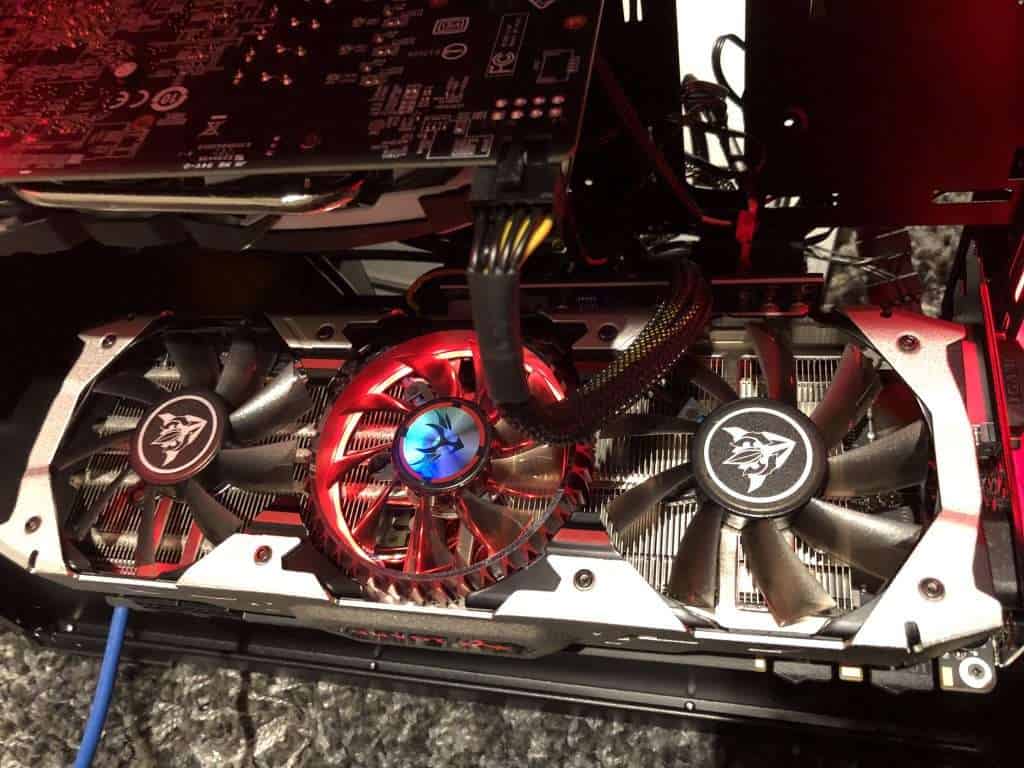
At this point you can power up, then find your graphics card drivers online.

Hopefully at this point your card drivers will install and you should be good to go!

