
Gweike Cloud Review
Gweike Cloud review comparing the Gweike to other competitor laser engravers, and advice for who should buy
In a previous article I wrote a comparison between three of the most popular and talked-about consumer laser cutters on the market today (Glowforge, XTool Pro, vs Gweike Cloud) but today I want to focus on the Gweike Cloud and explain why I think it could be a great option for anyone out there looking for a laser cutter to use in your home or small workshop/studio.
First, let’s get something out of the way that has been bugging me …
How do you pronounce Gweike?
Pronouncing Gweike is tricky so I reached out to my rep at the company to ask how they pronounce it. Here is what she sent back!
So there is our answer! It’s not “Gee-Wicky”, but “Gee-Wick”. Think John Wick … maybe?
Gweike Unboxing Experience


Be warned that the Gweike Cloud arrives in a crate. It definitely requires two people to move around safely, watch your spine, bend with your knees.
It is very well packaged and assembled, as you would expect from a company that has been supplying professional laser equipment for years.
Mine came with a nice inline fan that is very similar to my premium fan that I use on the Glowforge, a pre-filter box that also contains the air-assist pump, and lots of hose. In my kit I also got a rotary to allow me to engrave Yeti mugs etc that I haven’t tried yet.
Unfortunately you can tell they are not used to consumers, there is no documentation and the onboarding process is lacking.
Compared to Glowforge this first use experience is the one area where Glowforge is light-years ahead.
You do, however, get a small sample of materials and there are tutorial videos (linked below).
The Gweike-supplied materials, much like Glowforge, come with a QR-code sticker. This sticker works with the cloud-based software to set speed, power and material depth. Yep, as I will complain about below, the Gweike does not have auto focus. Another area where Glowforge wins.
Gweike and Software Options
Most reviews, mine included, gives Gweike extra bonus points for allowing the user to operate the machine without an internet connection. As one of the workshops we are looking to rent is a former barn, this can be a very important consideration.
With machines like the Glowforge, if your internet goes out, or worst-case the company no longer supports the machine, your machine is a paperweight.

There is a convenience factor, however, with “Cloud” software, not least it allows the user to get fresh updates without any installation, and without needing any particular computer hardware specification.
Gweike does have a cloud implementation but it is very bare-bones, extremely slow and buggy right now.
Gweike Offline Software Options
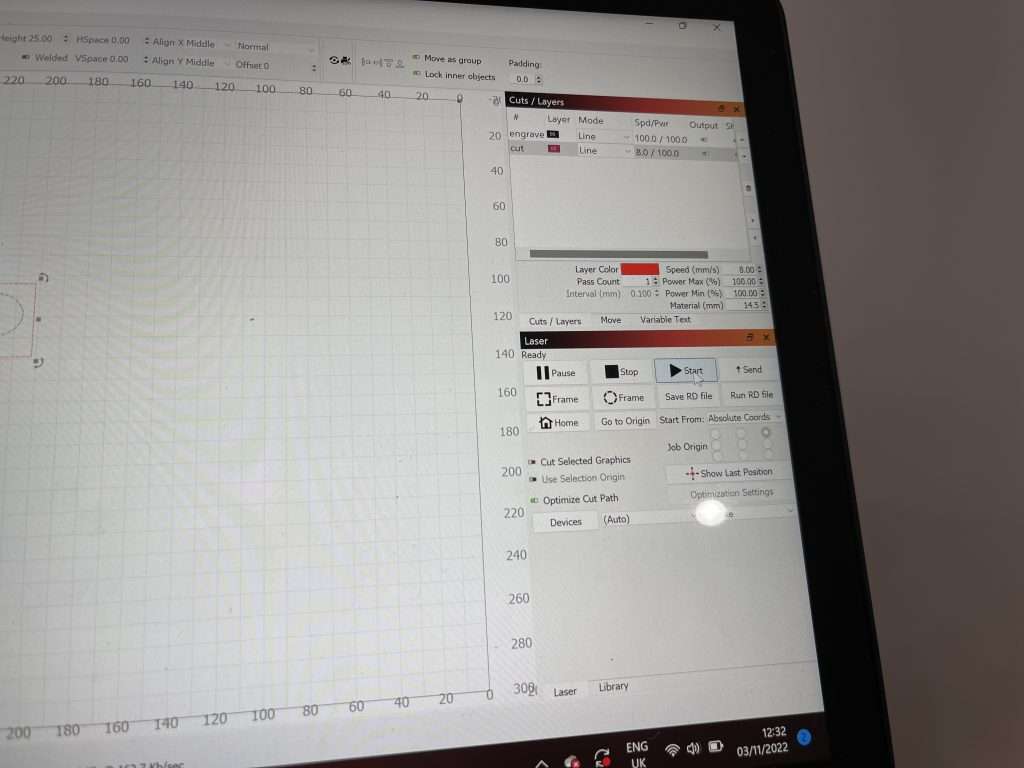
Better for now instead to use the offline software which seems a rebadged package from the controller manufacturer. It does what it needs to. You do lose the camera preview, however, as mentioned below.
If you are feeling like spending on a premium option, you can use the much-respected LightBurn software.
Just keep in mind that although the free trial works with the Gweike out of the box, if you want to use it for real then you need not just the licensed software but the extra $$$ DSP version.
The really disappointing part is if you want to use the built-in camera, you have to use the cloud – the offline options do not work with the camera unless you get a special cable. Apparently some reviewers received this special cable, I did not.
Due to not having a camera view, and no red dot feature, aligning your cuts and fitting them onto your workpiece relies on using the “frame” option that runs the laser head around the perimeter of your design. Not ideal but better than nothing.
- Cloud Software Tutorial (It’s terrible, avoid)
- Lightburn Tutorial – Note you need the additional $$$ DPS license
Gweike Cloud in Action
Due to my moving from Canada to the UK and part of that move involving renting an apartment, I decided to perform an experiment with the Gweike laser I was loaned from the company and I got my friend John to set it up at his place instead. He is renovating a large property so has space to spare and thought he would get chance to tinker in-between working on his house.

John discovered a lot of wrinkles in the user experience, not least the weird way the Gweike focuses the laser.
On regular laser cutters with manual focus, you would have a disk or some other guide to place between the lens and the material to work out the required offset. For example the Full Spectrum muse has a puck, and the Trotec has a little stick you hang off the laser head. On the Xtool there a bar that flips down.
Then there are the moving-Z style lasers, where either the laser lens moves up and down or the bed is motorised. In those cases it could be automatic or semi-automatic, using sensors or lidar etc.
Out of all the options I have found, Glowforge is the easiest. You point at the photo preview where you want to focus and click the auto focus option.
Gweike decided to go with an option where you either use a QR code where the material offset is included in the settings in the case of the cloud software or offline where you set the material depth with 17mm-material depth (eg. 3mm) = 14mm … but to send this to the controller you must jog the Z.

This means the machine has the ability to set a height dynamically based on your desired cut/engrave effect, but you can’t use that ability because you must manually set the Z for your entire job. What a waste. I am hoping this is something they come back to and improve in future.
Speaking of waste, it also means if your material is not uniformly flat you can expect a hard time cutting it. Use weights or magnets to hold your material down!
Gweike Advantages
Fortunately my gripes are all on the software side, and software can and will be updated!
Where Gweike beats the alternatives is a much bigger deal and harder to replicate:

- The Gweike is a lot less expensive than the competition. With my link and the coupon code
Chris200at checkout you get at least $200 off, but even more during sales such as Black Friday / Cyber Weekend. Check for current pricing now. - Gweike has a 50w CO2 laser, which has been confirmed by Robert Cowan using his laser testing thingy (scientific term). My Glowforge, K40 and Muse were 40w.
- External, pneumatic air-assist makes a lot of difference for getting clean cuts. On the Glowforge the air-assist is a small computer fan, and it gets very dirty making it even less efficient. On the Gweike the air-assist is using a compressor pump which is user-upgradable.
- Rotary Option – My Gweike came with a rotary, something you can not do on a Glowforge.
- High speed – While speed is a subjective thing with lasers, because the faster you go the fainter the line produced for a given power, the Gweike is finishing jobs to my satisfaction faster than the Glowforge or even the Full Spectrum Muse managed. I need to return to this with a more scientific test, so hold this thought.
Conclusion – Should You Buy a Gweike Cloud?

The Gweike Cloud is amazing value for money, and definitely gets a thumbs up from me:
- It’s less expensive than the competition (check current pricing).
- It has a more powerful laser than anything close to the price point.
- You can use it offline or with the browser-based software.
- The Gweike is fast and accurate.
Other than some software gripes, which I am sure will improve over time, the only place I feel like I would use a caveat is there will be a steeper learning curve than the more cuddly Glowforge experience.
If you can put up with more bumps in your journey then the Gweike is very worth checking out, and I am sure the effort will pay off handsomely! If you prefer to have an easer time of it then the Glowforge might still be for you for now.
$200 Off Gweike Cloud Laser
Click the button and enter the coupon code on checkout for a big discount on your purchase
COUPON: Chris200

