
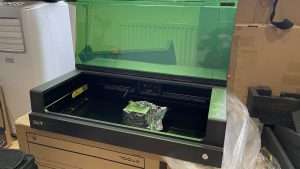
xTool’s S1 laser cutter is the world’s first fully enclosed 40W diode laser system, and I am pretty blown away by it. I was sent the machine to review after falling in love with another great laser from xTool, the P2 55w.
Read my review to discover why I consider this a must-buy, plus also some things to be aware of when considering this machine versus other options.
xTool S1 in Brief
Makeblock has another hit with the xTool S1! The enclosure, autofocus, air assist, and fume extraction make it safe, quiet, and convenient, and at 40w it is the most powerful diode laser I have experienced making it versatile but affordable.
Unlike other diode lasers, the xTool S1 is fully enclosed – Previously, after my xTool D1 review, I mentioned that I had to purchase a collapsible enclosure, which was ok, but still not ideal. This makes the machine keep your eyes and lungs much more safe and healthy.
40W diode power – 40W is akin to much more expensive CO2 lasers but without the fear, expense, and inconvenience of laser tubes.
Software and Connectivity – As well as USB, the S1 has Wi-Fi but you are not forced into using “cloud” browser-based software or a monthly subscription. You can use the free XCS or upgrade to the paid, but highly capable, LightBurn software.
Interchangeable laser heads – One of the key advantages this machine has over a CO2, you can quickly switch the laser head for different use cases, for example, switch to IR to engrave metal.
Fast and accurate – The S1 can achieve 600mm/second, which while not the fastest machine out there, is certainly a good clip, especially paired with a 40W diode for power. Positioning is easy using a red laser cross-hair target and jogging controls as well as a representation of the current position in the drawing canvas.
Autofocus – Rather than using a camera or other light-based focus system, this machine uses a touch-style probe to automatically measure the material height. Like it’s P2 CO2 sibling, the S1 even supports curved surface engraving.
Accessories – xTool offers a rotary attachment, automatic air-assist, riser base, and an automatic conveyor feeder for the pass-through.
xTool S1 Specifications
| Specification | Value |
|---|---|
| Laser Power | 40W |
| Spot Size | 0.08*0.10mm |
| Working Speed | 600mm/s |
| Working Area | 498*319mm (19.61*12.56 inches) |
| Working Area with Automatic Conveyor Feeder | 470mm * 3000mm |
| Connections | USB/Wi-Fi |
| Support XCS System | Phone/Tablet: Android & iOS Desktop: Windows & macOS |
| Software | XCS and Lightburn |
| File Support | SVG/DXF/JPG/JPEG/PNG/BMP/TIF |
| Product Weight | 20KG |
| Product Size (excluding riser base) | 765 * 561 * 183mm |
| Product Size (including riser base) | 765 * 561 * 268mm |
Get the full specs here.
Caveats with the xTool S1
You might have gathered so far in this review that I am enamored with the S1. Well, I am enamored for good reasons. It would be remiss of me, however, if I did not tell you about some gotchas that you might not be aware of.
The main, and by far the biggest, issue is that because it is diode-based, there are certain things it can not cut, such as clear acrylic, due to the “blue” wavelength at which diode lasers operate. This is common across all diode lasers, but seeing the 40W power might lead some to believe it can cut the same materials as CO2.
It cuts black acrylic like butter, just not clear (or sparkly/glitter acrylic either it turns out).
Next is the exhaust tube that attaches to the back of the machine. I love how this works. There is a panel that you unscrew and the tube is molded in a way that it replaces that panel. Great for preventing leaks, but the exhaust tube is an unusually small diameter and short length. The diameter is 3 1/4″ and it can only expand to around 5 feet long so if you are in a garage you will need to find an extension of the right size.
While it is extremely accurate, and the two-point and crosshair style is wonderful for those who get some practice with that approach, the lack of a camera might put a lot of people off who are comparing the S1 against the xTool P2 or the Glowforge.
A few times when I have done autofocus on small items the pin has missed the material and gone down into the honeycomb so be very careful to place the crosshairs or use calipers instead if you are not 100% sure you will hit your workpiece.
I was going to say that it makes a loud beep that you can’t turn off, but right before hitting publish I did a software update and now that is no longer an issue – Whew!

xTool S1 Pros and Cons
| Pros | Cons |
|---|---|
| Great value | Can’t cut some materials eg. clear acrylic |
| 40W Power available (Interchangeable laser heads) | No camera |
| Safety Features (Enclosure especially) | Short exhaust hose |
| Lightburn compatibility is not yet 100% | Lightburn compatibility not yet 100% |
| Good working area (19.61×12.56″) | |
| Quiet operation |
Get the full details here.
User Experience
Now I have hit you with the facts, how is it in actual operation?
From unboxing through to creating my first cuts and engraves, and even through switching laser heads (more on that in a moment), it was an absolute delight.
Now, we do need to keep in mind that I have been using lasers for around a decade, but I do think most people would be able to follow the instructions and get up and running quickly.
Unboxing and Setup
xTool sent me the machine, air assist, and honeycomb for my review, so you might have more or fewer boxes than me. Unlike other laser machines, there was no forklift involved which was a relief seeing as for now this machine lives in my upstairs spare bedroom!
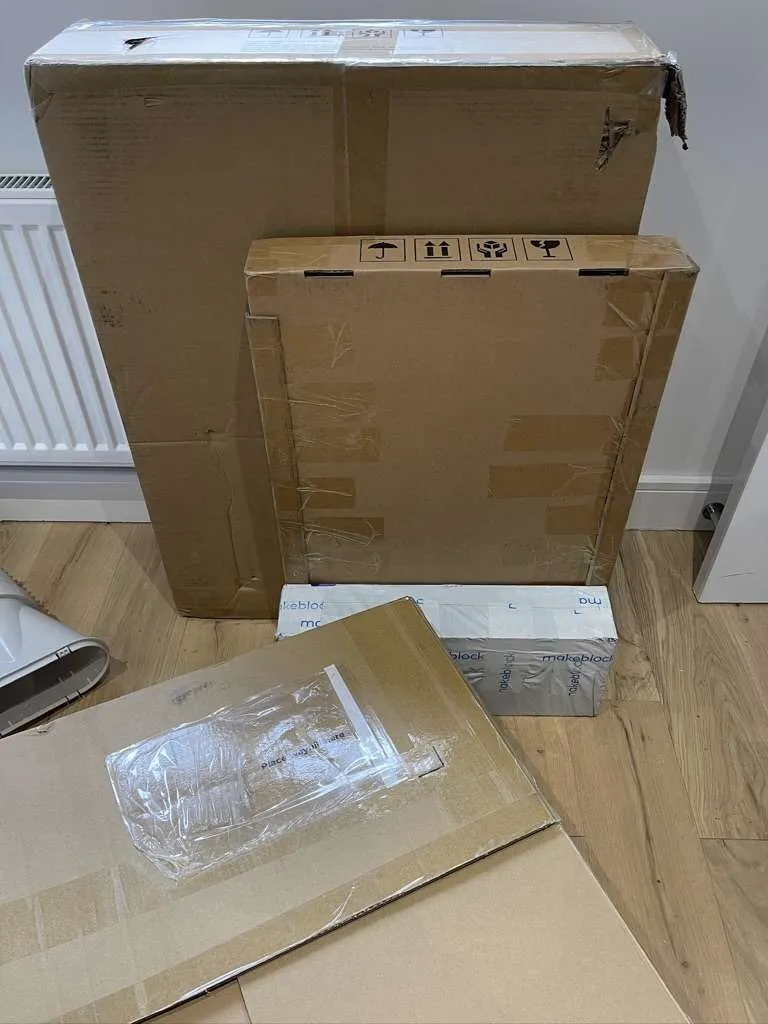

I particularly liked how everything was packed in foam but had these velcro straps, they made lifting the machine out of the box really easy and will come in handy in the future!
Unpacking and following the instructions is easy and fun. Just unscrew a couple of things that are fixed for shipping.
Along with the required screws and such, they provide you with tools, spares, and even a little neat box to put everything in.


In Operation
The S1 has performed wonderfully, using materials suitable for diode lasers of course. I will do more thorough material testing soon, but for this first review, it ate through my stock of opaque acrylic, birch, and poplar with no issues at all.


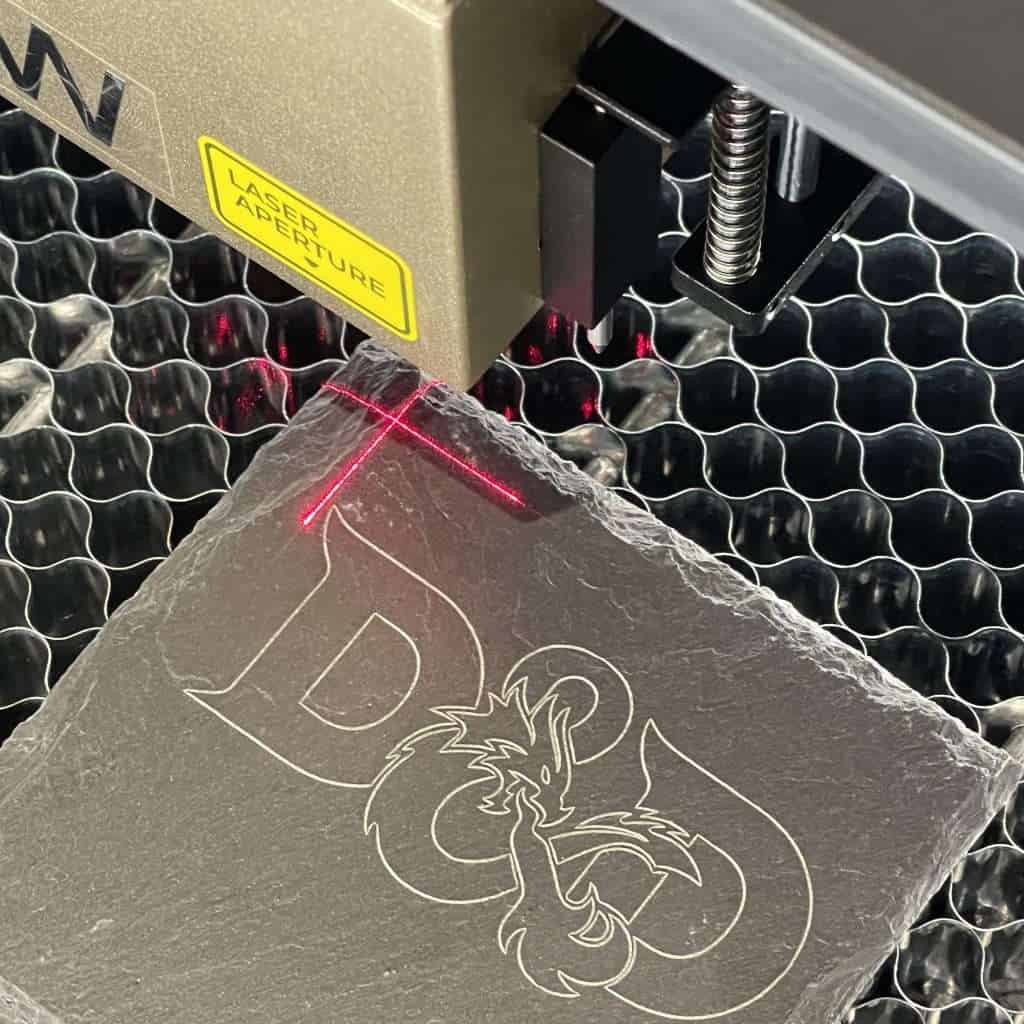

Seeing as LightBurn is not yet 100% compatible with the xTool S1, I stuck to the XCS software that xTool provides and I quite like it.
Initially, I connected with USB to get everything set up but then switched to Wifi once I told it my network settings.
Just like LightBurn, XCS allows you to set up and run material power and speed tests, allowing you to tune your settings for the material you have on hand.
xTool also provides some neat magnetic hold-down clips that make things much more convenient than having to cut out MDF t-pieces!
Once I had tested the regular stuff I did do a couple of experiments with “exotic” materials, and of course, they didn’t go so well. Stick to regular, opaque acrylic and avoid anything sparkly, or any other plastics such as ABS.

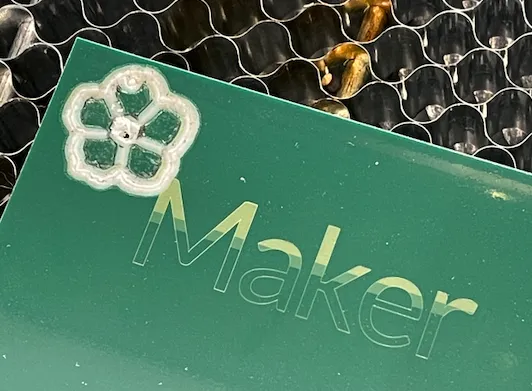
2W IR Laser (Switching Laser Heads on the xTool S1)
Because clearly, I won’t already get enough jealousy from being sent the laser to review, xTool also did the wonderfully generous gift of sending me the IR laser head so I could test out switching the lasers.
Changing the heads is, pardon the pun, a game-changer.

To switch heads there are just a couple of fixing screws and a couple of snap-in cables. You reuse the measuring probe from the other head, and it is simply held by magnets.
That is it, the software and machine just knows what to do!
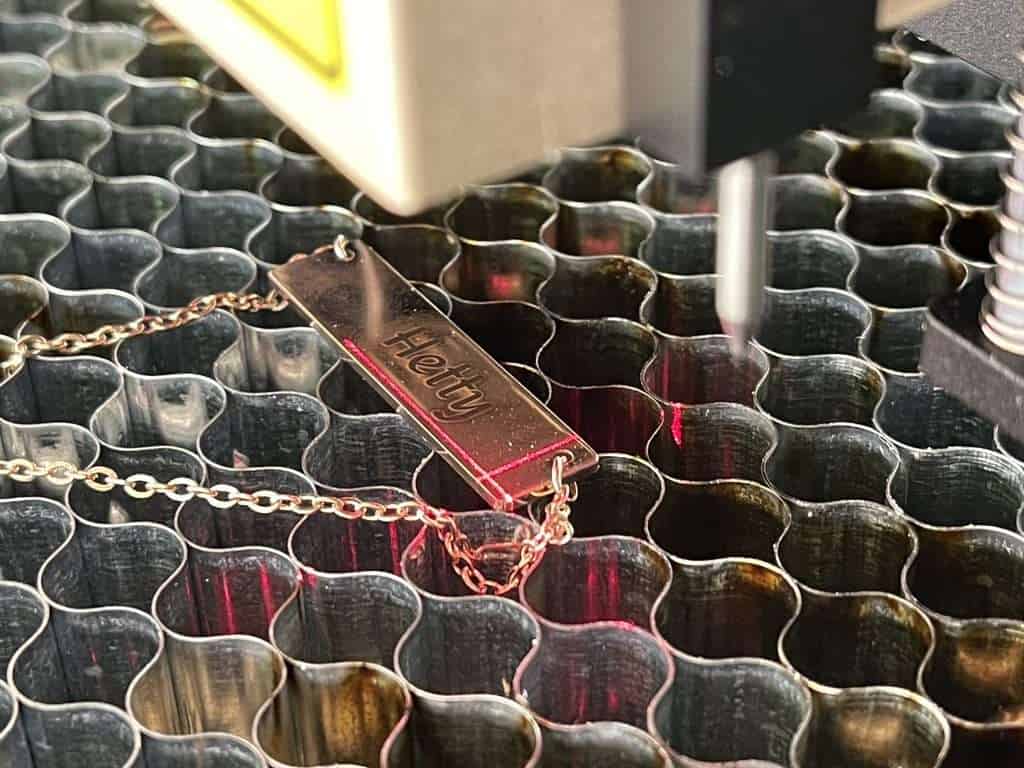
We just had a puppy join our family called Hetty so I thought this would be a nice opportunity to engrave some dog jewelry.
You can see, even without a camera, you can position your engraves super accurately and it was just my bad text alignment that spoiled this engrave. When she gets older and can read I will redo it.

xTool S1 Review Summary
For this first review of the xTool S1 you can sum it up in one word; impressed.
I knew going in that xTool could produce a great diode laser, having experienced the xTool D1, and I already knew they could produce a wonderful enclosed laser having a joyful time with the xTool P2.
This laser sits perfectly between the two machines, in price and capability, but it also carves (sorry) out a niche all of its own because of the ability to switch laser heads. I am now dreaming of a diode laser with tool-changing features!
The xTool S1 is an absolute must-buy for anyone who does not need the power or additional material capabilities of the P2.
Check Today’s xTool S1 Price

 xTool P2 Compared to the Gweike Cloud & Glowforge