
Engraving metal is a big reason people buy an additional laser engraver, because with most machines you either can’t engrave metal at all, or you resort to expensive and messy sprays.
In my xTool S1 review I mentioned that the machine allows for fast switching of laser modules. One of the options is a 2W 1064 Infrared tool head, perfect for engraving metal.
It’s important to understand that this 2W will mark metal, and do it with high resolution, but it is not a plasma torch or a fiber laser used for cutting.
First Metal Engrave: Business Cards
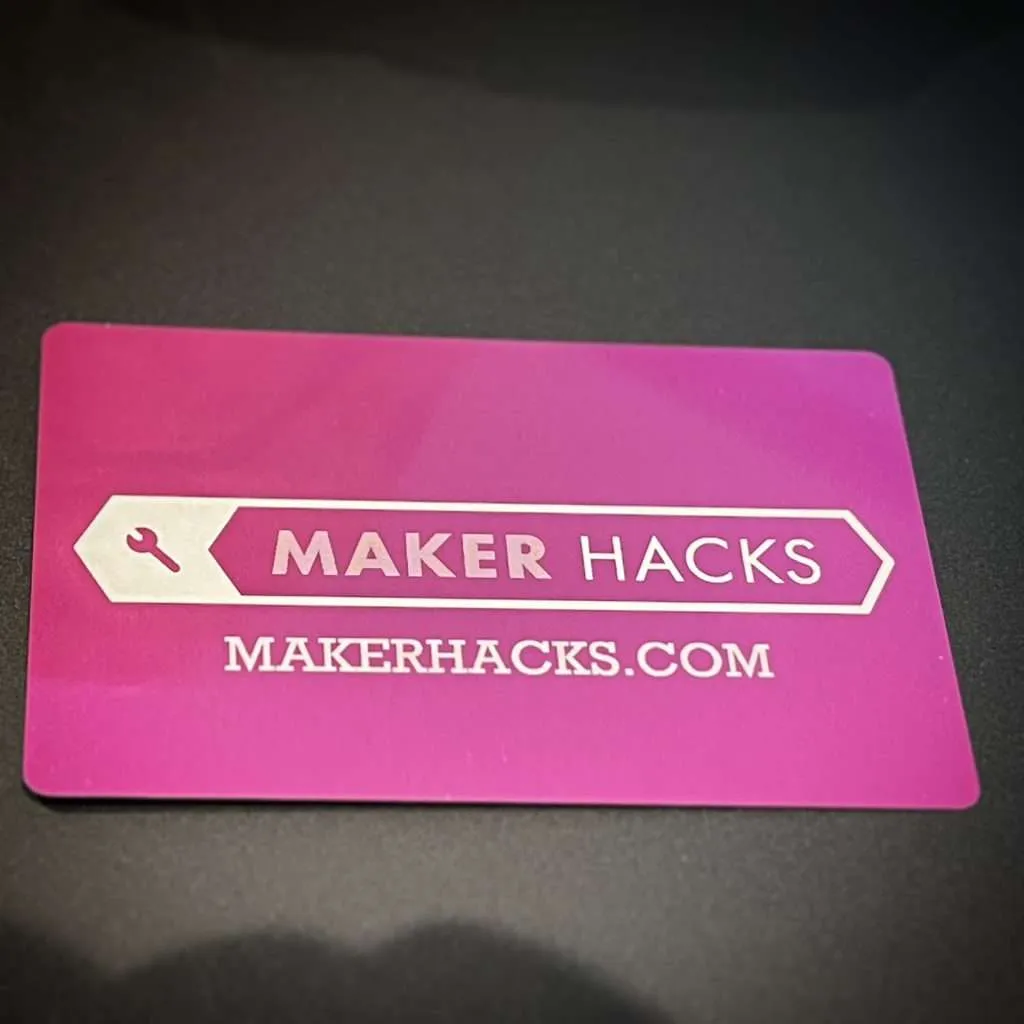

I didn’t realize these were a thing until I got some with the D1 pro. Due to the fact you are taking off a surface rather than engraving the actual metal, the regular diode lasers can also perform this task.
The difference is in resolution – the S1 engraves them absolutely beautifully, to the point it looks like it has been printed rather than laser engraved.
You can get different effects by altering the lines per inch as well as the usual speed and power. I didn’t hang around with this as I wanted to get to the main show; my metal mouse pad.
If you recall, I also engraved our puppy a dog tag. That is actually engraving on raw metal, and I think she likes it.
Engraving a Photograph (Metal Mouse Pad)
The store has a whole bunch of fun things to make stuff with but the main item that caught my eye were these metal mouse pads that are made for laser engraving. You can also get them at Amazon.

Being a nerd, rather than a photograph of something boring like a person or a place, I chose to engrave the best home computer of all time!
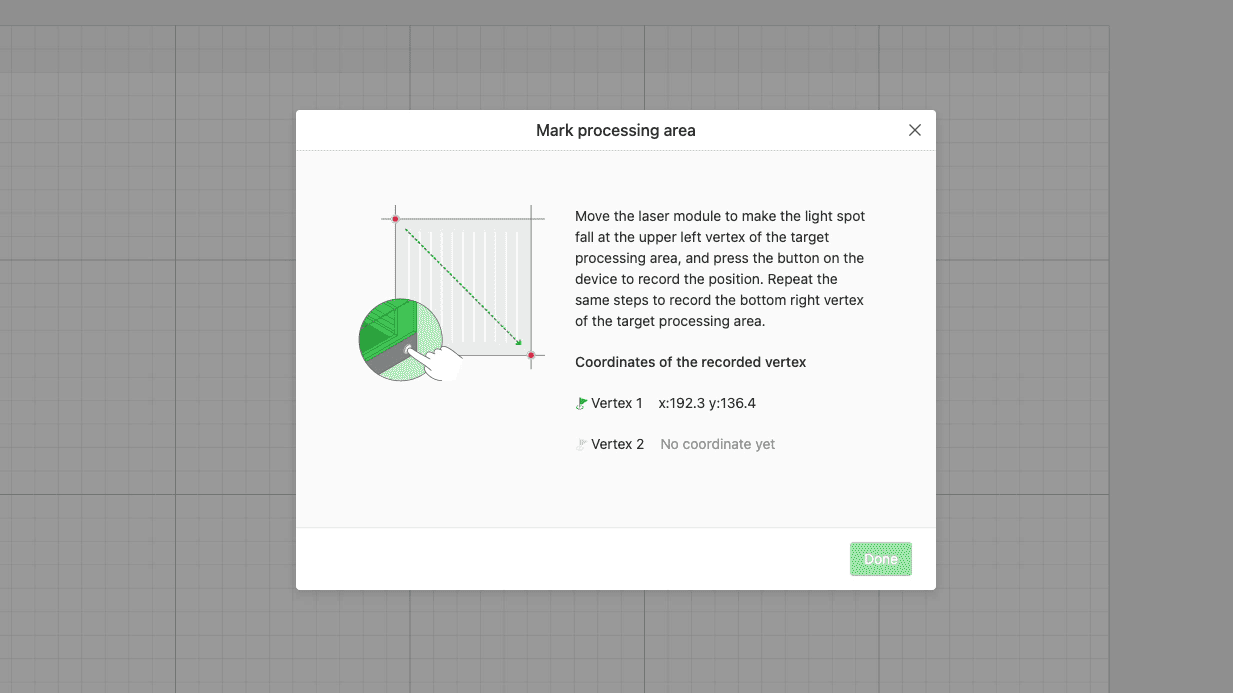
The software makes it easy to line up where your engraving is going to go, you tell it you want to mark your processing area, then press the button when you have the laser positioned at the top left of your piece and then at the bottom right. Of course, I threw off my alignment later, but that was a user error (naturally).

Fortunately, I bought two mouse pads because I messed up side 1 and had to go onto side 2, and then messed up again!
The first mistake I made was forgetting that I was just removing a coating, so I had a choice of black or no black, no variations in between like on, say, birch plywood.
My next mistake was I forgot that this meant I needed to invert the photo like a photo negative so that where it was engraved was left lighter rather than darker.
Still, I finally got a result that I liked, and fast too. The whole engraving at high resolution only took 30 minutes.
Conclusion
In the past, when it came time to engrave metal, I either had to try to use my CNC or had to pass on the project. That is a real shame because one of the things I often 3D print for my local game club is trophies – they just don’t look right without a metal nameplate!
This is going to be a really useful addition to my workshop because I can just switch out the laser module when I need to engrave metal and switch back to work on my usual materials.

