Introduction
Biqu recently released their new Biqu H2 Extruder. It seems to be targeted towards users of the Biqu BX, Creality Ender 3 and CR-10 style printers where you can swap the stock Bowden setup for this compact and lightweight direct drive extruder. Full disclosure, Biqu sent me this unit free of charge for review and testing purposes, but these are my genuine experiences and opinions. Let’s have a look at the specs and first impressions in this Biqu H2 extruder review.
Specifications
Dual Drive Gear Extrusion
200-260C Printing Temperature (Not all Metal)
211g Including heater block and fan
7.5Kg of maximum pushing force
1.75mm filament diameter
First Impressions
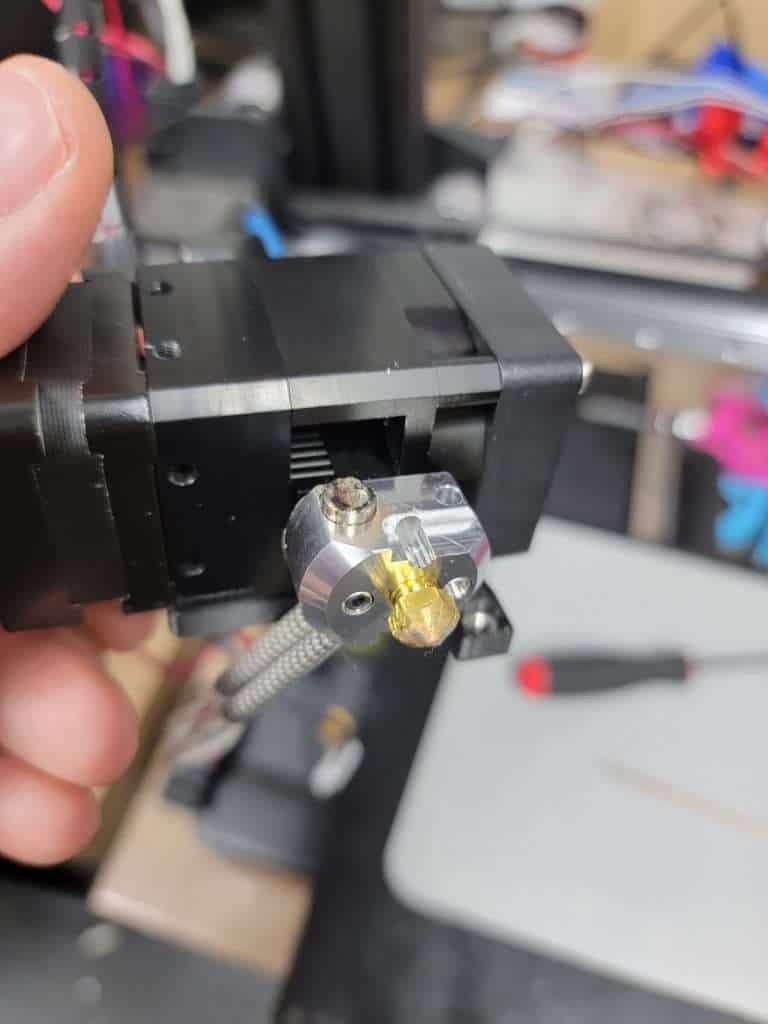
The Biqu H2 Extruder arrived very nicely packaged. The machined outer aluminum body felt well made. It appears to use a Phaetus style heater block and comes with an orange silicone sock. The heater was 24v 50w, and the fan of course was 24v as well. It came with it’s own stepper motor cable, which is handy as the motor phases were different than the existing motor on the test printer.


I took it apart to have a look. The heatbreak is capped at the top, but there’s actually a capricorn PTFE tube inside which buts up against the nozzle as is the case with PTFE heatbreaks. An all metal heatbreak is for sale on their site.
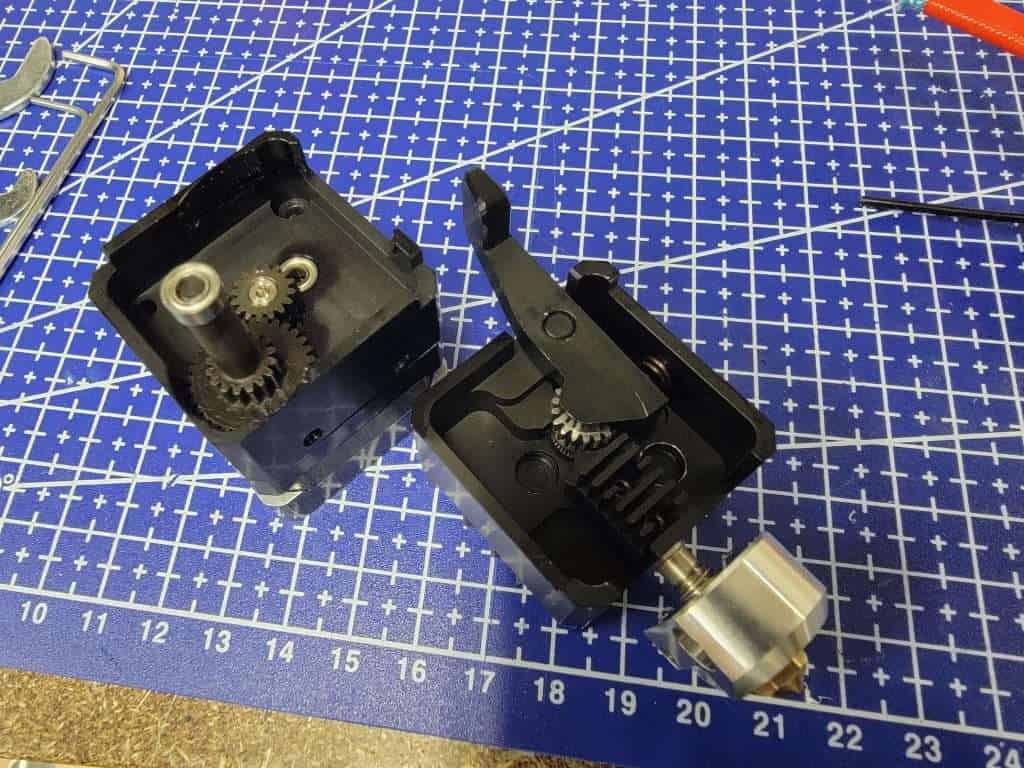
Opening the case I could see all the gears. Having used Bondtech, E3D, and various clone extruders, I wasn’t as big of a fan of the internal gearing. All the gears were metal, which I wasn’t expecting. In the similar Bondtech style extruders there’s usually a nylon/plastic gear inside. Having all the gears being metal, I do expect it to wear down over time.
Another concern I had when having the extruder open, is that there is no great or easy way to line up the dual drive gears should you need to do so. It is relatively easy on other extruders to tighten the set screw on the drive gear when you line up the grooves with a piece of filament. That is not the case with this hot end.
Yet another concern is the lack of tension adjustment available on the tension arm. There is a spring, and you have to rely on the spring and the tightening pressure of the bolts that tighten the whole assembly together for tension. If you tighten the top left assembly screw too much, the tension arm won’t budge. Tighten it too loose, and well, it’s loose.
On the positive side, the assembly is lightweight as advertised. My test rig, a Kingroon KP3S is a cantilevered X-Axis printer with direct drive. I was previously using the Prusa Bear extruder to match my actual Prusa Bear printer. The assemble Prusa Bear extruder weighed approximately 560g. All the components of the Biqu H2 Extruder, weighed in at 261g including heater, thermistor, and all wiring. 300g is a significant difference in weight.
I remixed a mount I was using for the Bear extruder to adapt the H2 and began testing.
Printing
Using the Teaching Tech calibration guide on Github, I set out on tuning the extruder. VREF was set to 1.13v, e-steps ended up at 1864, and retraction was tuned to 0.35mm.
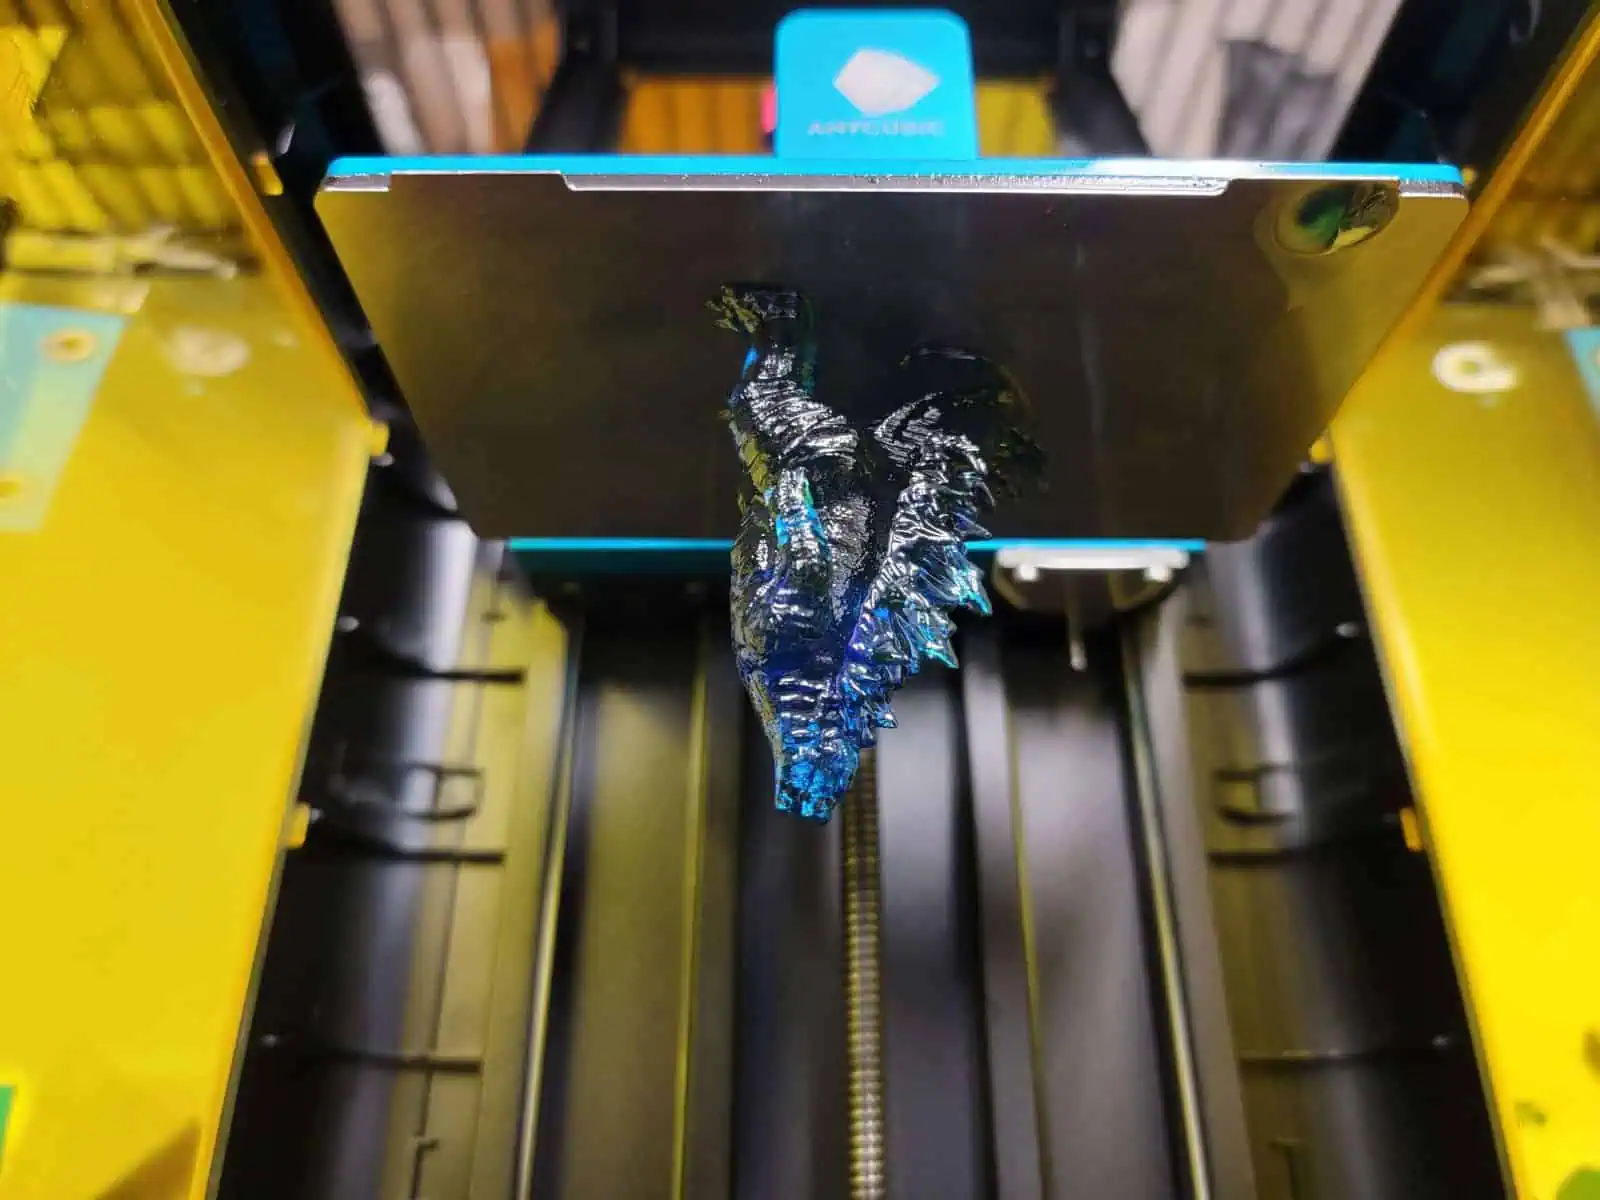
The H2 did not experience issues while test printing at first. I made a few tests and there were no significant print artifacts vs before. I must also admit there was not a significant improved over the Bear extruder, even with the 300g weight reduction. I did test TPU and successfully printed a flexible squishy Bulbasaur as well.


I did experience some issue throughout the duration of the Biqu H2 extruder review. While I’ve had some prints complete, I’ve had an equal number of failures at this point The extruder would clog or jam up and I had underextrusion frequently.
Some other quality of life concerns also came up. The heatbreak position beneath the gears means I had a decent amount of difficulty getting the filament to enter the path during filaments swaps. Another design concern was that there is a hole in the extruder beneath the feed gears, and when filament was grinding, the bits of filament would drop and collect on top of the heat block and heater cartridge tip that would stick out the heat block.
Conclusion
The Bidu H2 is small, compact, and at first glance looks to be a nice little unit. There are a few mounting points making it adaptable to your printer requirements. I think this extruder does have a place and with extensive rebuilds and troubleshooting or tuning it’s likely this extruder could work for you. I’ve seen other folks comment that there’s works perfectly fine for them. Unfortunately for me that wasn’t the case and it was unreliable in my shop.