Previously we looked at the Blender UI, now we need to start creating!
A cool aspect for beginners is you can start with primitives (objects like cubes and spheres). For more info about that check out the previous description here.
Create Tab
The magic happens in the Create tab where you have several options. If you don’t see the precise shape you need, don’t worry because these are simply the base building blocks, we can get way more complex shapes later.
Have a play with adding some to your scene.
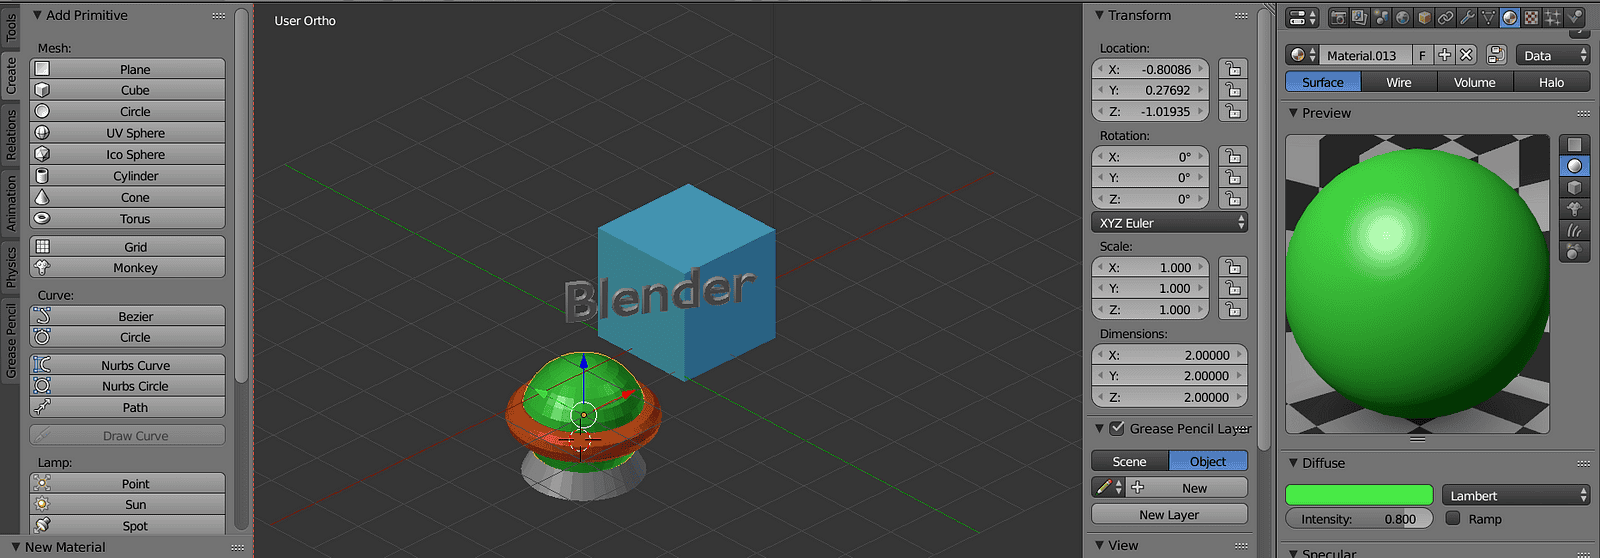
We will get to materials in depth later, but for now just know you are not stuck with grey for everything!
ABC
Have a cluttered scene now? Never fear, we can select and move these objects!
As well as right-click and shift-right-click there are:
- A = Select all, deselect all
- B = Border Select
- C = “Circle” (pick object by object)
Translate and Transforming — Moving and Manipulating Objects
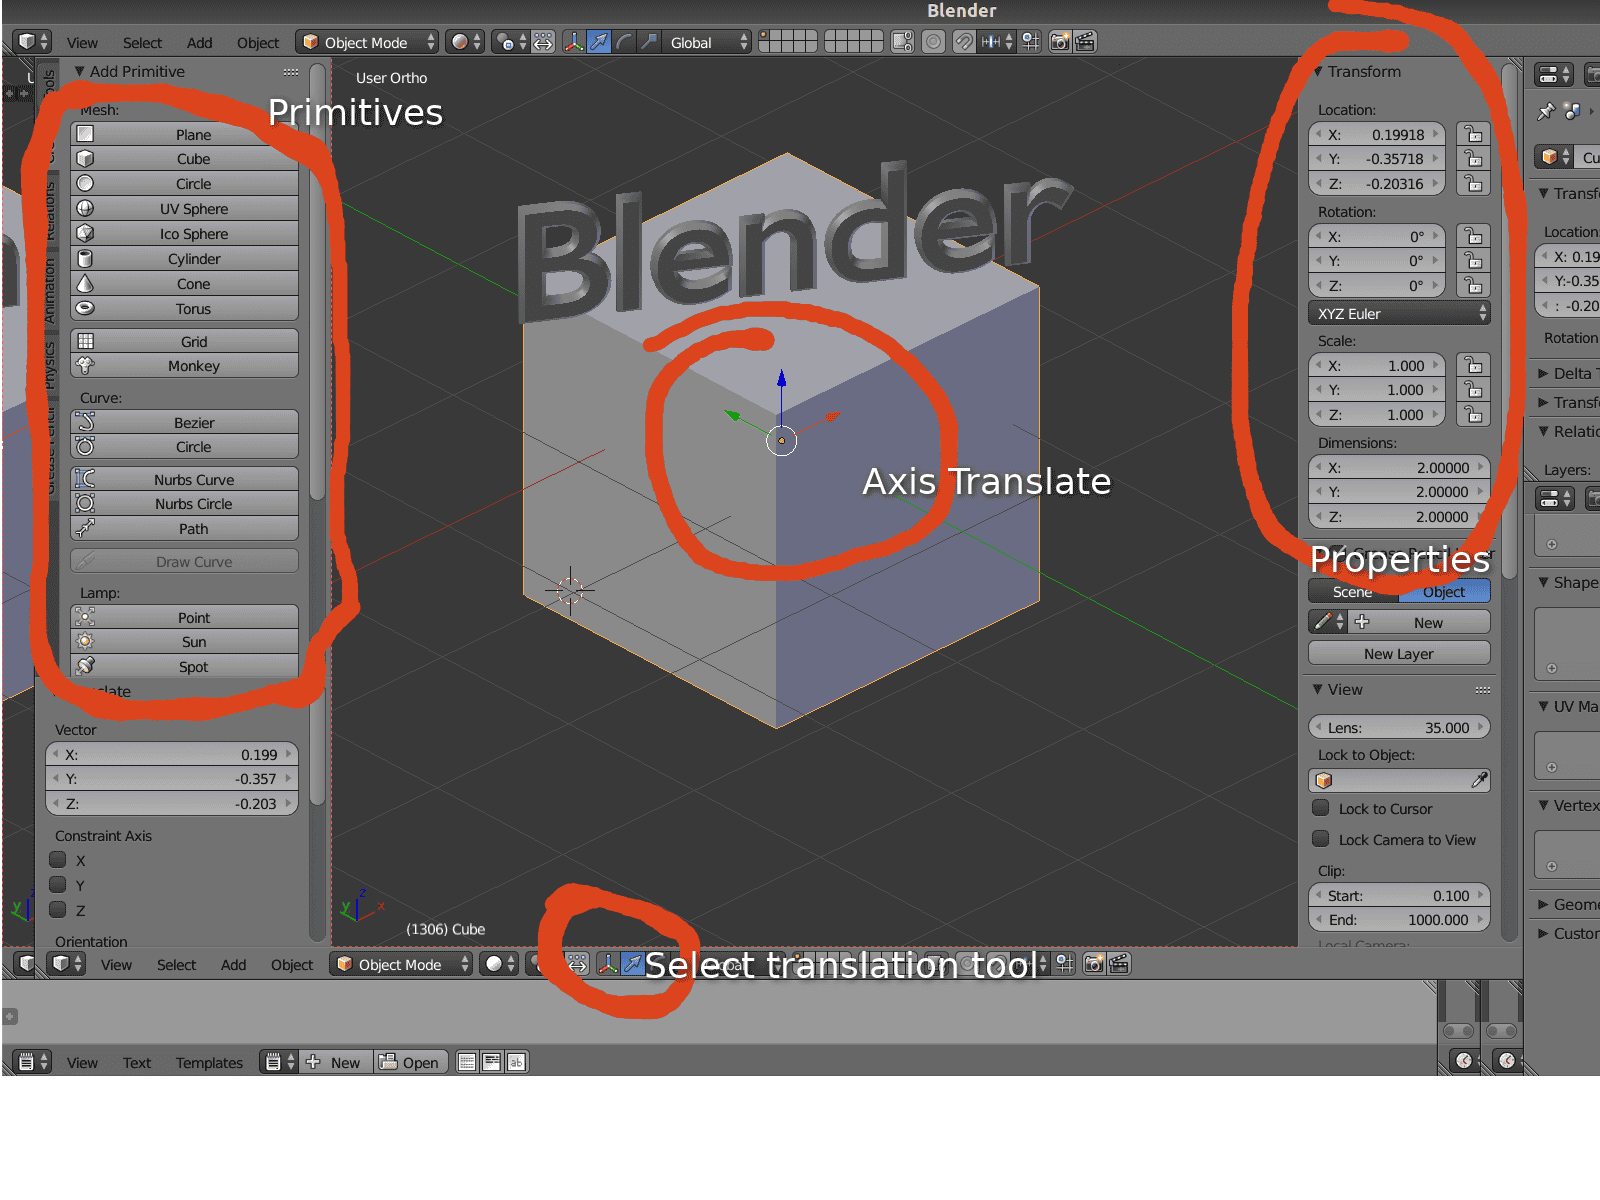
- G = Grab object for translation
- R = Rotation
- S = Scale or Size
- X, Y or Z = Constrain in axis
The Translate button allows you to move objects around, but you can also use:
Rotate obviously allows you to rotate.
Scale is for scaling and resizing.
If you would rather eyeball, there is a 3-axis widget that will be familiar to Onshape users that allows you to drag along the axis you wish to move.
For precise control, use the properties panel for the modification you wish to make.
If you use the “Transform Orientation” feature, you can change from the transform taking place along the global scene orientation to the axis of the object itself.

 Sienci Mill One CNC Review