
The xTool M2 Colour Craft is a fully enclosed diode laser that is advertised to print in full CMYK colour, then cut out what it printed, with the alignment handled by a pair of cameras. It retails starting at an astonishingly reasonable £599 ($599).
This sounds like the answer to one of the most tedious jobs in crafting. Print, carry the print to a second machine, squint at registration, hope the cut lands where the ink did.
I’ve done that routine more times than I’d like to admit and binned plenty of nearly-cut stickers in the process. Admittedly, my old eyes should take at least some of the blame.
So a box of tricks that does both, with a camera doing the alignment is an easy thing to desire.
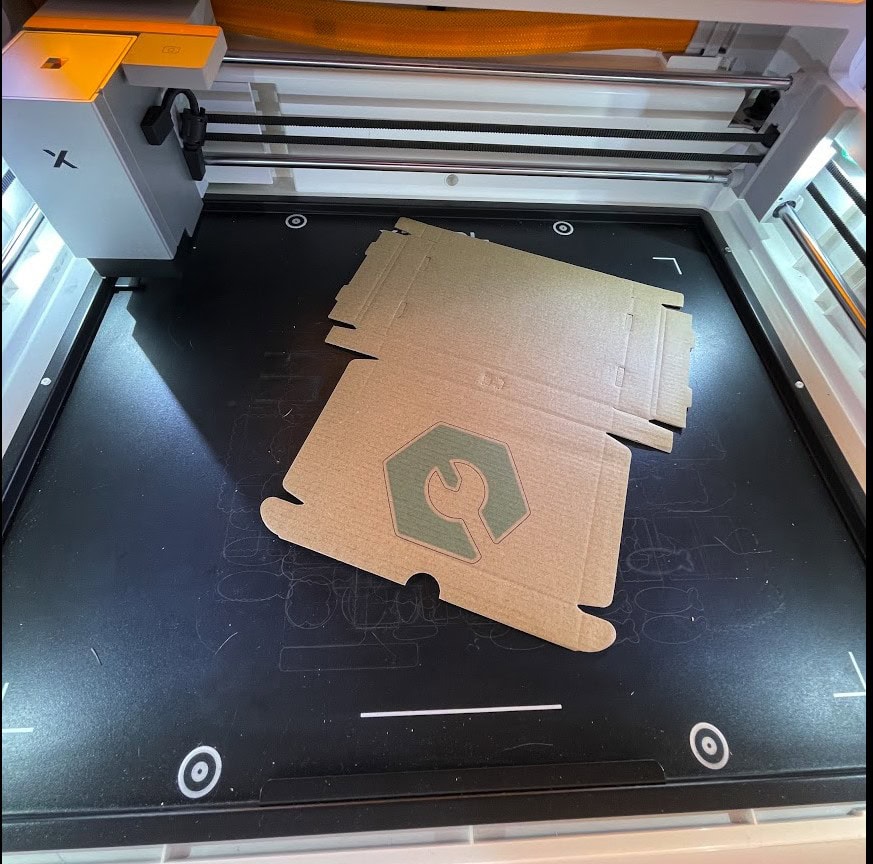
Here’s my problem, though, after a few weeks of using the thing. “Print and cut” is still not one job. It’s at least three different jobs in a trench coat. The M2 is superb at one of them. It’s definitely workable, but it could also be the wrong tool for you.
What you care about decides whether this is the best £599 you’ll spend this year or a great machine that you’ll need to find work arounds for. I’ll come back to that.
First, what is it like to use one of these machines in reality?
xTool M2: What’s in the box?
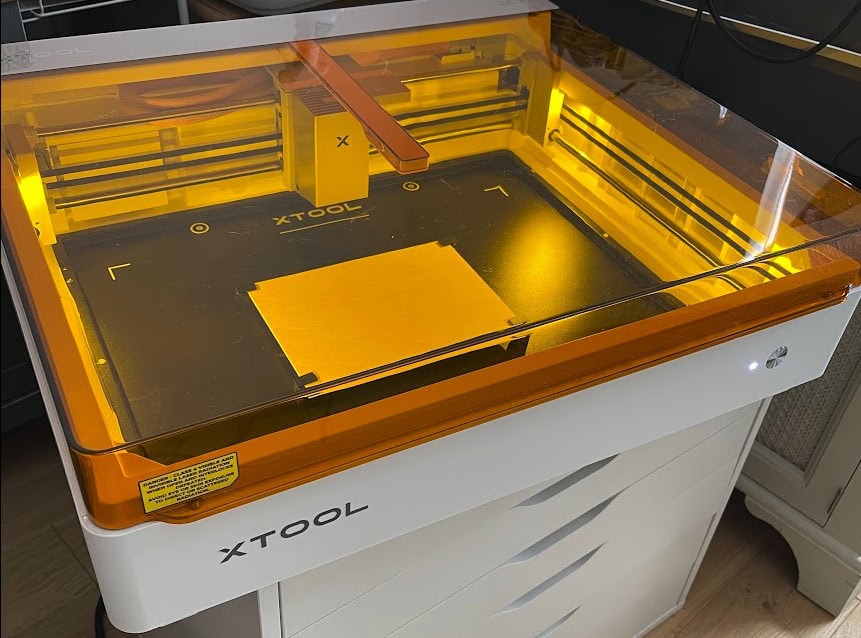
Open up the package and you can tell this company knows what they are doing. The xTool M2 looks good. It feels well-made and not at all like a bunch of corners were cut to get it under that competitive price target.
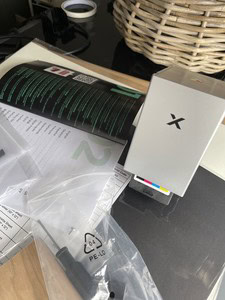
It is a good thing that the M2 is so easy to set up and get running because documentation-wise this felt slimmer than usual.
Don’t get me wrong – we had no issues getting good first results, it just felt like we got less guidance than previous machines from xTool.
The software does guide you well and there are lots of videos and such so you are never left hanging.
As well as the machine, the ink/laser modules, cables, and the quick start guide, we also got 4 magnetic hold-downs, sample materials, a screwdriver and some lube.
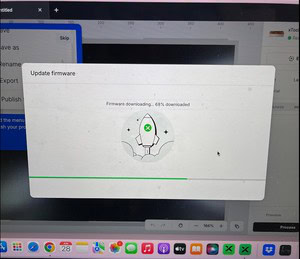
Like many of the YouTubers and reviewers out there, I got sent this machine from xTool to review during their launch campaign. I also have affiliate links so get a small commission. As you will see, they didn’t have any input into what I write about it and I was not paid to review the machine, just offer my thoughts.
I got the 10W diode module with the CMYK inkjet module. I do not have the 20W head, the 3W infrared module, or the rotary attachment. So when you read a number for the 20W in this review, that’s xTool’s published figure. I don’t usually review rotary attachments, and I can’t review this one at all.
Most of the coverage you’ll find was written on the 20W deluxe maxed-out bundle, which means almost nobody is telling you where the cheaper one limits out. And the 10W standalone at £599 ($599) is the machine a great many people are actually going to be looking at buying.
Launch pricing moves about, so if you want to see what the M2 is going for right now, check xTool’s store, which opens the UK or US store depending on where you are. Those are affiliate links, so I get a small thank-you commission, and you pay the same as you would anyway, sometimes less.
xTool M2: Review Criteria
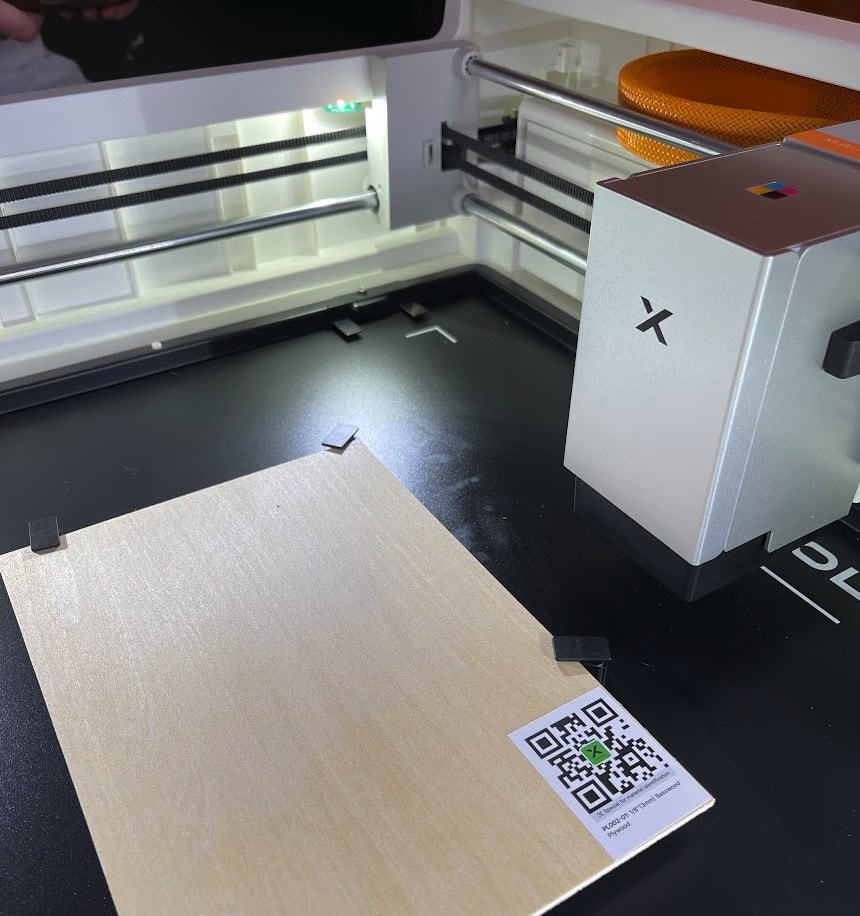
Expectations time. After many years of tinkering with machines, my bias now skews heavily away from playing with the tech and towards making a thing with as little fuss as possible. I certainly don’t want to spend an evening dialling in settings before I even get a single useful result.
Although my wife and I sell small batches of craft products, we’re not running a 24/7 industrial production line. In addition to all this, I’ve got limited space, it’s our home, so anything that needs a dedicated workshop is out before we even start. Gosh I miss our workshop so much.
Judged against that, the M2 does very well. It’s compact (610 x 569 x 180mm) and light at 12.3kg. This is not a massive CO2 machine that takes a forklift and 2.5 people to move safely, it fits tidily on a regular desk.
That 180mm height matters because it means the thing can tuck away under a shelf when you are done using it (the lid needs to open and shut when in use of course).
It’s Class 1 certified so with the lid closed and ventilated correctly makes it a sit-in-the-room laser instead of a garage laser. It uses a normal plug in a normal socket, 200W draw max.
And it connects over wifi. That’s a small thing on paper but matters a lot for convenience, it’s not even a given at this price point. Having good wifi means the machine doesn’t have to live right next to the computer.
The M2 cameras are a big upgrade over the xTool M1
If you’ve used the M1 Ultra you might recall it had no cameras at all. You positioned using the red cross positioning (which I actually really like) or using your smart phone app.
The M2 has two cameras: a 5MP panoramic that sees the whole bed, and a 2MP close-range for detail work.
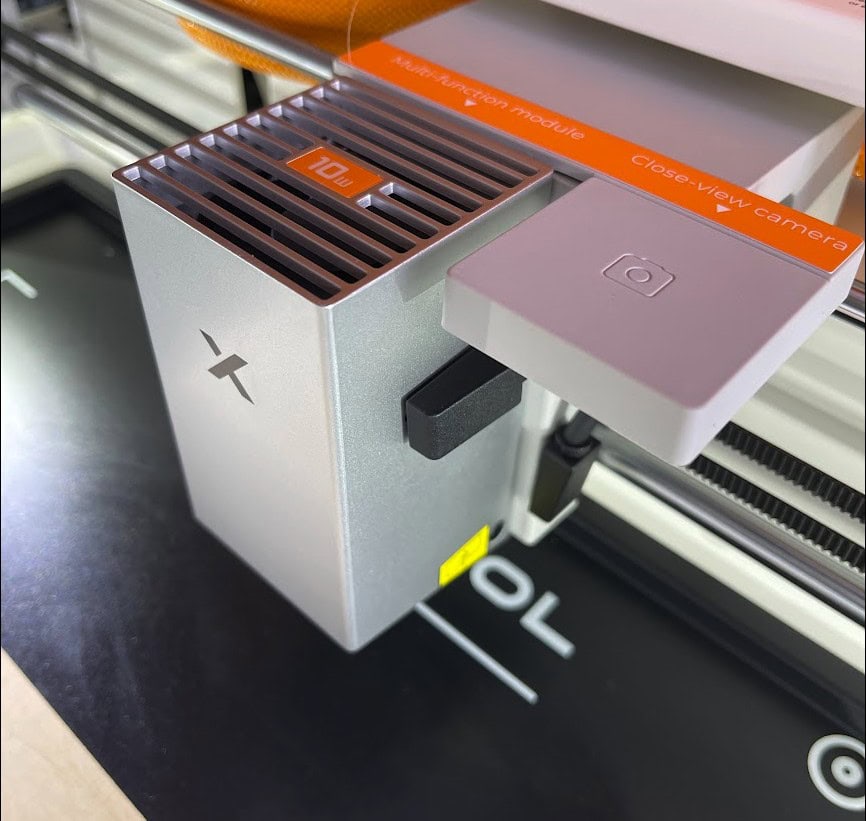
FWIW, I see three cameras. xTool’s own materials say a dual camera system, perhaps the third is the flame detection or is used for height measuring?
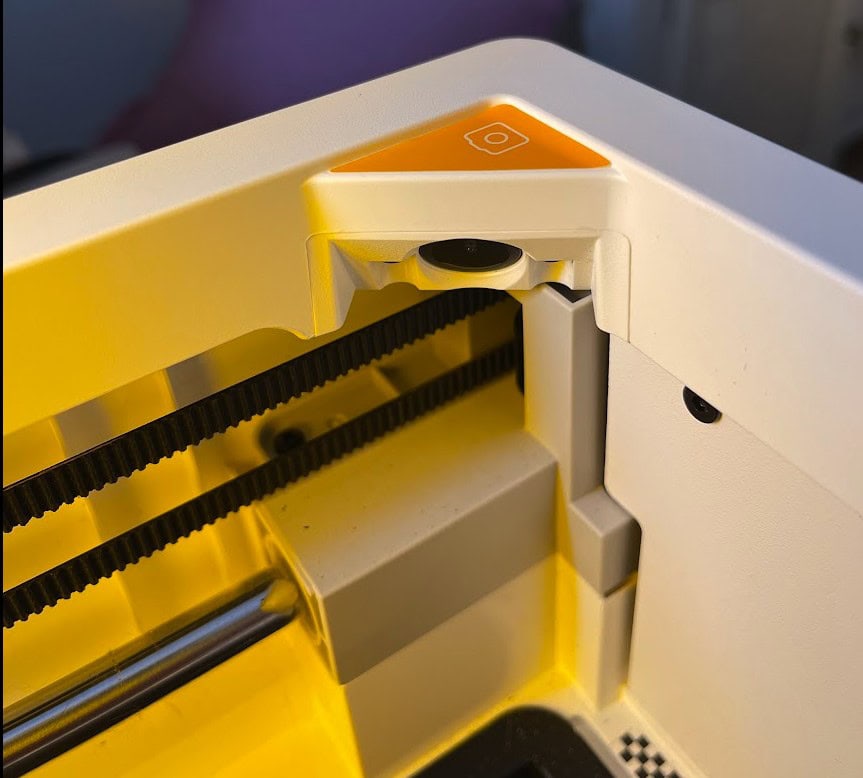
Close the lid, and the machine photographs what you’ve put in, measures it, and offers you settings for it. xTool call the whole arrangement the Automated Creation System.
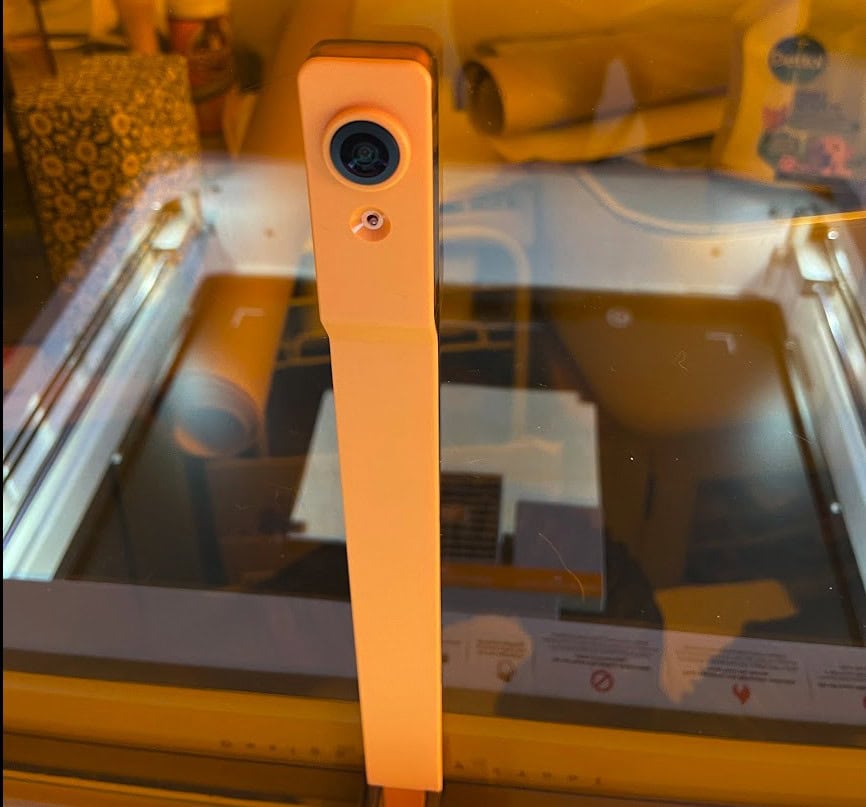
This promise is crafting rather than configuring. You put a scrap of plywood down, you see it on screen, you drag your design onto it, you press go and the machine does its thing. At least in theory.
xTool quote positioning precision as “up to 0.2mm”, thanks to the close-range camera. Built in machine vision smarts mean the machine can “see” and measure several items at once, so batch work stops being quite as fiddly. Fill the bed with blanks, let it discover them, run the job lot instead of one piece at a time.
CMYK Colour printing on the M2
The M1 Ultra’s inkjet cartridge had no black in it, which is why things it printed were often slightly washed out, not really professional-looking. On the other hand, it used regular consumer-grade HP ink cartridges which were easily available online and not super expensive.
The M2 adds black, doubles the ink capacity (40ml against 15ml), and doubles the vertical resolution to 1200 x 1200 DPI. The difference is not subtle but it’s not cheap either, as we will discuss later.
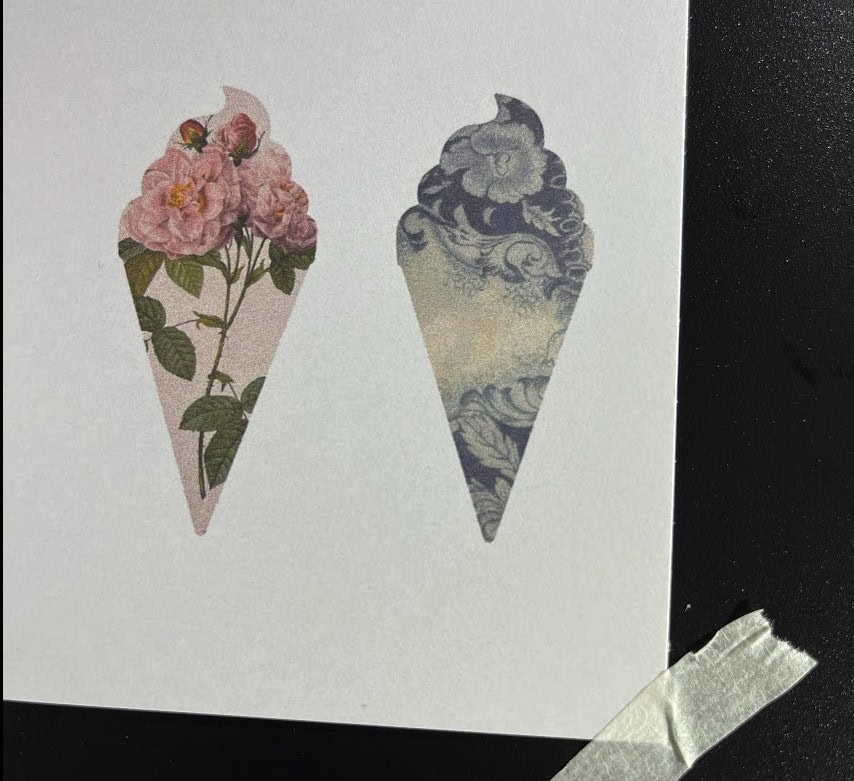
So that’s the good news, and it is a good system. But let’s manage expectations:
The ink is water-based. xTool say so, and their own copy tells you to keep finished pieces away from water. So this is not the machine for printing t-shirts or tote bags without extra steps. It’s for décor, signage, keepsakes, packaging, things that live indoors and dry.
There’s no white ink. The base colour of whatever you’re printing on shows through everything, so light materials give you accurate colour and dark ones won’t.
Pale colours print ‘dotty’. Adding black is very welcome but don’t expect photo quality output as the cartridge only has CMYK still, no lighter options as used in professional-grade machines. Keep this in mind when planning your designs.
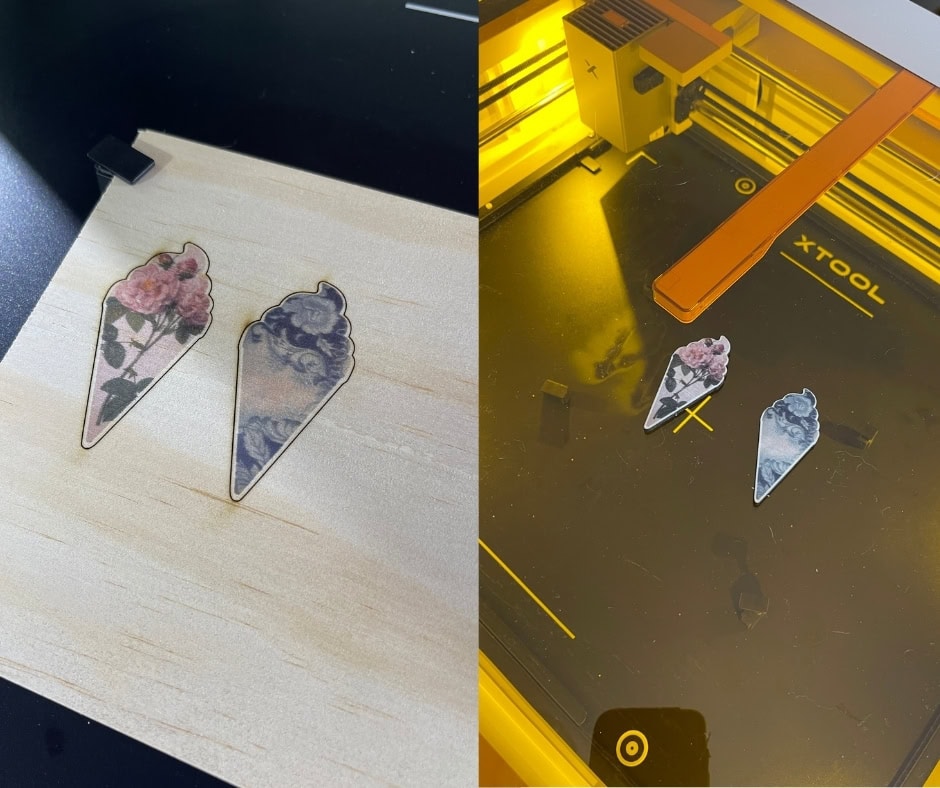
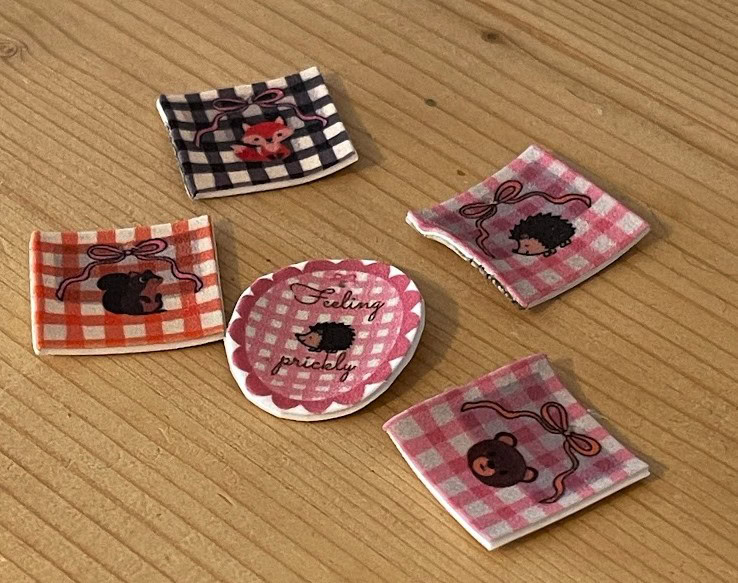
Porous surfaces can bleed and smooth surfaces repel. Wood ideally needs a primer or sealer first, or your crisp artwork might bleed out along the grain. As you can see below, my plywood test worked fine, though.
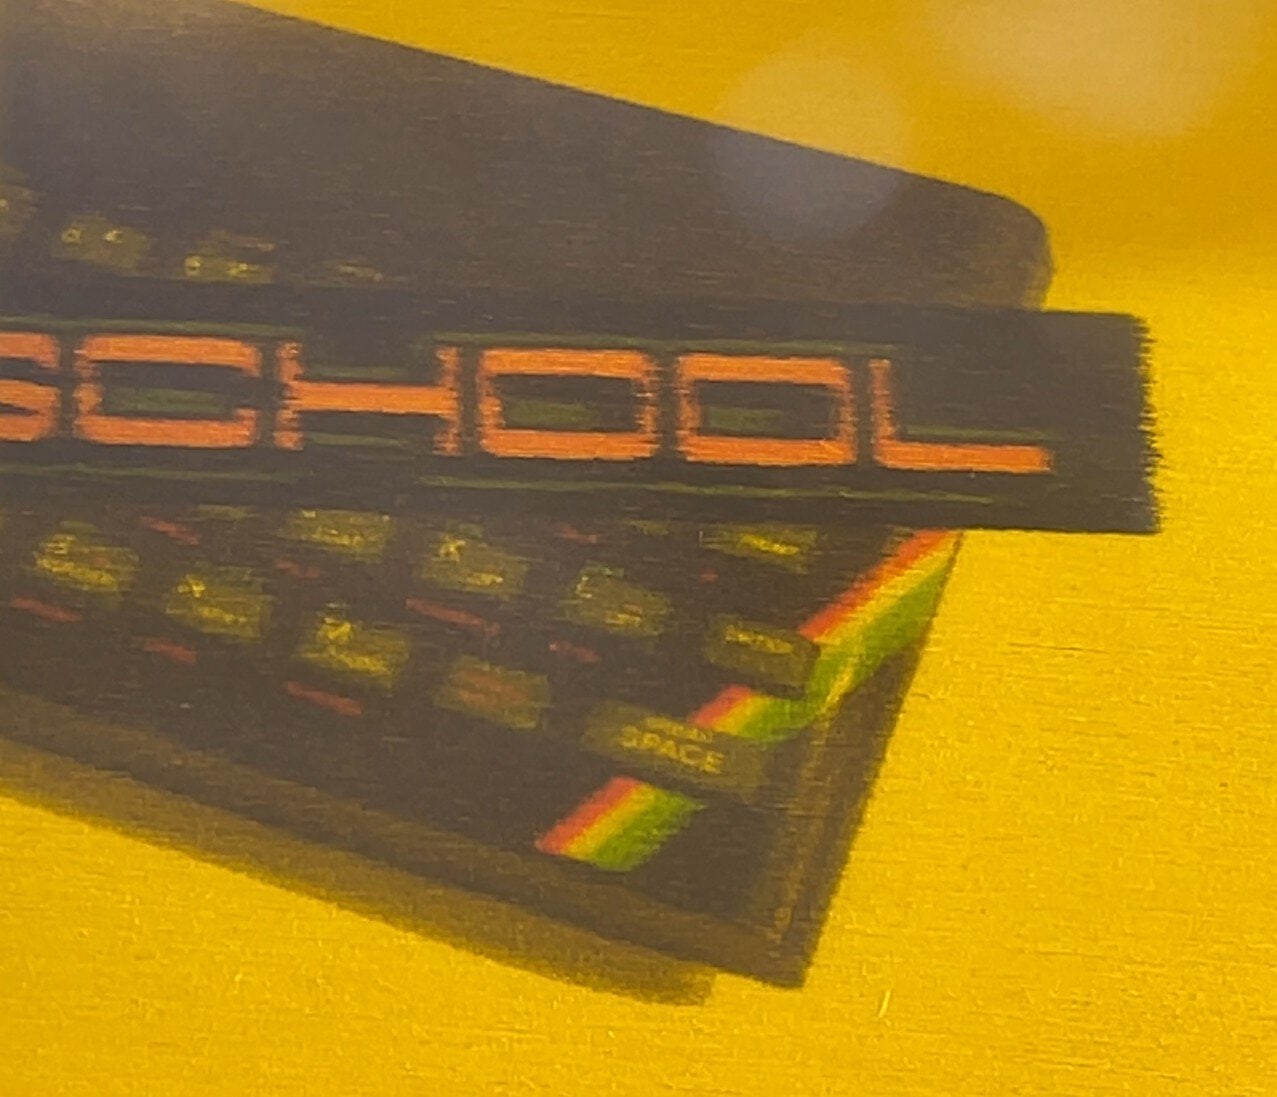
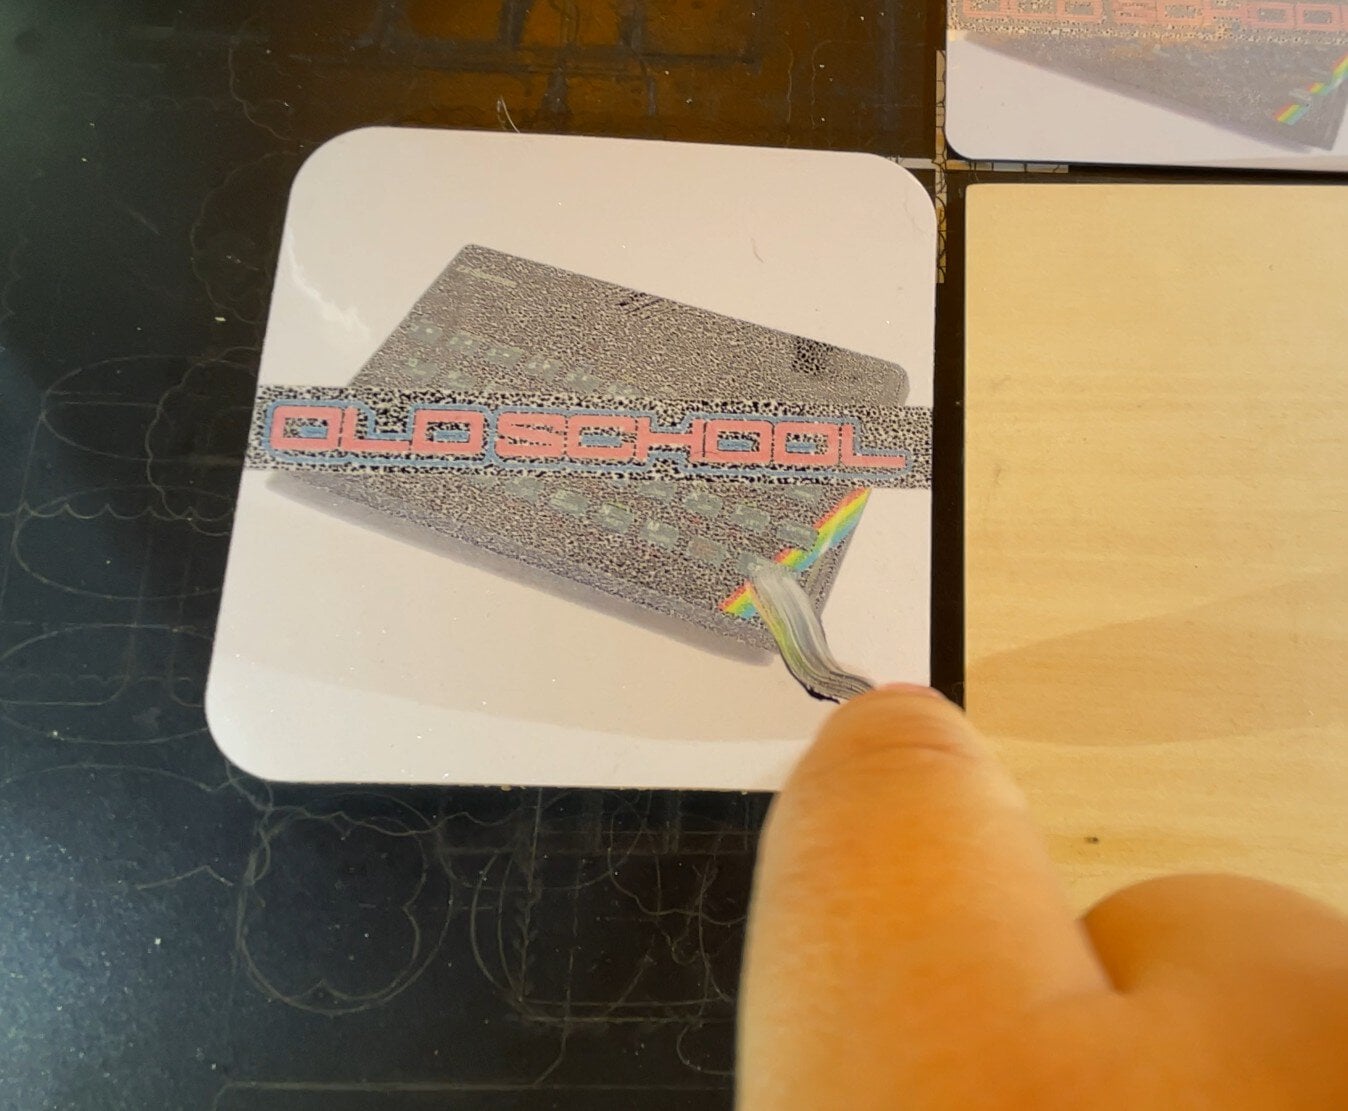
Glass, acrylic, metal and ceramic can’t be directly printed without an adhesion coating (xTool’s own guidance not just me saying it).
And if like me you’re outside the USA … xTool’s own fixative and primer sprays, the ones the whole print-on-wood idea really depends on, aren’t available. Nine of the ten M2 reviews I watched were made in the USA, and not one mentioned this.
Turn your air off while printing, on when cutting. Airflow across a wet inkjet print does exactly what you’d imagine. Which is a slightly comedic situation, given you need that extraction the moment you switch back to lasering.
The print area is smaller than the ‘cut‘ area. The laser works across 426 x 320mm. The inkjet only covers 300 x 294mm (a larger area than A4, though). So on any print-and-cut job, the print is your real size limit, not the laser work area. Worth knowing before you design a sign that is too big to print.
Replacement ink costs £99 ($99) in the UK, including VAT, for 40ml with all four colours in one body. That is about a sixth of what the base machine cost you! There’s no ink level indicator, so you’ll find out that you’re running low when you try to print and it says nope. And because the colours are all in one box, running out of black finishes the whole cartridge even if there is still plenty of cyan remaining. Splitting colours out would be as welcome as an ink discount. (Check the current ink price.)
Nobody knows how many prints you get from a cartridge? I can’t give you a straight answer yet, and neither can anyone else it seems. xTool’s spec table says 800 pages, their own FAQ says 400, and both figures are the ISO office-document standard at 5% coverage, which bears no relation to a full-bleed sheet on absorbent ply. One US creator reports 36 real prints from a cartridge.
In defence of the price the cartridge includes a print head, so that £99 is for ink AND a fresh head, which is a longer term worry-reducer when it comes to maintaining clogs and dried-out nozzles.
Printing aside, is the xTool M2 a good laser cutter?
The colour ink is getting most of the press but plenty of people will buy this as a laser and treat the ink module as an optional bonus. On that basis it’s still a good buy, and I can be specific about why, because I’ve been keeping a list for about three years without meaning to.
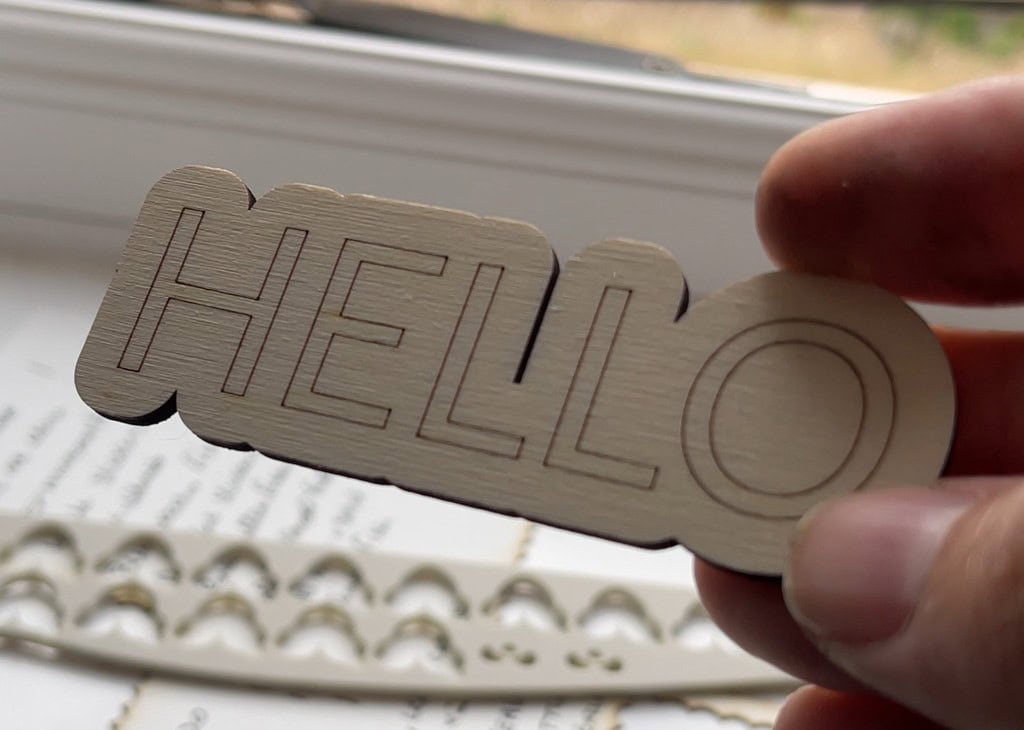
When I reviewed the xTool D1 Pro I liked it a lot. What I wrote at the time was that “the downside is this is fully open, with no ventilation or enclosure, so you will need to have a fan blowing and good ventilation in the room“, and that “honeycomb, air assist, and enclosure are not necessarily included in the price“. I then went and spent more money, which I wrote up in the upgrades piece: an official enclosure, an air assist, and a honeycomb bed at £159 from Amazon, which I described at the time as “NOT cheap” and I stand by that.
Let’s look again at the M2 in comparison with the old entry-level options:
- Enclosed out of the box. Class 1 with the lid down, which is what makes it a machine you can run in a room where other people are sitting.
- Air assist built in, adjustable, no separate pump to buy. Two of the three things I paid extra for last time are now simply part of the machine, and that’s before you count the cameras.
- The third one, though. Still no honeycomb. Means, again, buying it separately, or watching the baseplate take the hit in the meantime. Three years later, and it’s the same £100-ish gap in the box. I find that funnier than I should.
The 10W Laser
The 10W will cut a lot of stuff and it is great for detailed engraving, that said a lot of the projects you see out there promoting the laser were done with double the power and/or half the time and, well, for fast and deep the 10W won’t … cut it (sorry).
xTool’s own figures suggest the 10W can cut 8mm basswood. Black acrylic, though, is listed as 3mm versus 8mm on the 20W. That’s nearly 3x. Beyond that expect charred edges, much more smoke, and maybe even some flames.
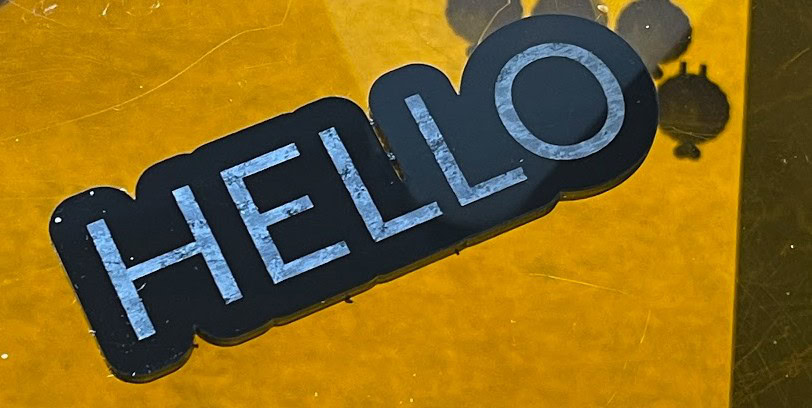
Note that clear acrylic is nearly transparent to any blue diode so regardless you would need a CO2 for that.
By the way, the 20W is a £400 ($400) bump when chosen at checkout. 0% APR is also apparently an option to take some of that pain away. (Check the current price.)
If your goal is paper, card, felt, fabric, thinner wood, dark 3mm acrylic, the 10W is plenty and you can spend the £400 difference on materials. If thicker stock is in your plans, buy the 20W or even wait for a 40W unit. I’d rather tell you that than pretend the cheap one does everything.
There are other differences over the open frame lasers:
- The work area is smaller. The D1 Pro gave you 430 x 400mm and had extension kits. The M2 gives you 426 x 320mm and doesn’t. That’s 80mm less in one axis without mentioning the vertical (Z height) limitations of the M2.
- LightBurn is gone? I specifically praised the D1 Pro for LightBurn compatibility. The M2 doesn’t mention official support of it at all. I’ve come round on that, for reasons I’ll get to, but I’d be rewriting history if I pretended I hadn’t wanted it back then.
- The D1 Pro offered 5W up to 40W and beyond, against the M2’s 10W or 20W (currently).
None of these stops the M2 being the better laser for most people buying their first one. Enclosed, quiet, camera-aligned, auto-focusing, with the material library doing the good to perfect settings for you.
What I’d say is this is a compact, desktop multi-function machine, and an amazing first laser, not a workhorse mass-production cutter.
So Why Do I Still Use the M1 Ultra?
Look at xTool’s own comparison table between the M1 and the M2 machines. The M1 Ultra has features and options that the M2 doesn’t:
- Blade mode
- Foil transfer tip
- Heated foil pen
- Pen plotter mode
So the M2 isn’t a straight successor with upgrades. We lose the entire cutting/plotter pieces of the M1 Ultra in exchange for cameras, proper black ink, and a lower entry price. For most new buyers that’s a fair trade, you’ll never miss what you didn’t have. For a happy M1 Ultra owner looking for an upgrade, it’s a bit different.
Here’s the rub: the M2’s modules mount magnetically with a different cable arrangement, which is why swapping them is so quick and satisfying. It’s also why your old M1 mounts wouldn’t fit even if they were electronically compatible. Upgrading means re-buying your most-used accessories rather than swapping them over.
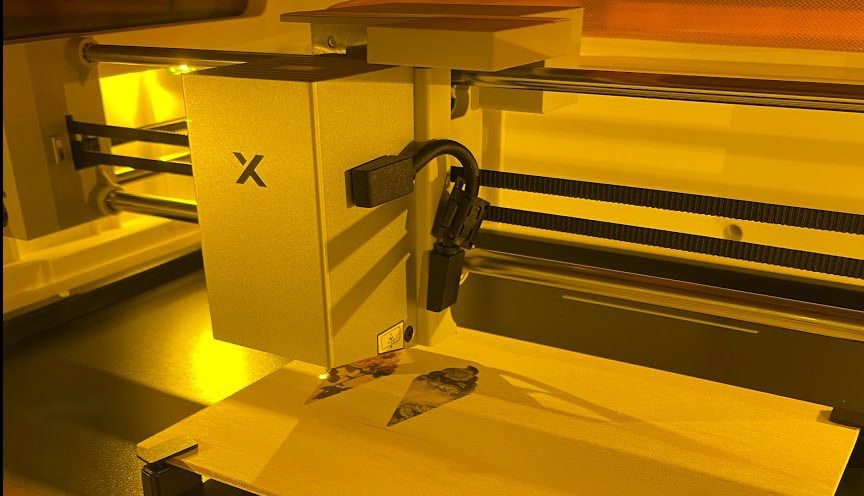
The software side is fine though, I double-clicked a two-year-old .xcs and xTool Studio opened it without complaint, with a note that it’ll save out in the newer .xs format from now on. Studio also carries profiles for the older machines, so if you’re keeping your M1 Ultra alongside the M2 you’re opening up one nicer program for both rather than juggling two.
I do miss the blade, though, and I’m not alone. Whether a blade could ever launch for the M2 is a fair question, and there’s a potential physics problem: can the magnetic head mount take the lateral forces a drag knife applies? That said, asking for a blade module is fair. Assuming it’s a simple firmware update away probably isn’t.
I also spent a while missing the red cross alignment before I worked out what had replaced it, which turns out to be an interesting story.
Where did the red alignment cross go?
If you’ve used other lasers, you know the little red dot or crosshair that shows you where the beam will hit.
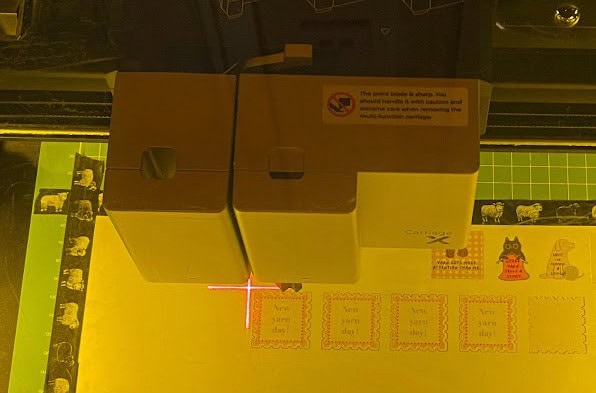
The M2 hasn’t got one but it isn’t due to cost-cutting. xTool’s support documentation explains that the M2 uses the cutting beam, run at very low power. To be fair, xTool are upfront about the trade-off. The blue spot is harder to see than a red crosshair, particularly in a bright room or on some materials.
There are two ways to work with it. You can lift the orange lid and watch the blue spot framing. Or, and this is the fancy new feature, you can use Video Framing, which xTool describe as a “virtual red crosshair“, and which uses the cameras to show you the design and the material on screen before you commit.
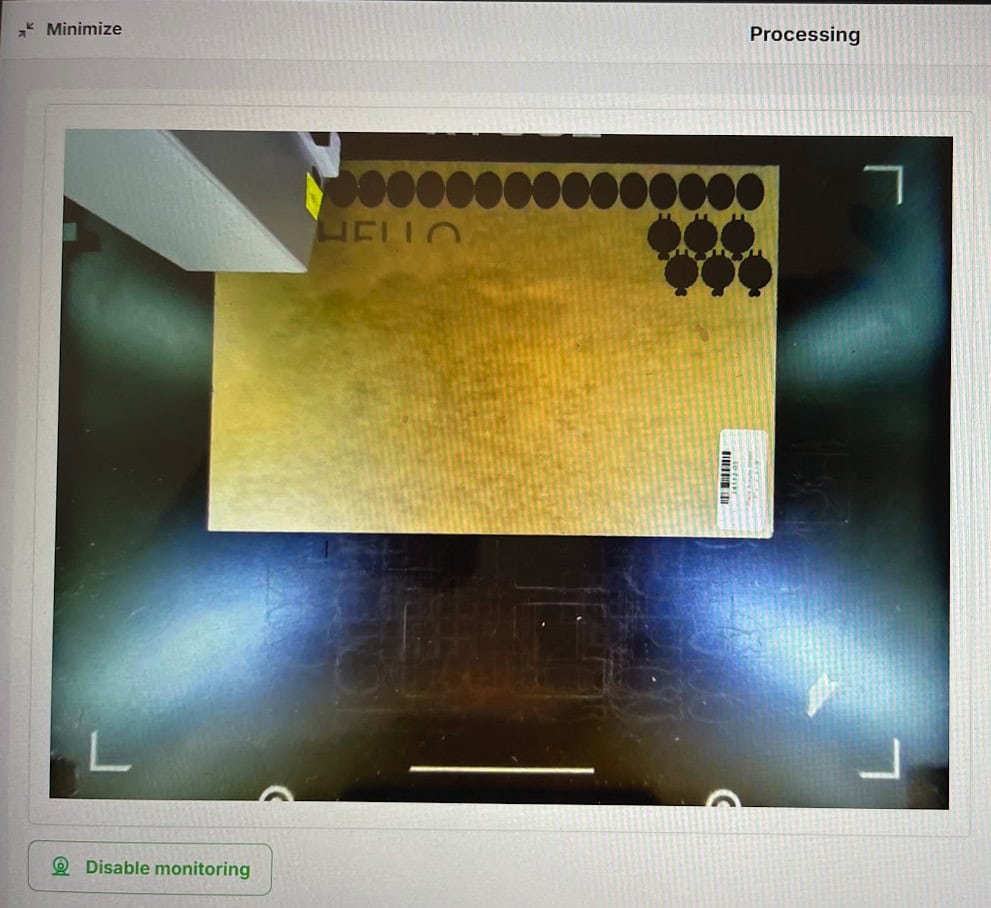
So the red dot is gone, the camera replaces it, and the software has a new feature built for the same job.
xTool Studio software is free and excellent
Normally software is either free or good, seldom both. This is why LightBurn, a paid product, found such a large market. For a long time I was a LightBurn advocate, but I’ve been surprised how little I miss it lately.
xTool Studio is free, runs on Windows and macOS, and gets updated constantly. It ships with a material library xTool claim runs to 1,300 materials and 110,000 tested settings combinations, plus tools and generators for stickers, keychains, door signs and cake toppers that design the whole project for you in a few clicks.
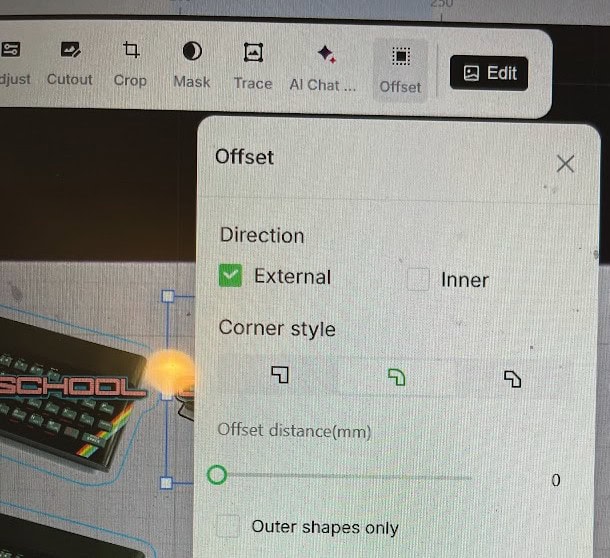
Of course being first-party software, it talks to the hardware in ways LightBurn couldn’t. The auto material detection and the tool-swap prompting partway through a print-and-cut job are all Studio features rather than machine features.
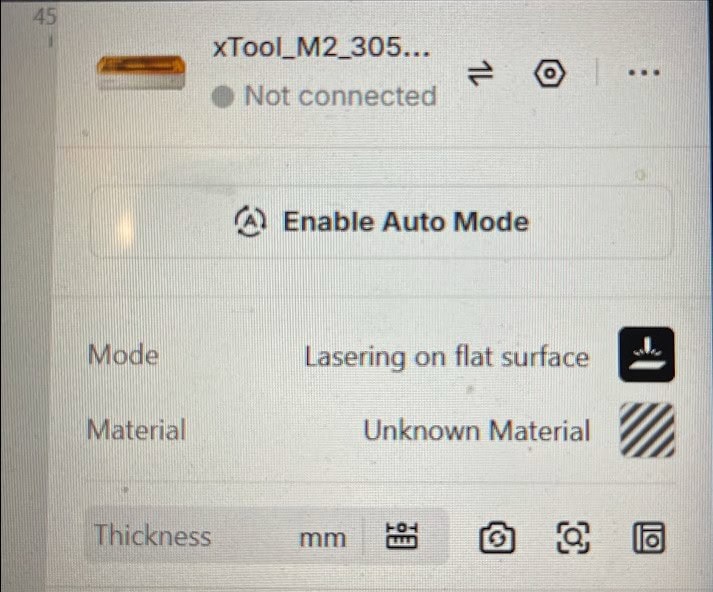
One quirk I’m still fighting is file types. PDFs import fine for printing, but in my testing I’ve had to use the offset path option to generate a cut line around the artwork rather than cutting the vector paths the PDF already contained.
The supported file list is extensive (including SVG, DXF, JPG, JPEG, PNG and BMP), but not every tool seems to allow every type, or maintain original measurements.
The things that aren’t in the box
£599 is for the machine, but not necessarily your whole setup.
Smoke: Either duct out of a window or buy a filter, xTool’s Desktop Air Purifier for normal use or the SafetyPro AP2 for heavy cutting and smellier stuff. The M2 has a built-in air assist pump, so you don’t need a separate air compressor.
Honeycomb or slats: Your material sits straight on the baseplate. The plate takes damage every time you cut through, and it will scar. Mine already has significant battle damage just from testing. On my D1 Pro the fix was obvious and I paid £159 for it. Here it isn’t.
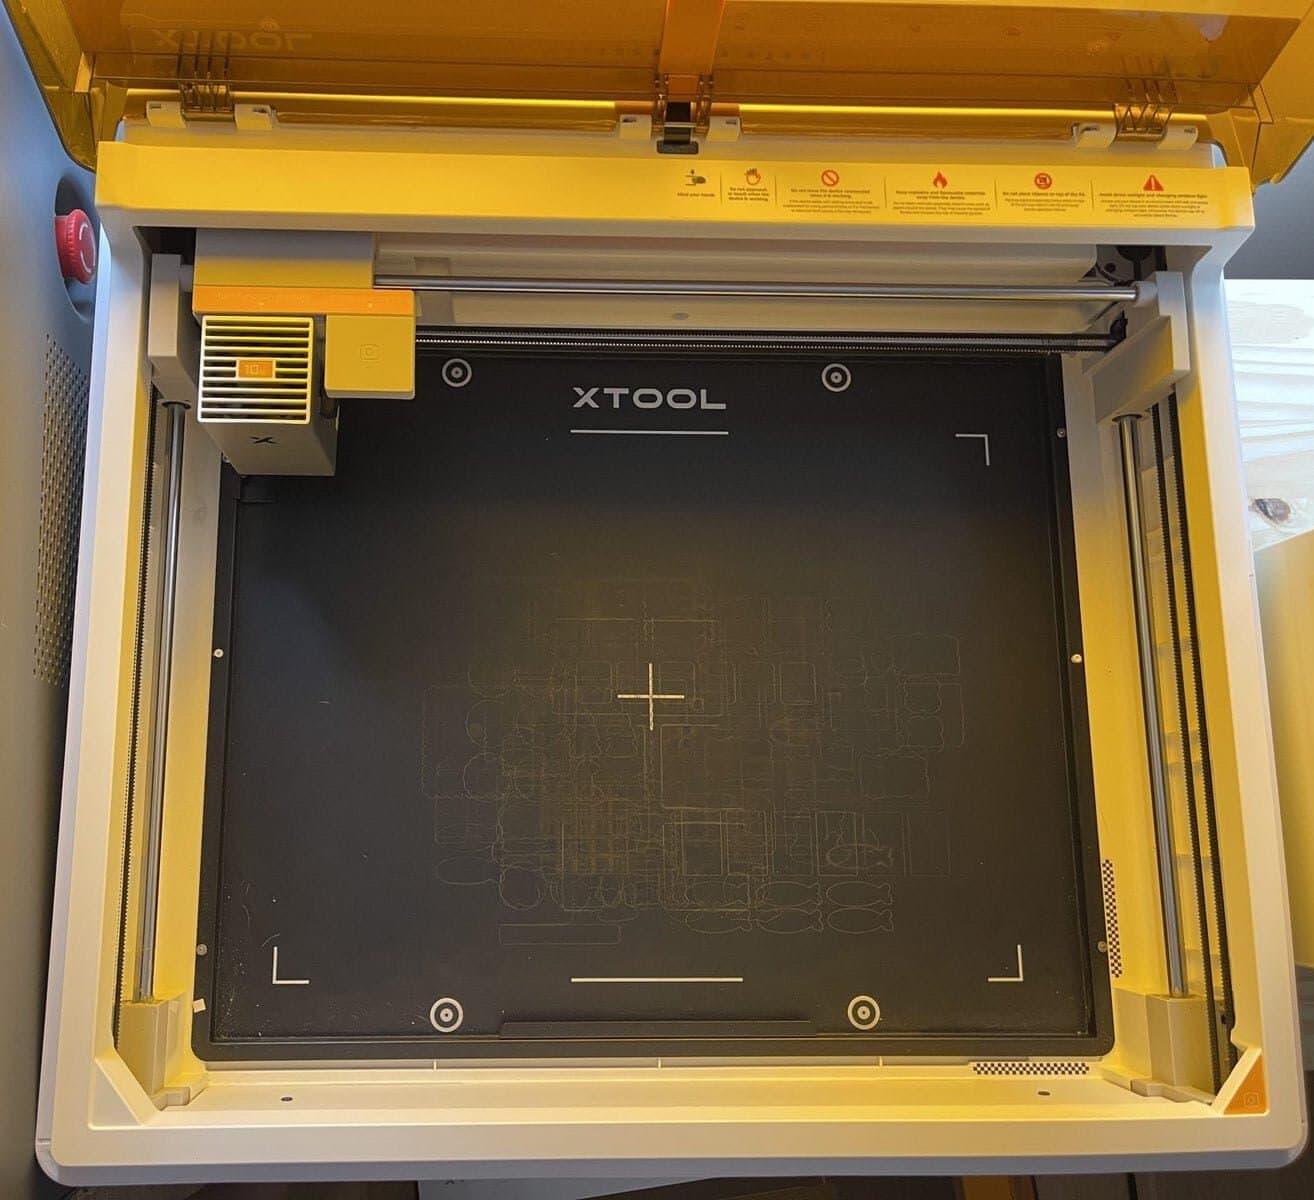
Open the lid and you’ll see concentric circle targets dotted around the baseplate, along with corner brackets and cross marks. Those are the cameras’ reference points. The whole place-it-anywhere workflow is built on the machine being able to see these spots, which means anything you lay across the bed has to leave them uncovered. And with roughly an inch of clearance, a honeycomb would eat up most of your Z height before you’ve put material on top of it.
Officially, there’s no riser and no honeycomb (yet), and xTool’s official line on that has changed. On their own subreddit in May, their support account said honeycomb panels were planned. Asked again in August, the same account said there are currently no plans. Elsewhere they mention something called a “knife strip plate” with no launch date attached, which sounds like a slat bed and might eventually be the answer we are looking for.
One M2 user reports that a Creality A1 honeycomb fits and clears the camera marks. That’s the most useful tip I found. Aluminium foil comes up constantly, with xTool warning against it for beam bounce-back.
This is about more than just a scuffed plate. A honeycomb improves airflow, absorbs back-reflections, and gives you something to add hold-down fixtures to. The M2 does come with magnets, but the other aspects are open questions for now.
Some enterprising third party has come up with a 3D printed riser that lifts the whole machine and gets you several inches of clearance. I’m not going to point you at it or tell you to buy one because I haven’t tested it. I mention it only because the fact that somebody built it tells you there’s demand.
One more thing on the price if you are not in America. xTool charge the same number in both currencies, £599 here and $599 there, 99 for ink either side just switch the symbol. Some of that is VAT, since our price includes it and the American one does not. Take the VAT off and we are still paying around 13% more for the same machine, and buying from the US store to dodge it would not work once import and shipping get added. Not unique to xTool, but worth knowing the price you hear from an American YouTuber is definitely not the price.
None of that makes the M2 bad value. It’s still a great machine for the money. But “from £599” and “working setup for £599” are not the same things, and I’d rather you heard it now than from your own wallet later.
The M2’s Stickiest Challenge
Back to that open “print and cut” issue I mentioned right at the top.
Stickers are the job most people would buy a print-and-cut machine for. I had hoped this was an immediate knocked out of the park situation, but it is more nuanced than that.
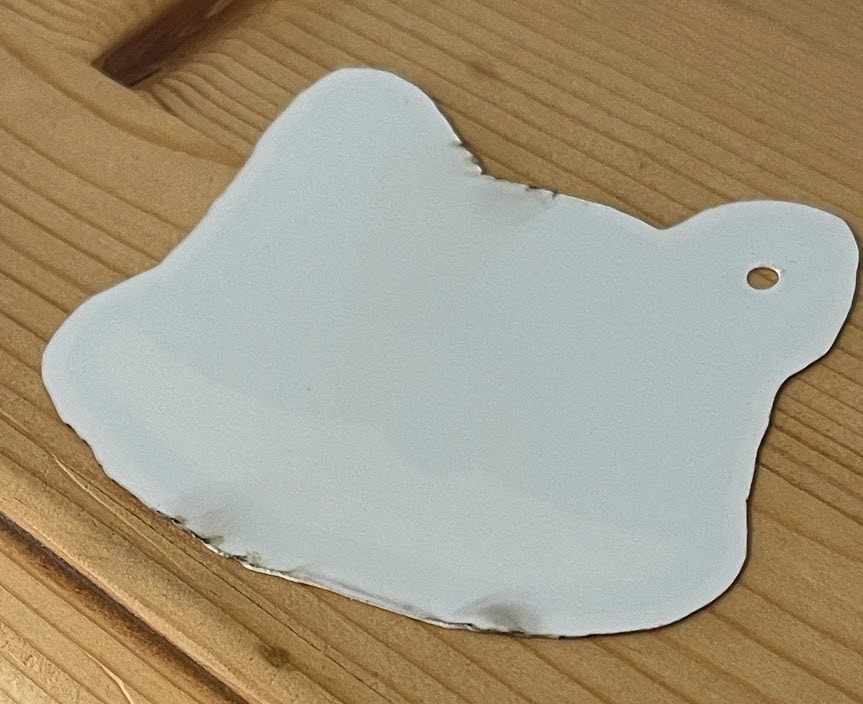
Most sticker vinyl is PVC, and you must never put PVC in a laser. It gives off toxic and corrosive fumes, which is bad for your lungs and to the machine you just spent £599 on. xTool say so themselves. On the other hand, a replaceable cutting blade doesn’t care. Every Cricut/Silhouette cuts the stuff happily. Check every product material sheet, and if you can’t confidently determine what it’s made of, don’t cut it with a laser.
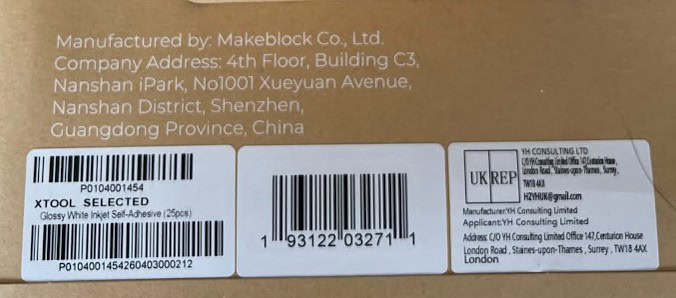
Laser-safe stock does exist, xTool sells it, and you can find it online (mostly PET-based), but it’s way more expensive and more limited in options.
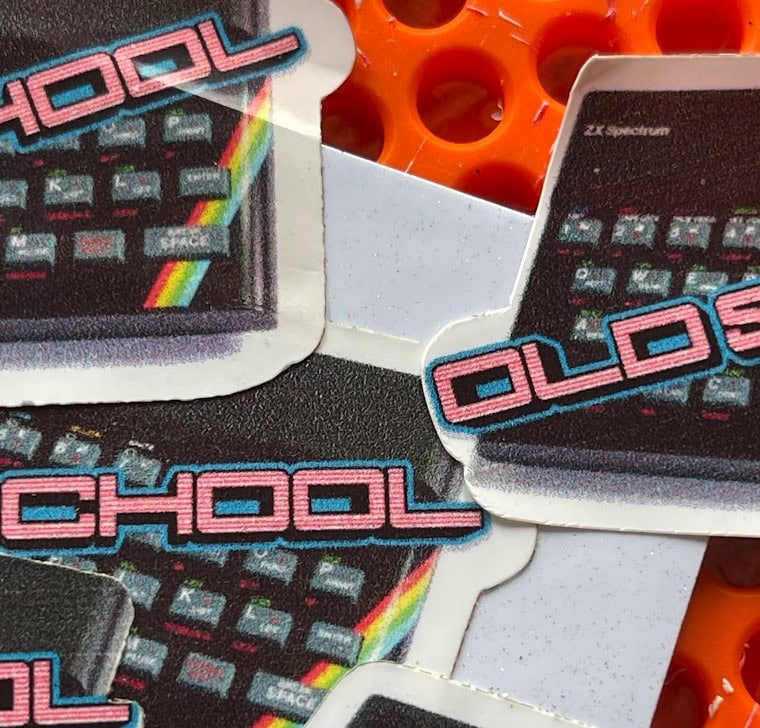
The second reason is that lasers burn. For stickers we need to cut the face and not the liner, and with the blue diode laser, no matter what we try, we get char. How much char is contested. One reviewer says he saw none at all on paper or wood, other channels say theirs chars every time. We got char using xTool settings on xTool sticky paper and also using settings from the Facebook community. I would love to be proven wrong.
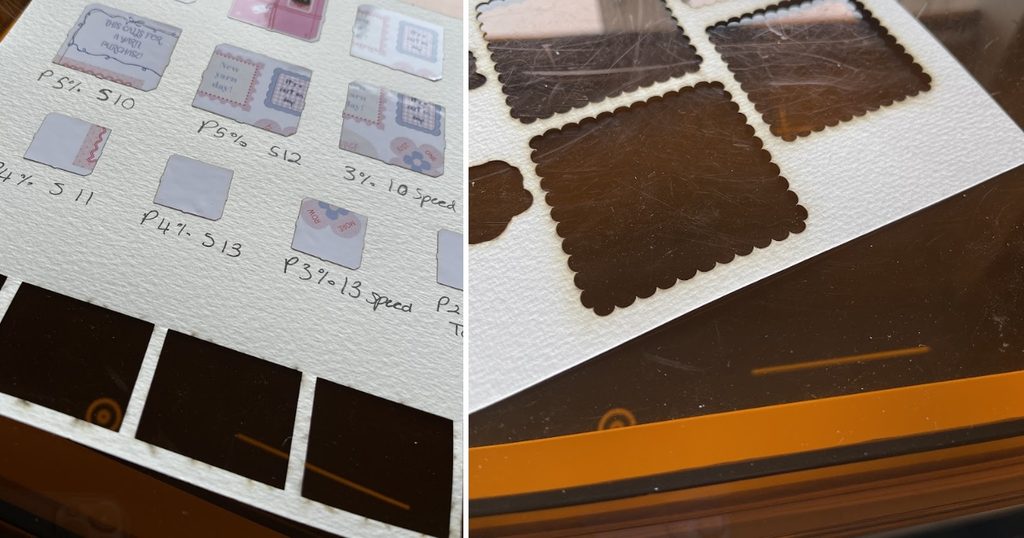
So if stickers are the only reason you’re buying, this is something to be very aware of.
My advice right now:
Printing and laser cutting are things that only the M2 does well. Full colour printing then cutting is the M2’s jam. Wooden name puzzles, cake toppers, gift tags, plant labels, layered signs. That’s hard to do efficiently any other way, and it’s the thing the M2 is truly good at.
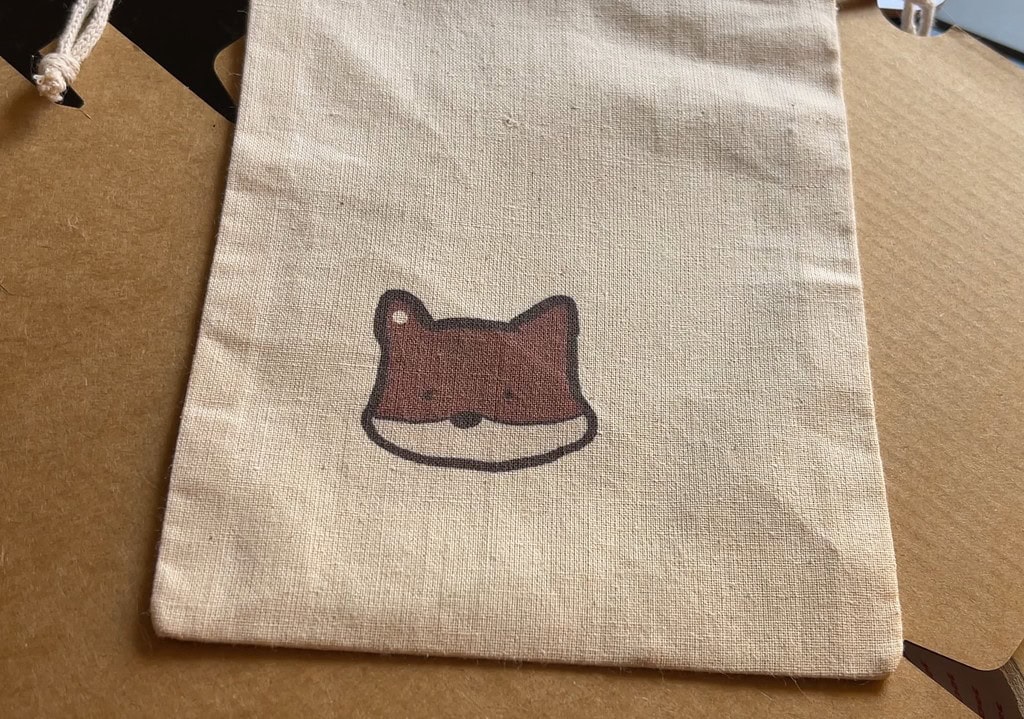
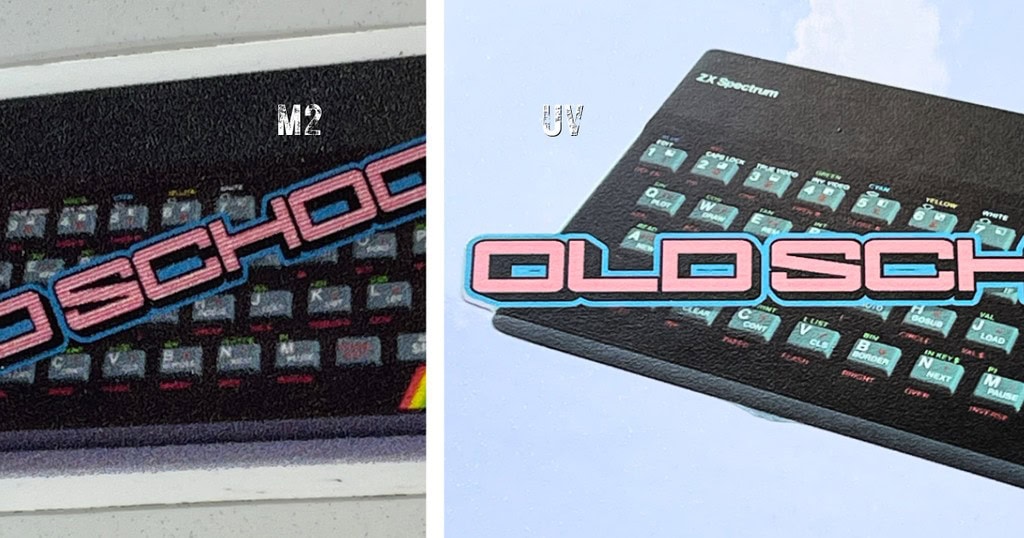
Stickers and decals: Work with the black edge or cut with a blade. Inkjet ink is flexible whereas typical UV white is stiff/brittle, so the M2 ink wins for stickers, and it can laser cut if you design in a dark border, don’t mind a little char, or can find settings that work better than I could.
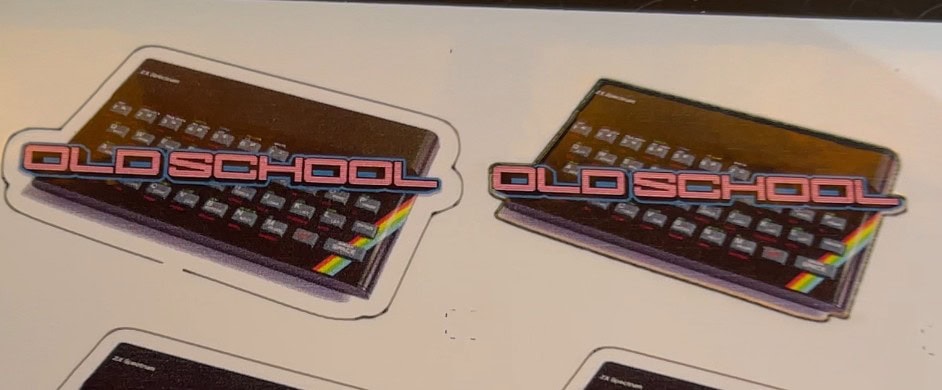
Cheap or holographic etc stickers: A blade kiss cuts cleanly even on cheap PVC that a laser can’t safely go near so we print on the M2 and still cut on the M1.
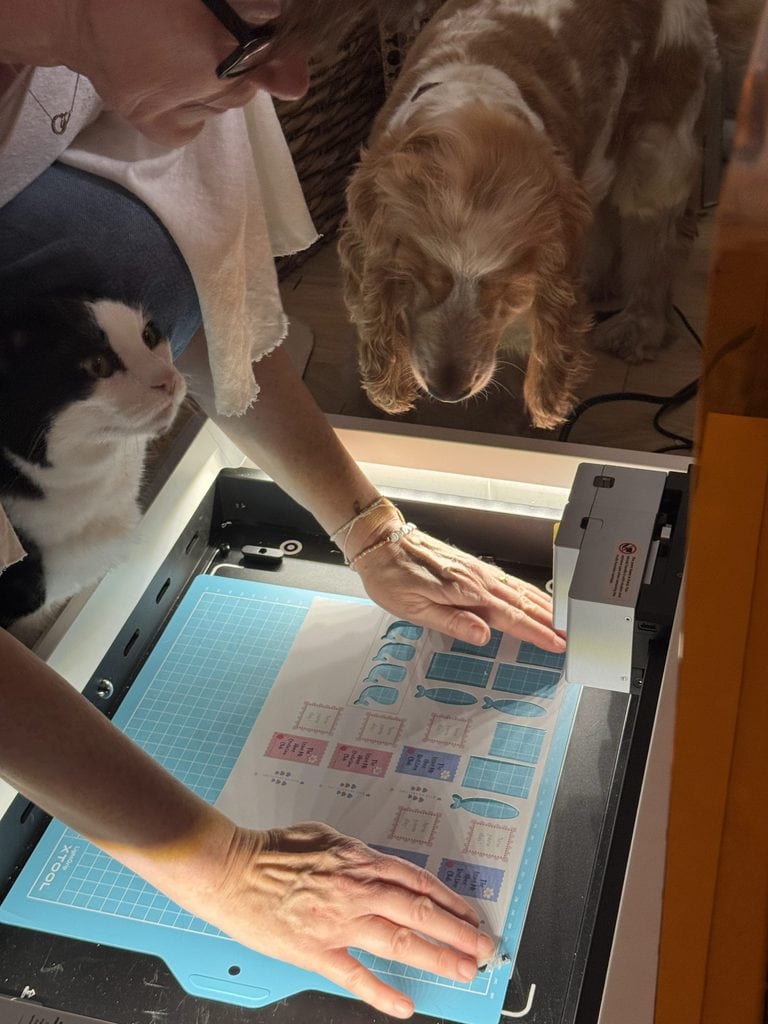
Dark, hard or non-porous goods require a white undercoat. No white layer means no printing on anything dark, glass, metal or ceramic. I’ve got a UV printer and there’s no contest on that class of work. Note that xTool also has their UV printer on the way. Never laser cut UV-printed materials, under any circumstances, though.
xTool M2 Printer and Laser Cutter Review Conclusion
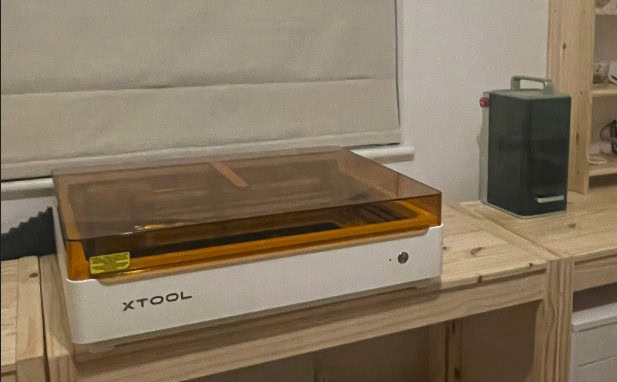
A couple of grumbles aside I recommend this laser. It’s great for beginners or someone looking for a compact, capable (with huge future potential) machine for home office or studio. Compared to other lasers, even xTool’s own, it’s very well priced too!
Where to get one: xTool sell it direct (their store).
(Those are affiliate links, so I get a small commission at no extra cost to you)
Pros and Cons
What’s good
- £599 entry price is even less than the machine it replaces.
- The cameras: Put material in and close the lid. Boom.
- CMYK printing with actual black in it, night and day compared with the M1.
- Wifi, so it doesn’t have to live next to the computer.
- xTool Studio is free, great to use, and keeps getting better.
- Module swaps literally take seconds, thanks to the magnetic mount.
- Enclosed and air-assisted as standard, both of which I paid extra for on the D1 Pro.
What could be improved
- xTool spray isn’t available outside the USA so you can’t really print on all the advertised materials.
- Limited Z height. No riser, and no honeycomb.
- No blade or pen modes and M1 accessories won’t fit.
- Cartridges are expensive, aren’t refillable and there’s no third-party option.
- No LightBurn support.
I like this machine a lot more than the grumbles above might imply. The camera workflow is great, it’s quiet and small enough to live in a room with other people working in it. xTool’s software is free and genuinely good. Printing full colour onto plywood and then cutting it out so easily and elegantly is a unique party trick.
But buy it for what it’s actually good at. If you want printed sheet goods, puzzles, toppers, tags, layered signs, it’s the only real option in the category and I’d recommend it without hesitating. Add a honeycomb and sort your fume extraction situation out for best results.
For now, if you want to cut stickers or vinyl, keep a blade machine, because the laser still needs some settings dialling in and the laser-safe stock is expensive.
Want to print on dark? You’d need white ink, and no amount of clever camera AI substitutes for that.
If you’re buying it purely as a laser and treating the ink as a bonus, that’s a perfectly sensible way to look at it and the maths does work out: Enclosed, air assist included, camera alignment, £599 ($599). I paid extra for two of those on my first xTool and I’d make the trade again.
If you’re coming from an M1 Ultra, see what you would miss before you order. You gain cameras, black ink and convenience. You lose blade mode, pen mode and every accessory you own. That may still be worth it, but it’s not all upgrade.
And if thicker materials are anywhere in your future, buy the 20W. The 10W could do a lot, but slower, and probably with a scorched edge that you’ll be sanding.
I am still working on getting a clean sticker cut out of this machine, and there are more M2 projects on the bench. If you want those when they arrive, join the newsletter or subscribe on YouTube.
Check out the xTool M2
Get all the specifications and today’s price at xTool

 EufyMake E1 Review: Easy, Fun, Profitable UV “2.5D” Printer