

Like many fiber lasers, the ComMarker B6 60W MOPA is a compact, versatile engraving tool, capable of engraving and even cutting soft metals, and with extreme accuracy.
ComMarker loaned me the machine so I could try it out, share my experience and gain some insights into its capabilities, but they had no say in what I said or how.
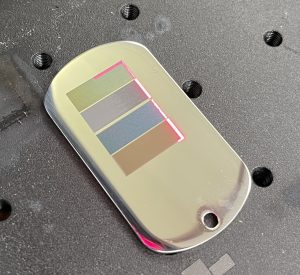
What makes this machine different from my other fiber lasers is it is a MOPA unit, which means it has a party trick of being able to engrave to produce colour, as we will see later.
What is a MOPA Laser?
MOPA lasers (“Master Oscillator Power Amplifier”) are a type of fiber laser designed for total control over all the laser settings, making them ideal for specialized engraving and marking applications.
By allowing you to adjust pulse frequency, pulse width, speed, and power, you have extra control over the output and the ability to create different effects.
Why Choose a MOPA Laser Over a Fiber Laser?
MOPA lasers are better suited to certain tasks, including:
- Color Marking on Stainless Steel: MOPA lasers can produce color engravings on stainless steel, making them popular for decorative and branding purposes.
- Delicate Material Engraving: With absolute control over laser parameters, they are suited for working on sensitive materials that require precision without the risk of causing damage.
- Custom Laser Parameter Applications: They excel in industries where specific laser settings are required for achieving good results such as electronics, medical applications, and fine jewelry.
ComMarker B6 Overview
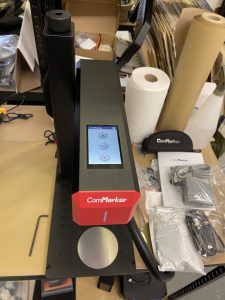
The ComMarker B6 is a fiber laser that features automatic focus, high speeds, and Lightburn support.
Rather than employing a camera, it has a red dot and framing for positioning items on the 150x150mm bed.
ComMarker has other laser power options, and there are both MOPA and non-MOPA versions.
The specific laser I got to try is the 60W MOPA, which is a huge step up in power from my 20W xTool F1 Ultra, which I very much enjoy, but there is also a popular 30W machine that some of the other reviews out there cover.
Sadly, while it does have autofocus, you have to press a touch-screen button to activate it, which means unlike the F1 it cannot step down the Z during passes. My advice to ComMarker would be to make that improvement to the Z and it would open up many opportunities.
Another minus versus the F1 is the lack of enclosure or fume extraction on the ComMarker product. They do provide safety glasses for your eyes, but I would recommend not using this in an enclosed space shared with other people. A premium, enclosed version would make all the difference and offer a wider market of customers, such as maker spaces or even schools.
This makes it a little underpowered and unsafe to perform all the tricks that you will have seen on YouTube, but it is still a highly efficient and user-friendly option for anyone looking to expand their engraving capabilities into soft metals.
ComMarker B6 User Experience
I’ve used and enjoyed many diode and CO2 lasers over the years to engrave materials like wood, acrylic, and MDF.
When working with metals, diode and CO2 lasers aren’t ideal, even though IR lasers can mark metal, so it wasn’t until I got my xTool F1 and then F1 Ultra that I was truly able to include those materials into my workflow.
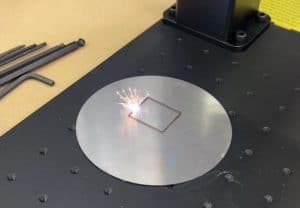
That said, even the Ultra maxes out at 20W, so having the opportunity to get another bump up of power, plus the additional MOPA control was quite exciting.
What’s Included
The ComMarker B6 comes with the laser unit and base, cables, USB-C adapters, allen keys, SanDisk USB memory stick, foot pedal, and nicely organised and labeled bags of screws.
As mentioned earlier, you do get some safety glasses, but only one pair so ensure you are alone when firing up the laser.
Worryingly you do not get any metal barrier between the laser bed and whatever is beneath, so as it is full of holes you will damage whatever surface you place it on, including if that surface is the control box of the laser!
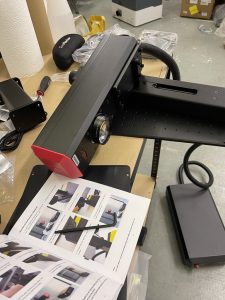
Assembly is quick and easy with just a few screws:
- Mount the support bracket to the gantry.
- Attach the laser unit to the gantry.
- Attach the cables.
(Use the lens cap during assembly to protect the optics)
The ComMarker B6 is built well and the metal components feel sturdy and well-machined, but I did feel some lateral wobble as the laser head is only attached at one point.
As the machine is Lightburn compatible, and I already have bought a license, that is what I used.
My only real problem was a bad USB cable that lost me a lot of precious time fault finding with software and drivers. Always check the USB cable actually works!
Testing the ComMarker B6
As I knew I was on a deadline, I spent about a week running various tests that would highlight its unique capabilities.
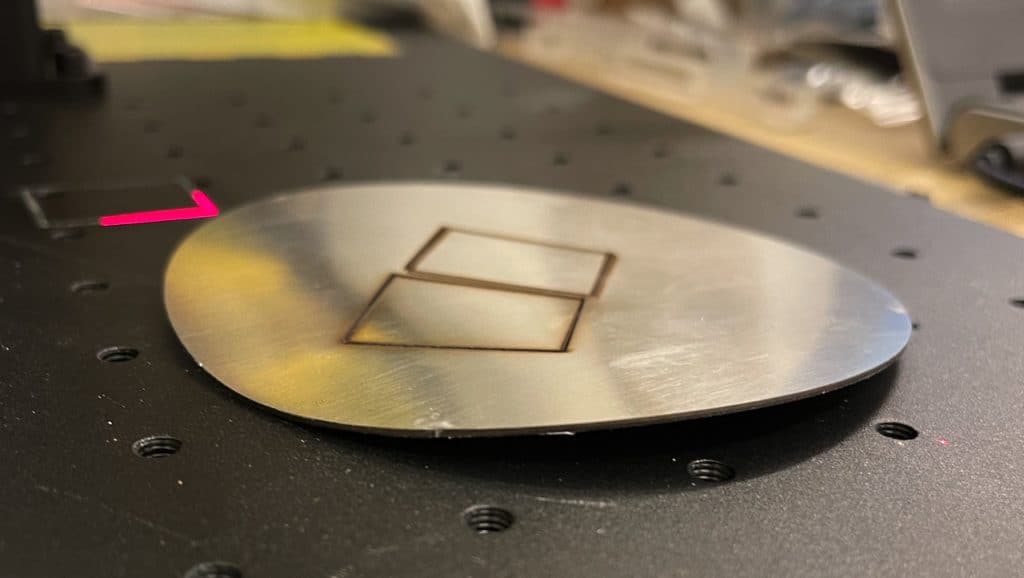
First I tested the laser on a piece of steel that was included in the box. The result was a deep, dark engraving, but as I tested more it warped the material due to heat.
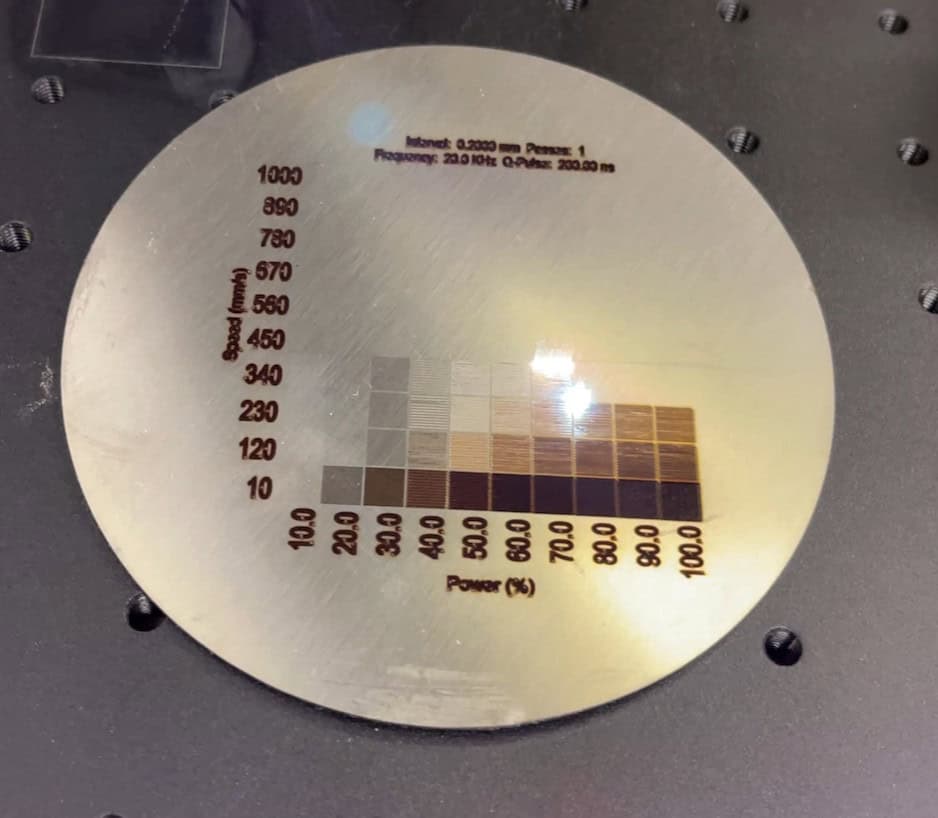
To get a better idea of the engraving sweet spot, I ran the usual material test grid for different combinations of speed and power.
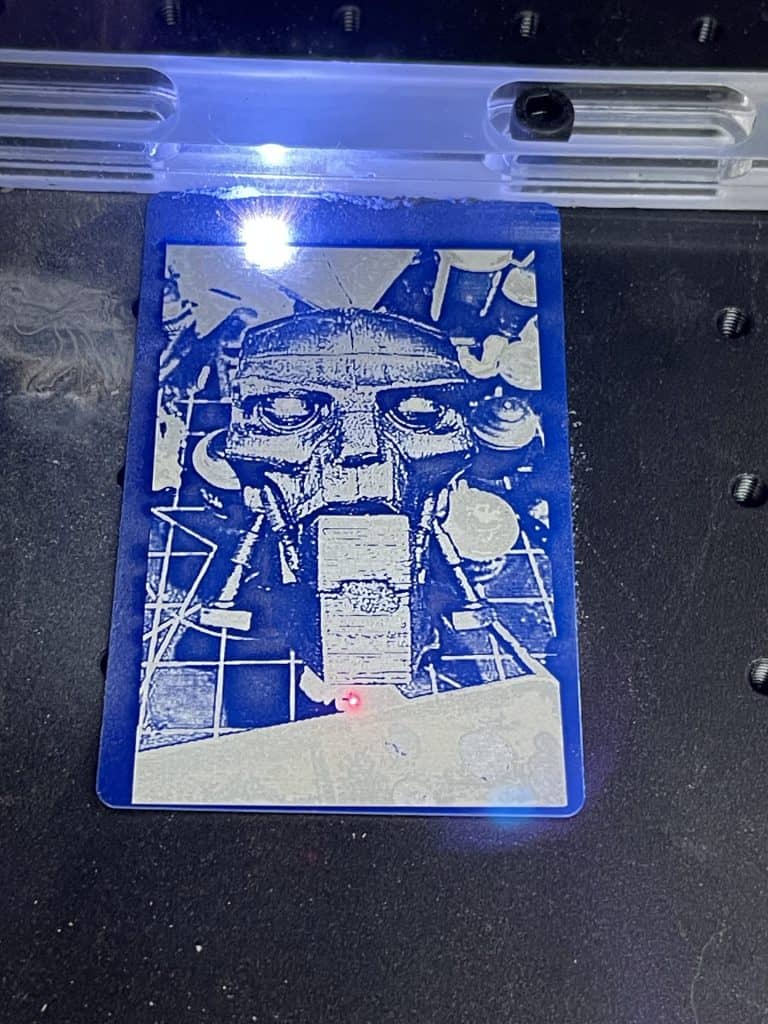
The B6 produced nicely engraved images that are high contrast and sharp onto the metal business cards.
It was even able to cut through with multiple passes.
These cuts do not fall out, in fact, the cut pieces need some persuasion with pliers to remove them. Cut-out shapes also have sharp edges, so I would need more experimentation time if I was working on a real product.
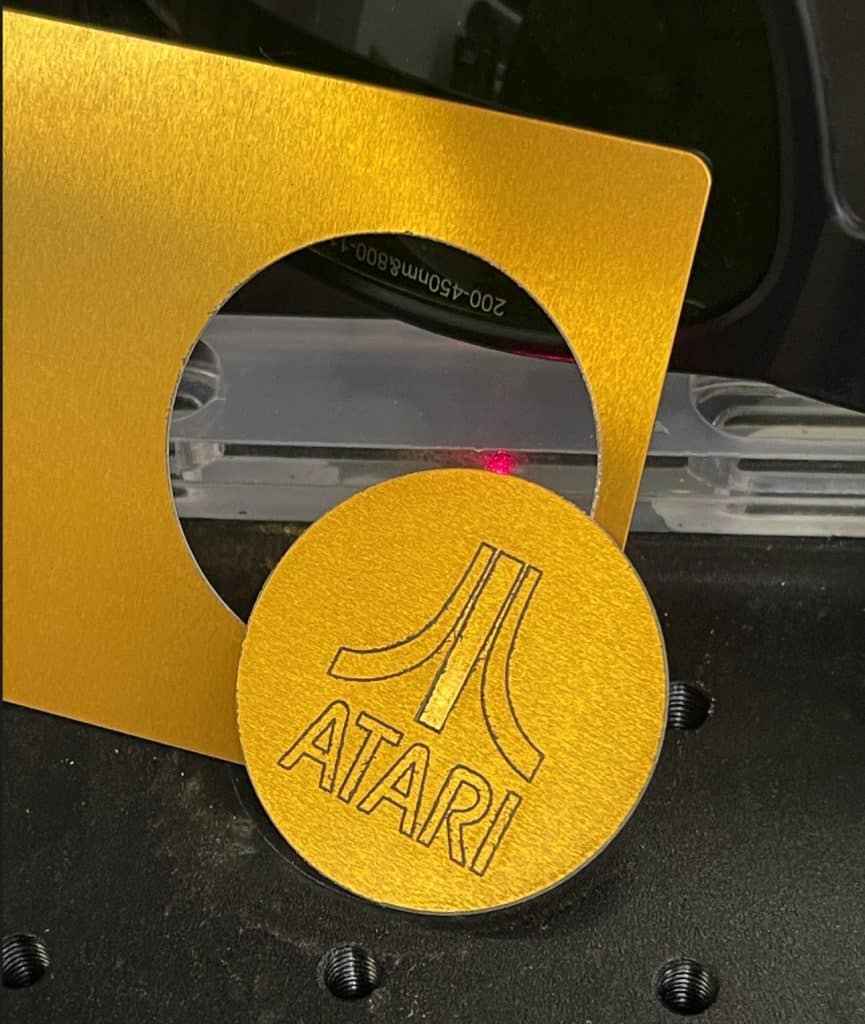
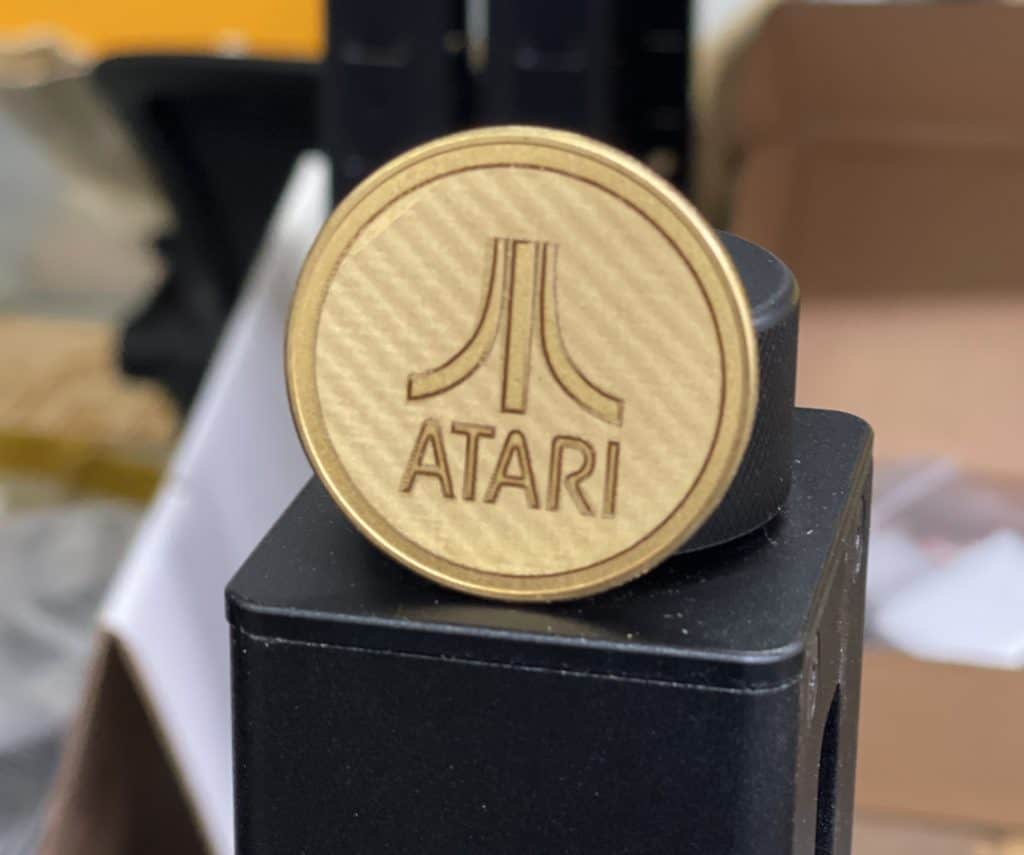
The brass coin was one of the most satisfying projects. The laser created a good engrave depth by running multiple passes, and then doing a final clean-up pass with different settings.
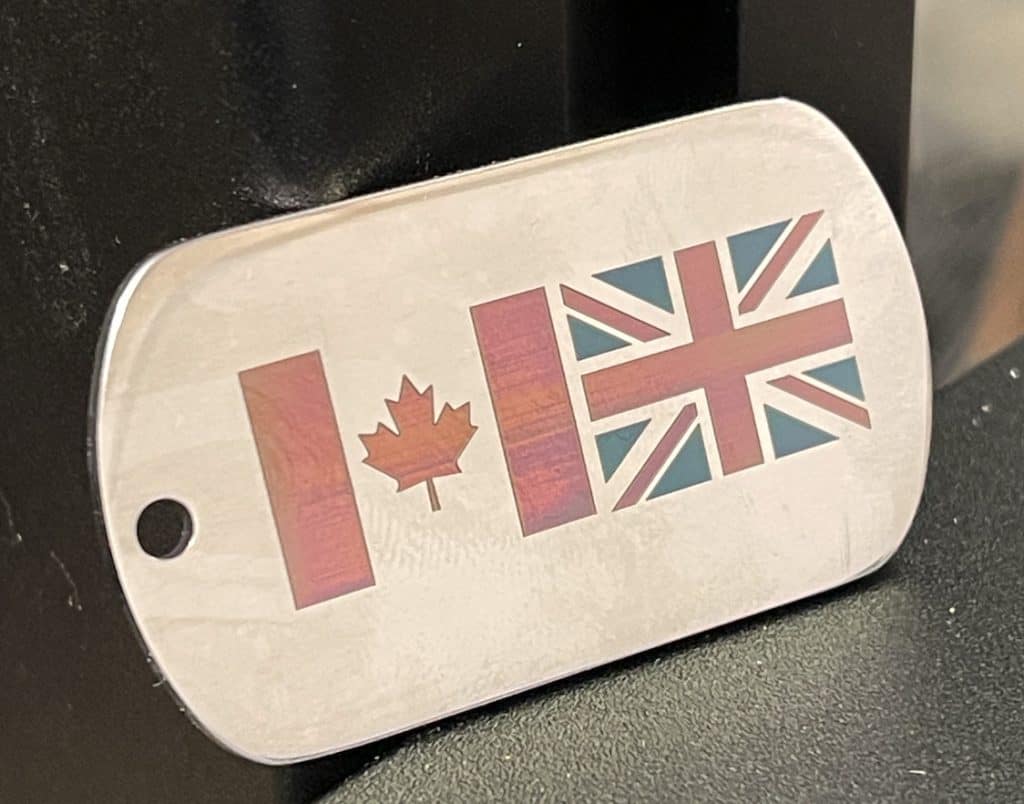
The MVP of the set is my coloured dog tag featuring my flags. This took a lot of experimentation and wasted material, but I definitely did a fist bump when I saw the result.
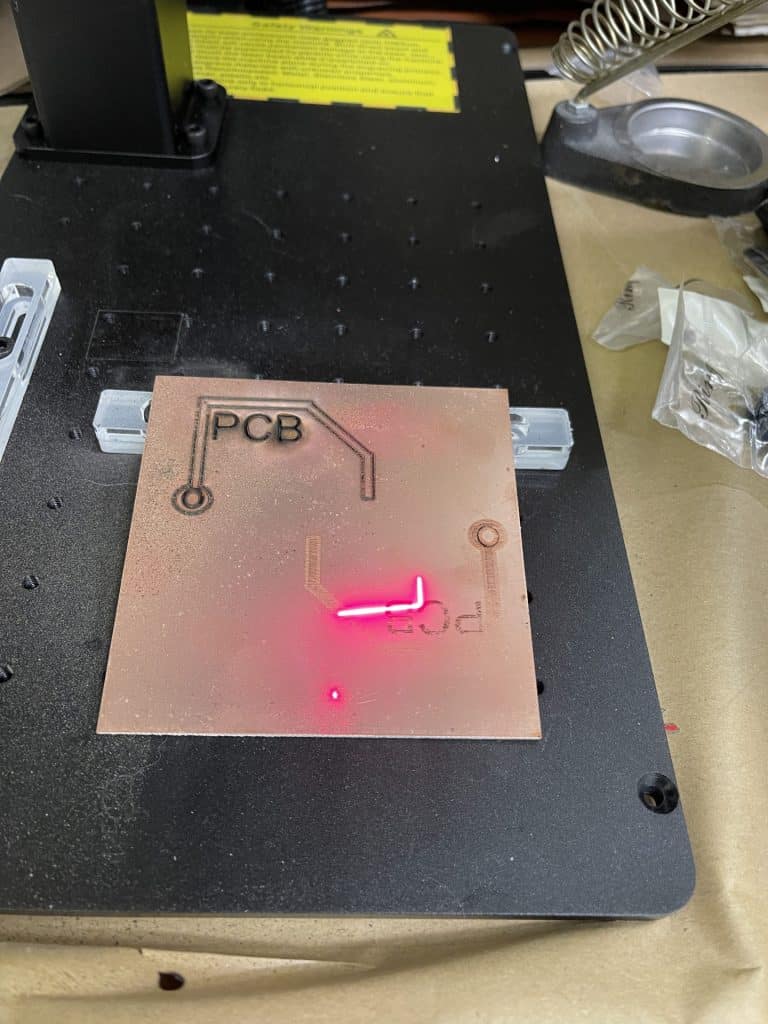
I got some great advice from Stephen Hawes on Bluesky about making PCBs. This makes me think I will be able to get it not just working but working extremely well – watch this space!
ComMarker B6 Review Conclusion
The ComMarker B6 is a handy and versatile fiber laser that bridges the gap for anyone looking to engrave metals, hard plastics, or other challenging materials. With the MOPA features and higher power laser, combined with good build quality, precision, and speed, it’s an excellent option for both beginners and experienced engravers.
My main words of caution are that you should add an enclosure and fume extraction to make it more safe to use around other people.
If you have the budget, definitely consider the 60W MOPA for the great bump up in engraving and cutting power, plus the fine control.


