
xTool is offering a trade-in offer on their new F1 Ultra, where you can save $200.
I got early access to one of the beta units and I have had a great time playing with it.
Let’s look at this new laser engraver, its unique features, the setup process, and what it can do.
Introducing xTool F1 Ultra
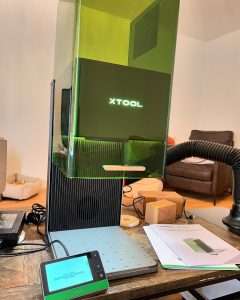
Here is the official announcement, right from xTool:
xTool F1 Ultra is the world’s first 20W fiber & 20W diode galvo dual laser. With this dual laser system, it can process almost all materials, like wood, acrylic, leather, all-metals, and plastic.
Because both lasers have 20W power, F1 Ultra can not only engrave and cut, but also perform deep engraving on metals, 3D emboss on wood and metals, and even cut thin metal pieces.
F1 Ultra has the largest working area among desktop galvo lasers, while still maintaining a compact size
Now, when they say it is compact, it is, but not in the dinky way the regular F1 is. That guy you can throw in a hockey bag and you are good to go, this is more substantial (total size 273 mm x 373 mm x 492 mm, weight 14.7kg) and while you can carry it, you won’t want to lug it around very far!
Ultra Versus xTool F1 In Brief
The F1 Ultra is an upgrade from the original F1 in two key ways:
- A larger workspace at 220mm x 220mm x 150mm (or 220mm * 500mm with the optional conveyor!).
- More power – The xTool F1 Ultra has a 20W 455nm blue light diode laser versus the F1 10W plus now a 20W 1064nm infrared fiber galvo laser versus the F1 2W. This means the F1 Ultra is better able to cut metals or produce deeper engraves.
It’s fast, precise, and powerful due to these more powerful lasers and the galvanometer motion system.
Features and Specs of the xTool F1 Ultra
- Combines a blue 20W laser and a 20W infrared fiber laser, allowing it to engrave materials like plastic, wood, leather, paper, and metal.
- Fully enclosed and ventilated for safety and comfort.
- Usable work area is 220x220mm, expandable to 220x500mm.
- Allows work on curved surfaces up to 45°.
- Both camera and framing for positioning.
- Autofocus and manual focus options.
- Ability to automatically orient the design to fit the material for intelligent positioning and batch engraving.
- Connect using USB or Wifi
Unboxing the F1 Ultra
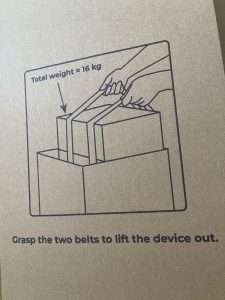
The xTool F1 Ultra arrives in impressive packaging, ensuring the machine and its components are well-protected. As usual, the machine is expertly cushioned with cut-out foam and everything is wrapped in plastic film.
Inside the box, you will find:
- Material sample pack
- Instruction manual
- Slide panel for through cuts
- Power supply and cable
- Exhaust hose
- Accessories (Screwdriver, lens cleaning cloth, USB cable, USB lockout keys, and a material positioning bracket)

Accessories are stored within the machine and can be accessed by removing tape and sliding out the cool foam drawers. I love these!
The touchscreen controller, a neat new addition, is packaged separately.

I also received a button, filter/fume extractor, conveyor belt (!) and pedal switch, which I will look at in a future article. You can also get a rotary as an optional add-on accessory.
All these accessories make it a wonderful addition to a crafting or maker business turning out batches of products.
xTool F1 Ultra Setup and Configuration
Setting up the F1 Ultra is straightforward with no assembly required.
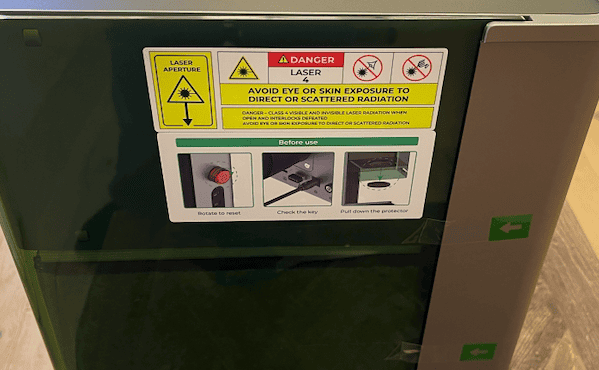
You just need to:
- Take off the tape tabs.
- Connect the USB lockout key, power supply, and USB cable for initial setup (can connect via Wifi afterwards).
- Attach the touchscreen controller.

- Connect the exhaust port.
- Remove the lens cover

- Turn on the machine (ensuring to release the emergency stop button).

xTool F1 Ultra Projects: What Can it Do?
One of the first things I definitely wanted to see was how well it could engrave metal. The xTool F1 can mark metal very well at only 2W, so I was excited to try the big guy.
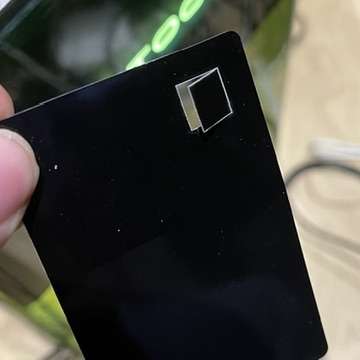
It cut through metal business cards effortlessly.
So next I tried a wax seal stamp. Worked wonderfully, apart from I forgot to mirror the design so we can’t use it for its intended purpose. Very finely detailed engrave though!
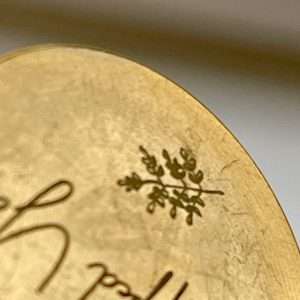
Marking tools is one possible use for this.

Then I went on to test engraving a coin that came in the example materials package, experimenting with IR speed and power.
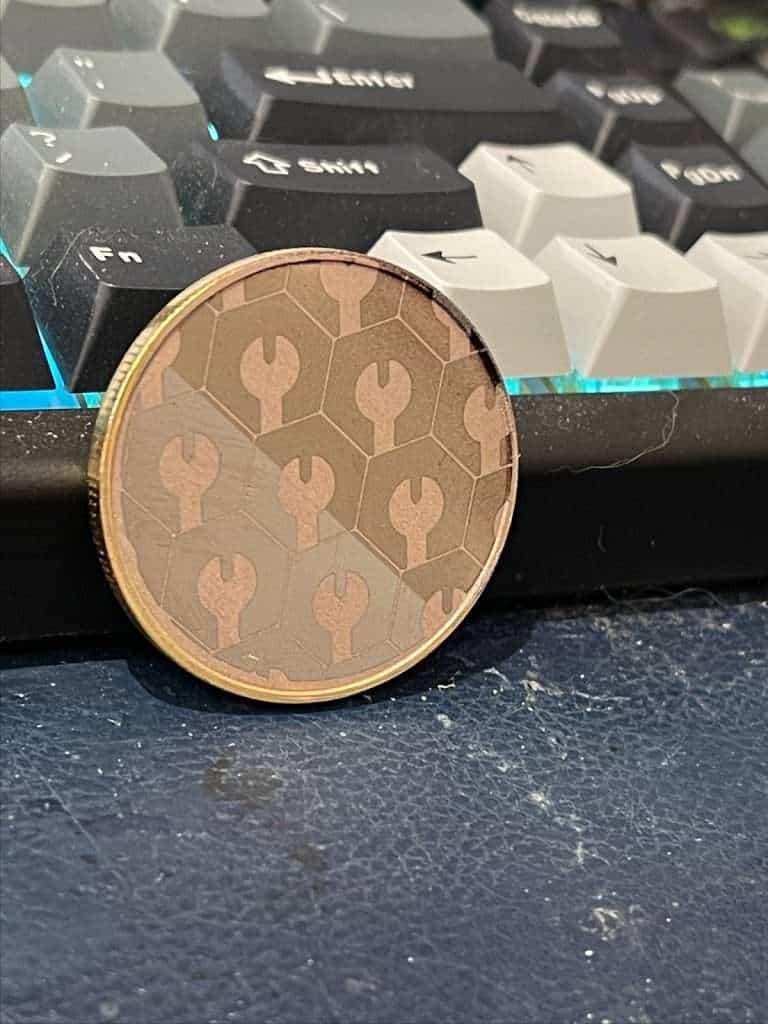

My alignment was a little off, I guess I need to calibrate again! Fortunately it is straightforward to do, just don’t rush it.
A slate coaster came out nicely …

Naturally I tested wood and the 20W blue laser had no problems at all with ¼ inch MDF and birch plywood.
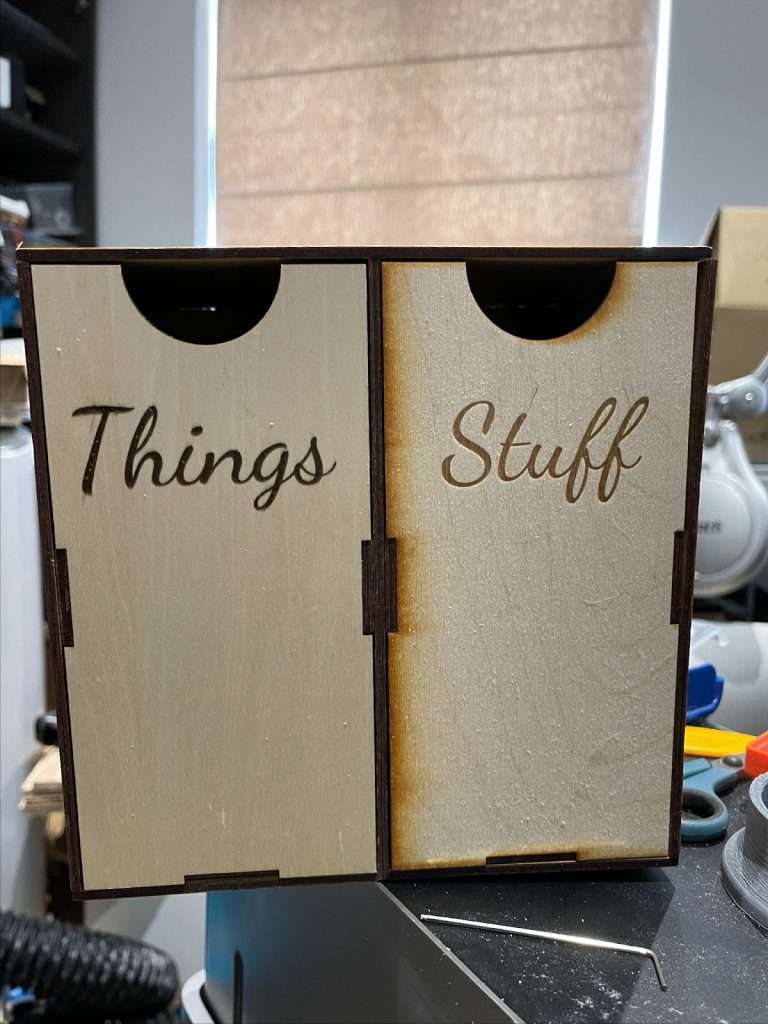
Having such a large Z height came in handy for this – I had made this previously, but decided to try adding some text. I didn’t need to take it apart, it just allowed me to focus.
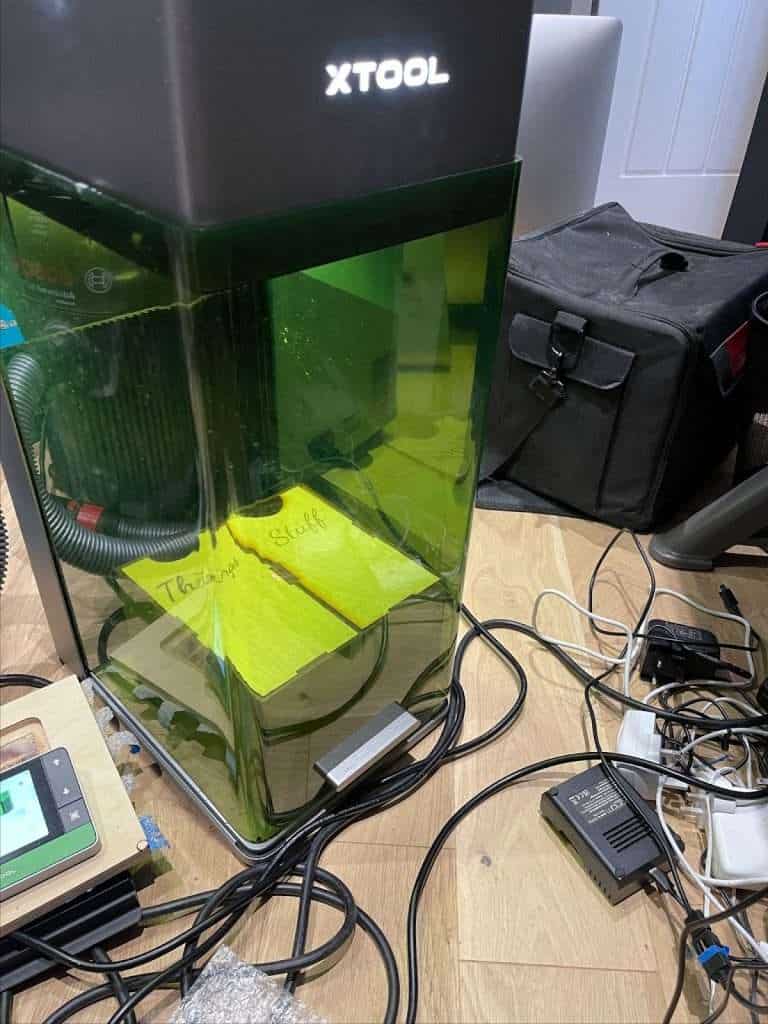
This keyring also came in the materials samples, I think it might be walnut?
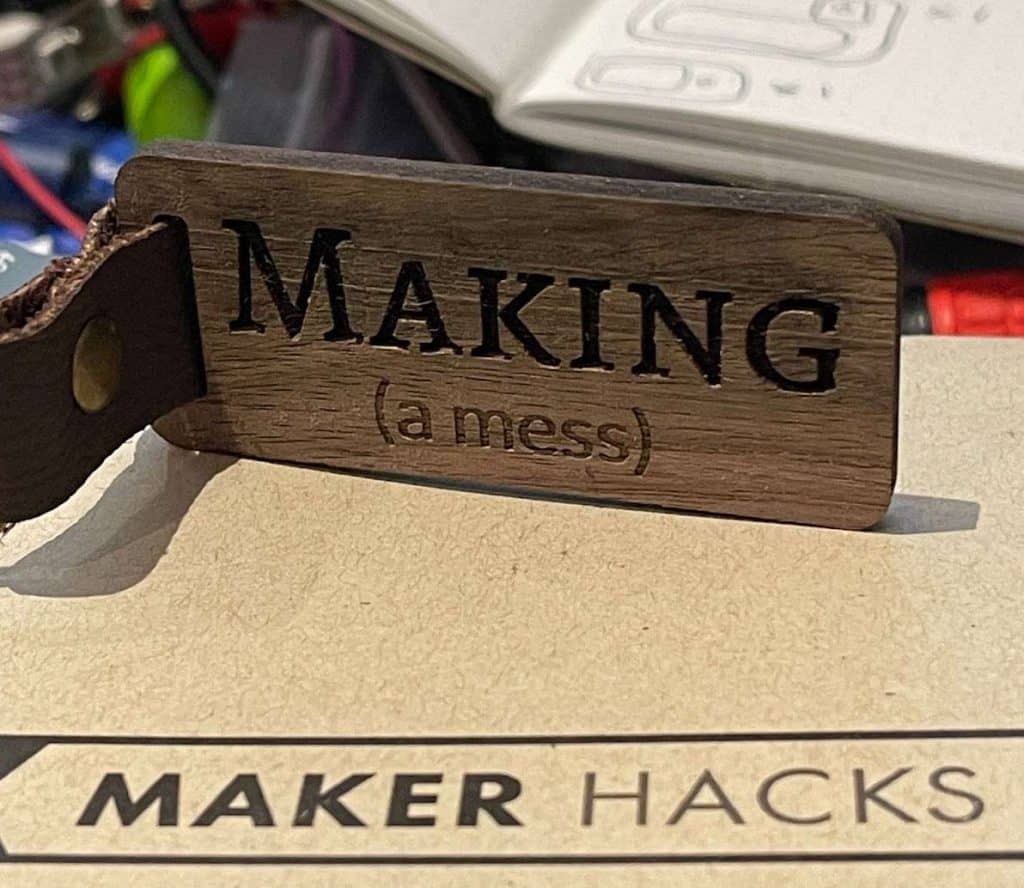
Anyway, I should have gone faster and done multiple passes I think because it was quite smokey but a quick clean with household cleaner got the gunk off and I think it came out ok.
xTool F1 Ultra Review: Conclusion
The xTool F1 Ultra is a cool and versatile laser engraver, perfect for personalisation or branding all kinds of materials and for tasks that you just can’t do on other machines.
It has standout features, including the world’s first dual laser configuration, and the innovative intelligent camera system.
That said, with all that high-tech, it is super user-friendly to setup and use.
It’s not cheap by any means so get on the xTool trade-up program to save an extra $200, making the final price $3799 at the time of writing.
This offer is open to anyone with a used laser machine or vinyl cutter of any brand, it’s the best way to get a discount on this amazing tool.


