
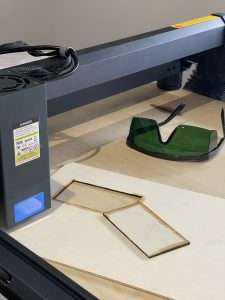
Today’s review is the Longer Laser B1 20W engraver, featuring 24W maximum power and a 450x440mm work area.
Longer sent me this laser to review, though of course they had no input into my article, findings, or recommendations.
Longer Laser B1 20W Review: Key Points
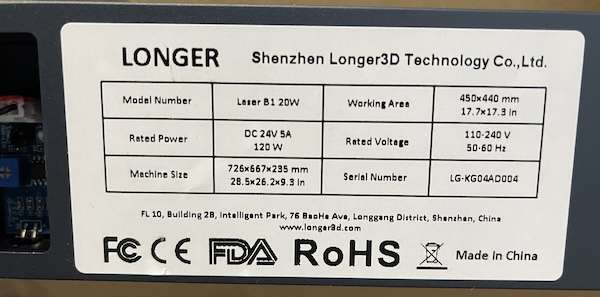
- Working Area: The B1 series laser stands out for its larger working area, measuring 450 x 440 millimeters. This spacious working area provides ample room for accommodating larger workpieces and executing more extensive engraving or cutting projects. For example, larger artwork or signage can be easily accommodated without the need for extensive repositioning, joining or resizing, enhancing overall workflow efficiency.
- Engraving Speeds: One of the standout features of the B1 series laser is its impressive engraving speeds, reaching up to 36,000 millimeters per minute. High-speed engraving capability is a significant advantage for users with demanding workloads or time-sensitive projects, enabling rapid completion of engraving tasks without compromising quality. We got consistent engraving speed across various materials, which would definitely translate into good project turnaround times and productivity.
- Longer B1 Assembly Experience: The assembly process for the B1 series laser is relatively straightforward, even given the scant documentation, and requires only minimal “IKEA level” technical expertise. That said, Longer would do well to work on both the clarity and the comprehensiveness of the provided instructions.
- Performance: Despite only having a 20W head, which is not really ideal for cutting, the B1 series laser’s cutting capabilities on various materials, including the maker’s go-to 3mm Baltic Birch plywood, was respectable. Cutting precision, speed, consistency, and quality of results are all fine, especially given the low investment cost. Given the lack of proper laser bead, the low-powered laser, and the good but not powerful air assist, you will experience over-burning, burn and staining on certain materials so masking tape is essential.
- Safety Features: The B1 series laser is equipped with a range of safety features, including a safety lock, e-stop button, flame detector, and tilt and motion sensor. Again, Longer should offer more detailed documentation regarding the safety features.
TL;DR
What is the Longer B1 Laser Like? Given the Longer B1 laser’s performance, price, functionality, and user experience, this is a worthy addition to the world of entry to medium level diode laser engravers. It’s not the cheapest, largest, or most powerful, but it is a great laser at a good price.
Packaging and Assembly
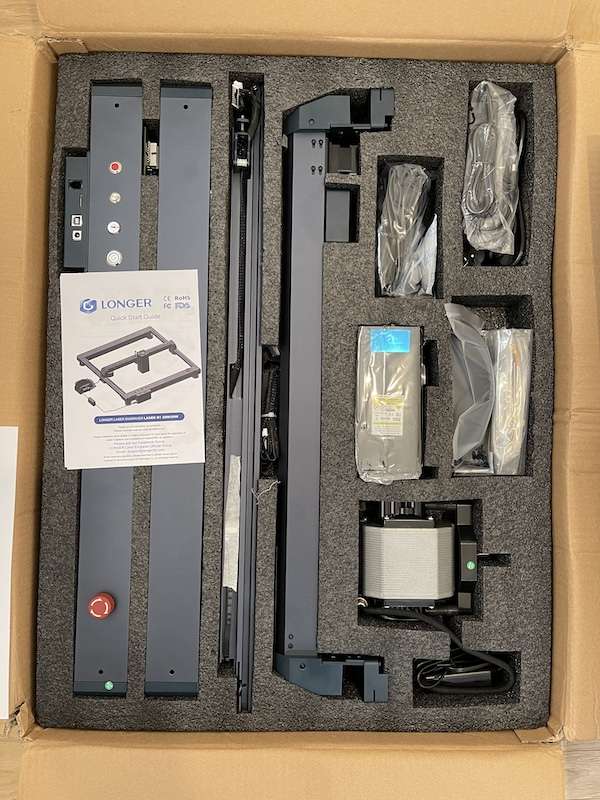
The Longer B1 laser, as is common with most of these open diode lasers, comes in a compact box and the frame ready to assemble in large sections.
It is very well packaged, and that is a good thing considering the wild ride this package took to get to me (eventually going through Germany of all places).
Even paying import duty, it is still a more premium-feeling kit than the price point would suggest.
The build instructions are reasonable enough, I managed to get the thing working with my meagre brain at least. I did have one goof, the Y axis data cable was hidden, tucked in a corner and masking taped down. This I share so you are forewarned and don’t spend minutes searching in the dark like I did!
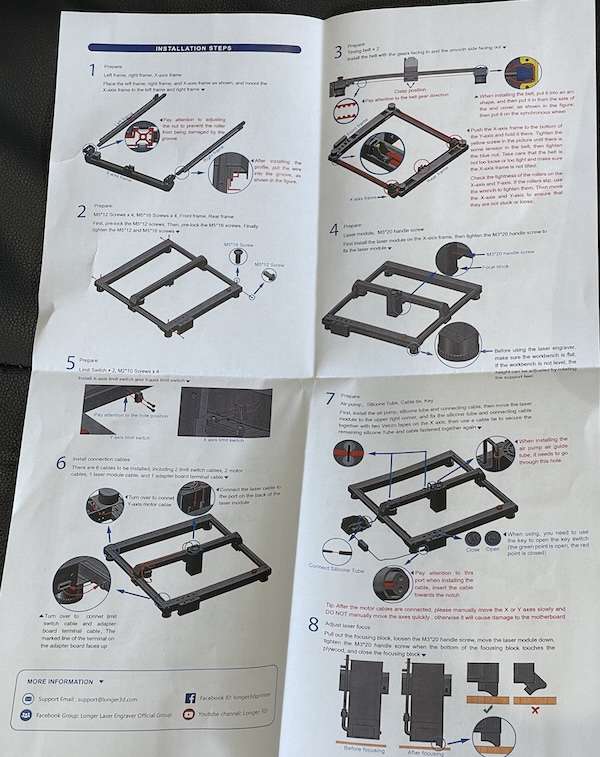
It would be great if the instructions did not end at the build stage and offered more information about the safety features and the software installation. They do provide a USB card reader and SD card apparently meant to contain useful files, but really this should not have been relied upon.
The website claims to have a document that includes example material settings but the link goes to the build instructions PDF instead.
Get the full specs and pricing at the official website
Longer Software
With the Longer B1 you need to use Lightburn. This is a great piece of software, and is pretty much industry standard at this point, though it does have a learning curve like any powerful tool and it does not have a profile especially for the Longer B1 20W laser.
Unlike the excellent and well-polished X-Tool ecosystem, Longer do not seem to have any easy to get started with software of their own.
This is a shame because in some ways the X-Tool Creative Space software is superior to Lightburn, and not just because it is free (for example, gets compatibility and features before the Lightburn developers get around to implement them).
Engraving and Cutting with the Longer B1 Laser
The Longer B1 laser uses the manual focus method, which is fine, especially at the price point, but it does mean your material must be extremely flat. Get some hold downs or strong tape to make this as straightforward as possible.
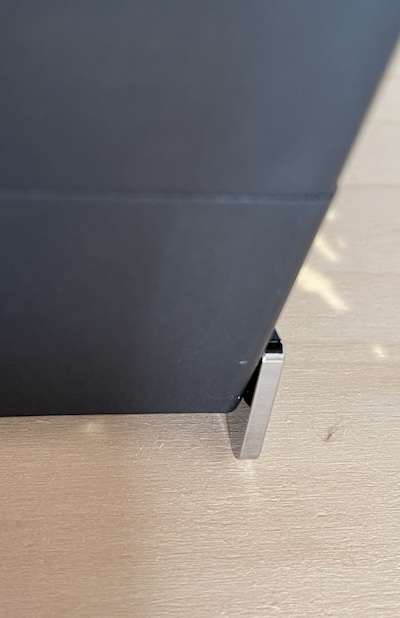
You are going to also need to buy a proper laser surface to cut and engrave on. In the package there is nothing provided for this, not even a thin sheet of metal. Without a proper laser bed you are going to get burns, stains, and sticky residue.
Keep in mind also that this is a reasonably lower-powered laser – though at 24W is a great deal more powerful than a lot of the competition – so you will be running at slower speeds or making multiple passes.
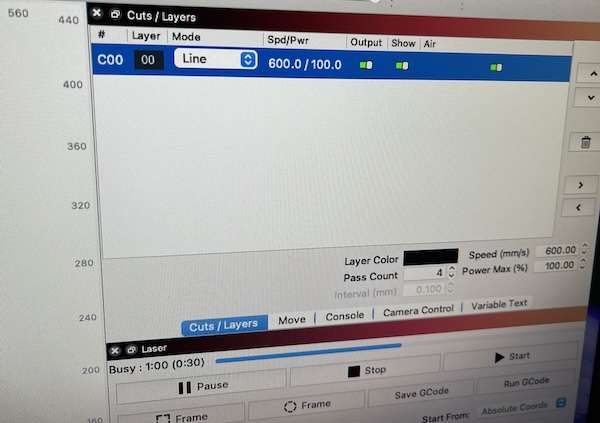
The air-assist does help and is a welcome inclusion. Some low-medium tack masking tape will help a lot to get good, clean results, if you mask both sides of your materials.

There is nothing to help with evacuating fumes and smoke, so make sure you have a window open and a fan blowing at the very least, and you might consider purchasing or building an enclosure or wearing a mask for long, smelly jobs.
As an engraver, the Longer B1 absolutely shines. It is fast and powerful enough to do deep, dark engraves and score lines. Being an open frame means you can just drop it on top of the surface you wish to engrave.

There is no camera or other alignment help, you will need to use the framing feature in the Lightburn software to estimate where your design will fit.
Compared to the Longer RAY5 20W
I would go for the B1 over the Longer RAY5 20W, even though the Ray5 is cheaper and has a touch-screen.
The main reason is the inclusion of air-assist, but also the Ray5 seems slower and not as robust.
Of course, they both have the same laser power and the Ray5 is cheaper, so your mileage may vary.
Compared to the IKIER 24W
The IKIER laser I reviewed was excellent, though more powerful and expensive than this one.
Their 24W model is the same price as the Longer but also includes air-assist and a touch screen and motorized intelligent focusing (which means you can step the hight down as you cut, allowing you to cut deeper in the next pass).
I would recommend you check out the IKIER over the Longer.
Compared to the X-Tool D1 Pro
While the D1 Pro is slightly smaller than the Longer (appropriately!), they do sell the X-Tool enclosure bundled with the laser at an additional cost.
You can see my full experience in my X-Tool D1 Pro 10W review.
Conclusion
The Longer Laser B1 20W has a lot going for it:
- Fast movement speed (I got great, dark and accurate engraves at 600mm/sec).
- Large work area (450 x 440mm, or just over roughly 17″ squared – greater than A3 paper size).
- Lightburn compatible (though that is really the only real choice for this laser).
- At $699 before discounts, well-priced compared to competitors, especially given the quality.
- Good diode laser power for both cutting and engraving (max 24W), especially considering Glowforge massive success with their new 6W diode range of lasers!
Check out the machine and get the full specs and pricing at the official website.

 WLED APIs & Automation