
Neo6502 is a new credit card-sized single board computer featuring both a modern 6502 chip and a Raspberry Pi Pico. I reviewed the Neo6502 over on RetroGameCoders, and I love it.
Up until now the main focus of attention has been on programming and running BASIC games, or emulation, such as the Apple II on the device.
Fact is, it can also perform Arduino-like electronics tasks using the GPIO pins, so let’s take a look at how to do that now!
The Neo6502 GPIO Pins
The Neo6502 has two blocks of pins, and what we are talking about today are the “UEXT” pins that are especially for expansion and integrating things like add-ons and sensors, etc.

As you can see above, they are numbered from 1 to 10, but 1 and 2 are wired to 3.3v and Ground.
Each can be an input or an output, and can be controlled from the 6502 in BASIC, C, Pascal, or Assembly.
Blink an LED on the Neo6502
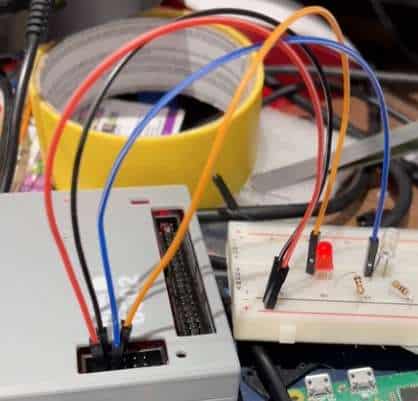
Of course, the Hello World of the electronics community is a simple blinking LED, so let’s start there!
Just to fancy it up a little, I have two LEDs, red and blue, alternating to make a police light effect:
10 pin 3,output
20 pin 4,output
30 while 1
40 pin 3,1
50 pin 4,0
60 call sleep(50)
70 pin 3,0
80 pin 4,1
90 call sleep(50)
100 wend
1000 proc sleep(delay)
1010 fin=time( ) +delay
1020 while time( ) <fin
1030 ' "wait"
1040 wend
1050 endproc
Here we set pins 3 and 4 as output, and in an infinite loop we repeatedly set each LED on and off, using our sleep() procedure that we set toward the end of the program.
This procedure accepts a number to use as the delay duration, which is added to the current time (in hundredths of a second), and then matched repeatedly.
Reading Input on the Neo6502 GPIO
Reading input on the Neo6502 is really easy. Whereas before we supplied a number to the Pin to tell it we want it on or off, instead we can read the value using pin(Pin_Number):

10 pin 3,output
20 pin 4,input
30 pin 3,pin(4)
40 goto 30
Here we set up a button and read the value. Whatever the value of the button returns, the Pin 3 is set to match.
Neo6502 BASIC to Fade an LED without PWM
The Neo6502 doesn’t have analog pins or PWM, how can we fade an LED?
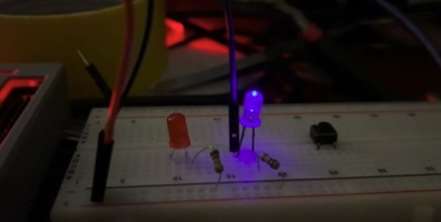
All we need to do is turn the LED on and off really quickly, and if we do it right our eyes will mistake the flashing for a slightly darker LED brightness.
1000 pin 3,output
1020 call led(0.5)
1030 call led(0.3)
1035 pin 3,0:call sleep(25)
1040 call led(0.1)
1046 call led(0.3)
1048 call led(0.5)
1049 call led(0.8)
1050 pin 3,1:call sleep(25)
1090 goto 1020
1100 proc led(v)
1110 endtime=time( ) +15
1120 pin 3,1
1130 call sleep(v)
1140 pin 3,0
1150 call sleep(v)
1160 if time( ) <endtime then goto 1120
1170 endproc
1180 proc sleep(delay)
1190 fin=time( ) +delay
1200 while time( ) <fin
1210 ' "wait"
1220 wend
1230 endproc
There is a very high probability that I did something very wrong here but it seems to work ok for now, at least until we get a real PWM output on the board!
Next Steps
This is just the start, there are lots of advancements being made on the firmware, and as mentioned you can code the Neo6502 in C/C++ too!.

 Arduino SID Player: Play C64 Music on Your Uno