Today, we’re going to create the world’s easiest Hackintosh using the virtual MacOS package, Sosumi.

Now, before you get too excited, it’s not actually strictly speaking a Hackintosh, in that it doesn’t run on the bare metal. Instead it runs on a host operating system.
It is the full MacOS (in this case, Catalina). You can even pass through your GPU. You can use AMD processors and you can give it a whole bunch of memory.
While it is not quite as advanced as some other systems, it is by far the easiest.
Now, installing MacOS is never quick, but Sosumi is the least tedious, least intensive and easiest to get going MacOS you can run outside of using actual Apple Mac hardware.
What Sosumi will give you is a Mac that can run the internet. You can run Safari, you can get your iMessages and you can run Apple Mac software almost as if it’s native.
Despite it being so easy, it’s actually quite capable, but there are some limitations. If you do want to go even further than I’ll give you some tips at the end for the next step to go even deeper.
But if you just want to say, have iMessage running or you want to be able to test things natively in Safari, or if you want to do some quick code that only Apple Mac can do, then this is definitely for you.
Installing Sosumi KVM on Ubuntu with Snap
I mentioned it does need a host operating system. Now I’m reliably informed that windows 10, using the windows subsystem for Linux can actually run these sorts of installations using the Snap Package Manager, but I’m going to run this on my Ubuntu installation.
Ubuntu is the easiest Linux to set up in my opinion, and it has a very easy to follow install procedure.
The process starts with running the snap package, and you do this with
sudo snap install

Plus the name of the package, in this case it’s Sosumi. Then you need to enter your root password for sudo.
It’ll download all the files that it needs, and then it’ll progress to installing them. If you don’t have snap already set up, it should be in Ubuntu, but other distributions might not have it. In that case, you can download snap first.
Once the Sosumi is installed, then you go ahead and launch it and it’ll open the Clover boot manager.
The Virtual MacOS installation
In the Clover boot manager you’ll need to use the Apple disk utility to format the partition that it sets up for you. This partition will be called the Apple inc vertIO block.
Erasing it will format it and set it up ready for the Apple installer to use. The file system provided isn’t all that big, so it is a little bit restrictive in that regard.
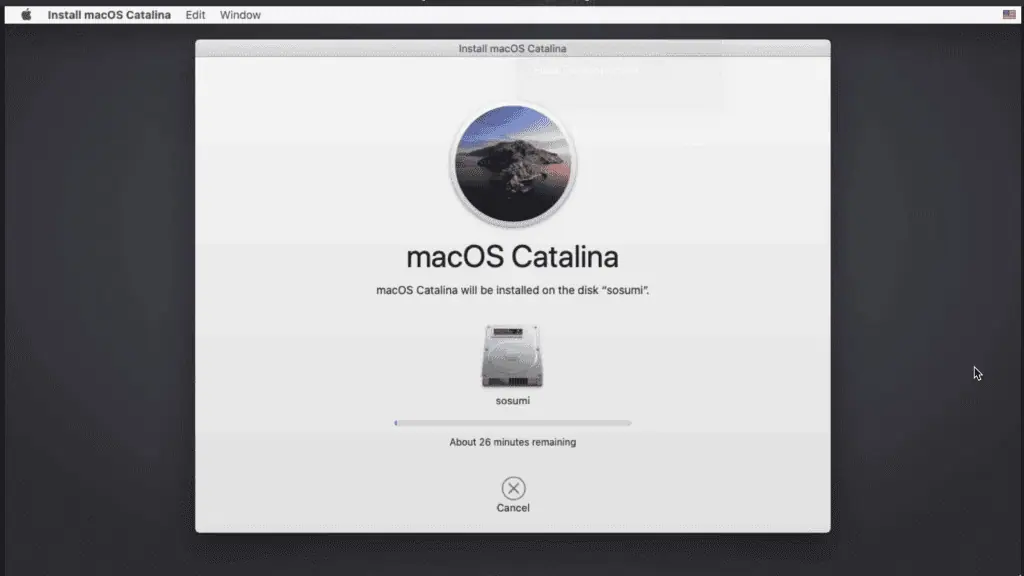
Once you’ve got the file system set up, then you run “Re-install MacOS” and it will go ahead and install Catalina. At the time of watching this video, it may have already progressed to a future version because it actually does download it from Apple to install.
Increasing Sosumi MacOS Performance by Maxing Out RAM and Processor Power
At this point, the installation is complete, but you do want to add to the configuration extra memory and extra processor cores, which will speed it up significantly.
Go into
~/snap/sosumi/common
Then edit the launch script. You’ll find there’s a -M for the memory configuration and there’s -SMP for the cores.

You want to bump the memory up as much as you can, and same with the cores. I’m using 12 of my 16 gigabytes, and I’m going to have four cores.
A More Advanced MacOS KVM
Now, if you want full control of the setup, if you want to have a really advanced system that is much more high-performance, then go ahead and check out the repo for MacOS Simple KVM.
Sosumi actually builds on top of MacOS Simple KVM. In fact, Sosumi is pretty much an installer for this system.
What MacOS Simple KVM allows you to do is have a massively configurable virtual machine that is almost as powerful as running a real Hackintosh.
It’s a lot more involved. You have to do a lot more manually, but once you have it set up, you can tweak everything about it.
With Sosumi we simply added memory and cores, and networking was bundled and worked out of the box. You need to do a lot more with Simple KVM to get to the same point.
While you do have to do more setup, there’s a lot more configuration possible, and you can even use it on a hosted virtual machine such as Digital Ocean and that means that you could have your Mac set up remotely.