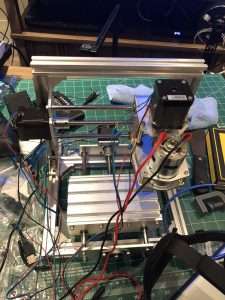
The T8 CNC is a desktop CNC kit built with aluminum extrusions, open source Arduino hardware, and GRBL software. If you were looking to learn CNC, perhaps this little $200 CNC mill could be a good start?
T8 CNC specs
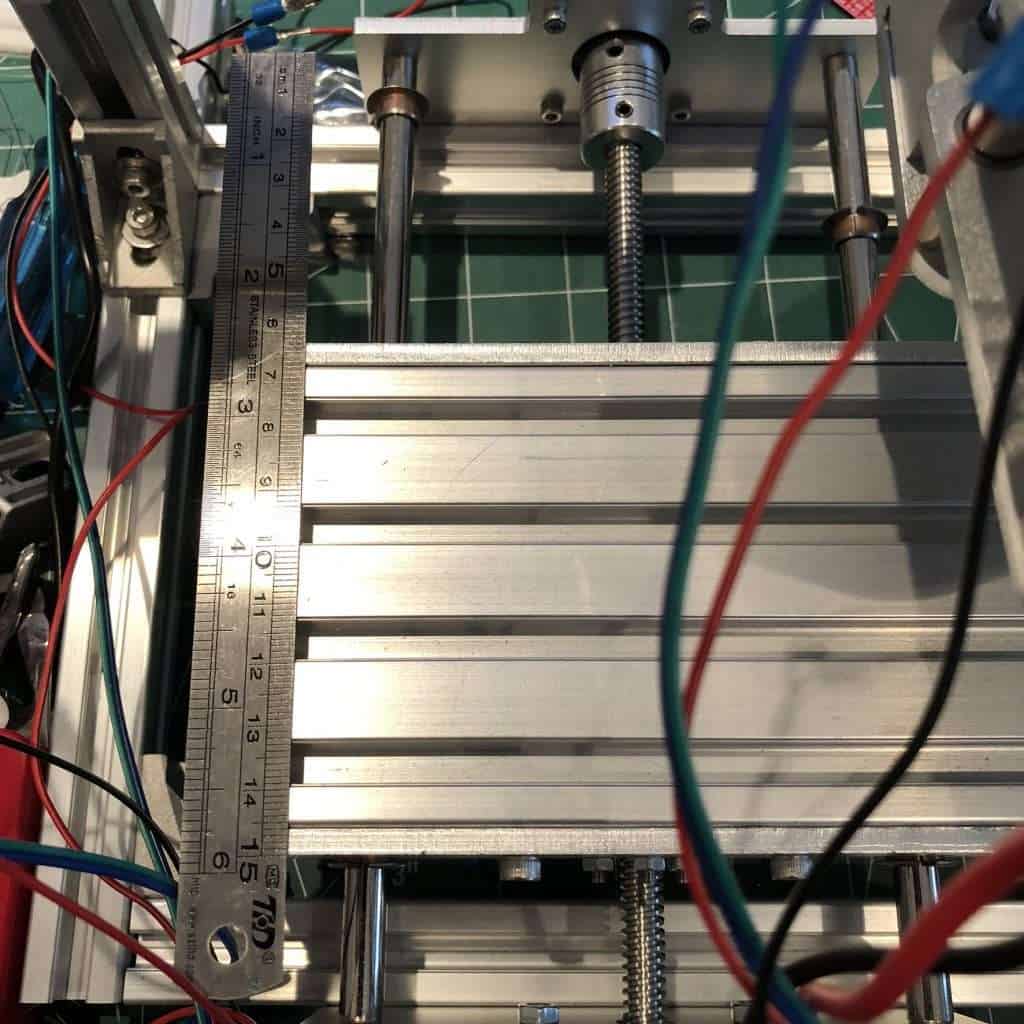
Firstly, we need to address the obvious. This CNC mill is tiny. The cutting area is roughly the size of an A6 piece of paper. 130mm x 10mm x 4mm.
It does, however, come with a decent for the price 24v motor as the spindle, getting up 7000rpm (not necessarily PWM, as we will discuss later).
This is why a lot of stores and reviews described it as for PCB milling. It is small but beefy.
There are a lot of these machines out there and they all seem to have variations. Mine came with no instructions or software but did come with 4 v-cut end mill bits.
The T8 runs using an Arduino Uno clone and a CNC shield. Pretty standard stuff.
What can the T8 CNC do? What is it good for?
If it is so small and has a motor rather than a commercial router, what is it useful for?
First I would say due to it being a kit, the fact it is based on open hardware and software, and because it is so small, it would be good for learning, especially in a small classroom or makerspace. Everything learned on this machine is applicable to larger CNC operations.
We already mentioned that people see this as a PCB mill, but it can also handily cut and engrave plastics and wood, maybe even soft metals, though I did not try.
Building the T8 CNC Kit


As mentioned earlier, as for instructions you are pretty much on your own.
I did the crazy thing of just working off product images, and it worked out mostly. On the product pages on the internet, there are some videos and links, plus there is an Instructable here that seems to be a slightly different machine to mine.
There is some soldering, the steppers arrive with snipped wires rather than connectors. My crimping tool came in handy.
You can get it working relatively well enough after building but set a good weekend aside, don’t expect to build and run this guy over a lunch break.
Other than documentation – Any problems?
Unfortunately, the CNC shield is not set up for the pins of the latest GRBL firmware. After a little hacking and snooping I found I could connect the motor signal pin to the Uno and get it working.

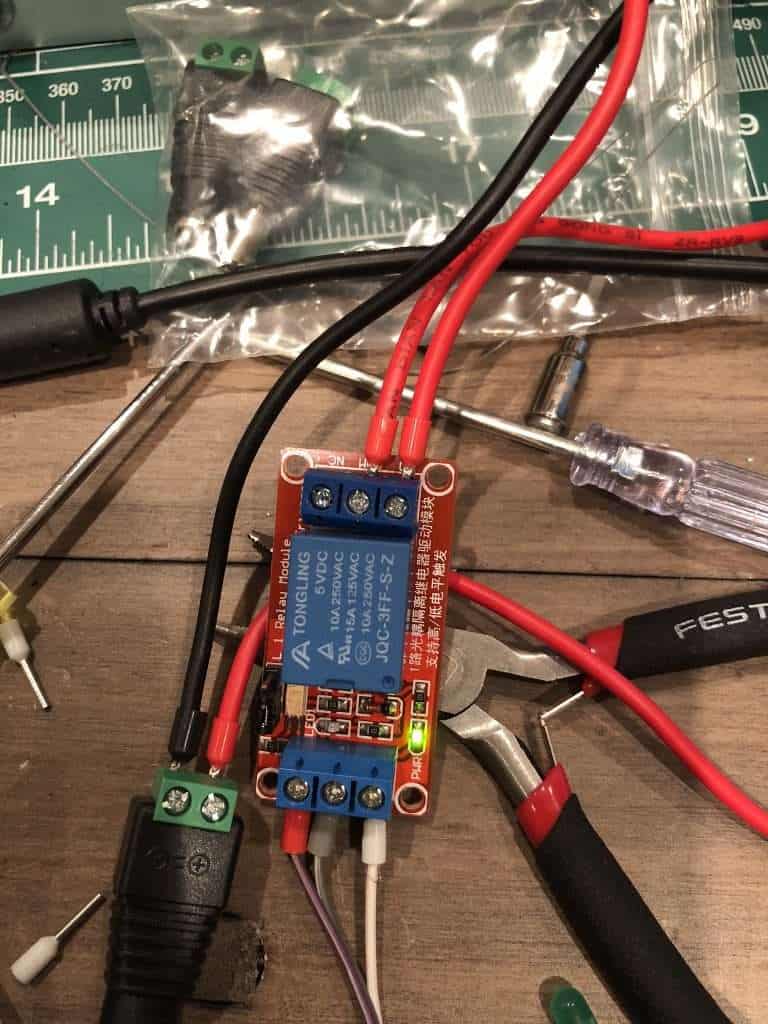
While in theory, the machine is capable of speed control, the kit as arrived uses a relay to turn the motor off and on, so that’s all you get as far as control is concerned without mods.
Modifications and Upgrades
Gearbest sent me this machine knowing I was into CNC (see future articles about my Sienci and X-Carve). While I was tempted to try some PCB milling, and still might, what I am more intruiged about is the upgradability of this guy.
It is built with standard extrusions, lead screws and smooth rods … so I bought some new larger replacements. When the weather is better I will be taking all this to the Fuse33 maker space and upgrading. Look out for an update.
Bottom Line
If you are prepared to do a bit of research and effort, this is a fine little machine, and not only that, a good foundation for a much better machine. Think of it as buying a bill of materials for a CNC, rather than something that will give you support and hand holding.