• Skip to main content
  • Skip to header right navigation
  • Skip to site footer
Maker Hacks

Maker Hacks

Ideas, news & tutorials for makers and hackers – Arduino/Raspberry Pi, 3D printing, robotics, laser cutting, and more

  • Home
  • About
  • YouTube
  • Recommendations
  • Contact

Cheap solution for WiFi dead spots – TP-Link PowerLine Ethernet Review

You are here: Home / Reviews and Buying Guides / Cheap solution for WiFi dead spots – TP-Link PowerLine Ethernet Review
FacebookTweetPin
Author: Chris Garrett
Cheap solution for WiFi dead spots
Cheap solution for WiFi dead spots – TP-Link Power Line Ethernet

When I put together my brand new Virtual Reality PC I immediately encountered a problem.

Wifi dead zone.

Now, the obvious solution is to do something with the Wifi itself.

You can move the ISP-supplied router to a better location, buy a new router. There are repeaters, and you can try 2.4g versus 5g frequencies.

But for a while, I have been tempted to go back to wired networking. So many issues with interference and dropped connections on webinars and streams. Maybe I needed to cut out the variables?

Playing with different operating systems via Wifi can be painful too. Not every OS supports every Wifi adapter or can have problems in set up that ethernet just bypasses entirely.

Regular ethernet was not going to be an option, unfortunately. The risk of causing more work by making holes and pulling cables.

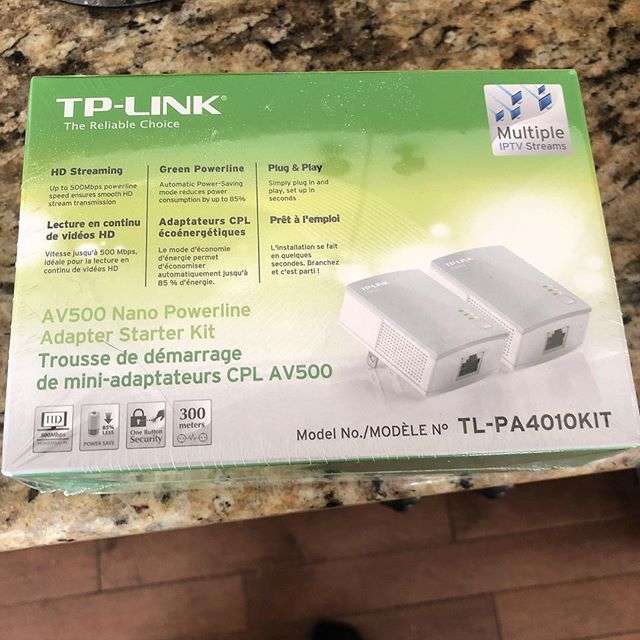
Time to try these Powerline Ethernet gadgets!

As it was an experiment, and because I was going for internet connectivity, I went for the cheapest 2x pack. $49.99 CAD from Amazon, with Prime shipping. That’s $39.99 USD from Amazon.com!

In the box you get two adapters and two ethernet cables, plus some instructions and other paper junk.

TP Link Powerline Ethernet Adapter

So what’s it like in practice?

Plug and play – literally! I was up and running in seconds.

TP-Link powerline instructions

One adapter plugs into your router via the included ethernet cable, and the other you plug into the power outlet closest to the machine you want to provide connectivity to and that machine’s ethernet port.

You can also pair adapters for a more secure connection. I didn’t bother.

Through the magic of dynamic IP address provision, I didn’t have to do any configuration or setup in Windows 10.

Powerline ethernet in action

A side benefit was it allowed my machine to free up a USB socket (it has no built-in Wifi but does have onboard ethernet).

As mentioned above, this also allows the machine to run other operating systems such as Linux, so I booted SimpleMiningOS (an Ubuntu variant) and mined some cryptocurrency 🙂

Speedtest

Speeds are not going to break any records, but I did go for the entry-level option. Upgrades include pass-through power sockets and gigabit or more speeds.

Conclusion

I couldn’t be happier with the value for money, or the convenience. We don’t have to worry about random slow-downs or drops, I can use Teamviewer to remote control the machine, and all the Windows 10 and Oculus updates just work.

Our house is relatively new so I don’t know how it would work with older wiring, but for under fifty bucks, it wouldn’t cost a lot to find out.


Related

Category: Reviews and Buying GuidesTag: crytptocurrencies, IT, linux, networking, pc, vr, windows
FacebookTweetPin

About Chris Garrett

Marketing Director by day, maker, retro gaming, tabletop war/roleplaying nerd by night. Co-author of the Problogger Book with Darren Rowse. Husband, Dad, 🇨🇦 Canadian.

Check out Retro Game Coders for retro gaming/computing.

☕️ Support Maker Hacks on Ko-Fi and get exclusive content and rewards!

Previous Post:thumbnails with pythonHow to Automagically Create Thumbnail Images Using Python
Next Post:Get Started with the Internet of Things with an ESP8266 IoT Sensor/Timer

Sidebar

  • Facebook
  • Twitter
  • Instagram
  • YouTube

Recently Popular

  • Gweike Cloud Review
  • How to choose the right 3D printer for you
  • Glowforge Review – Glowforge Laser Engraver Impressions, Plus Glowforge Versus Leading Laser Cutters
  • Original Prusa i3 Mk3S Review
  • Best 3D Printing Facebook Groups
  • Elegoo Mars Review – Review of the Elegoo Mars MSLA Resin 3D Printer
  • Glowforge ‘Pass-Through’ Hack: Tricking the Front Flap of the Glowforge with Magnets to Increase Capacity
  • How to Make a DIY “Internet of Things” Thermometer with ESP8266/Arduino
  • Wanhao Duplicator i3 Review
  • IKEA 3D Printer Enclosure Hack for Wanhao Di3
  • Creality CR-10 3d printer review – Large format, quality output, at a low price!
  • 3D Printed Tardis with Arduino Lights and Sounds
  • Anet A8 Review – Budget ($200 or less!) 3D Printer Kit Review
  • Make your own PEI 3D printer bed and get every print to stick!
  • Upgrading the Wanhao Di3 from Good to Amazing
  • How to Install and Set Up Octopi / Octoprint
  • Creality CR-10 S5 Review

Copyright © 2023 · Maker Hacks · All Rights Reserved · Powered by Mai Theme