

The xTool O1 Omni is a new range of UV printers, with some cool differentiators, but how does it compare in real-world tests against a rapidly growing market of similar desktop UV printers?
Yes, xTool now has a UV printer in addition to their dedicated garment offering. It does seem like xTool are on a mission to dominate every single home/studio sector of making!
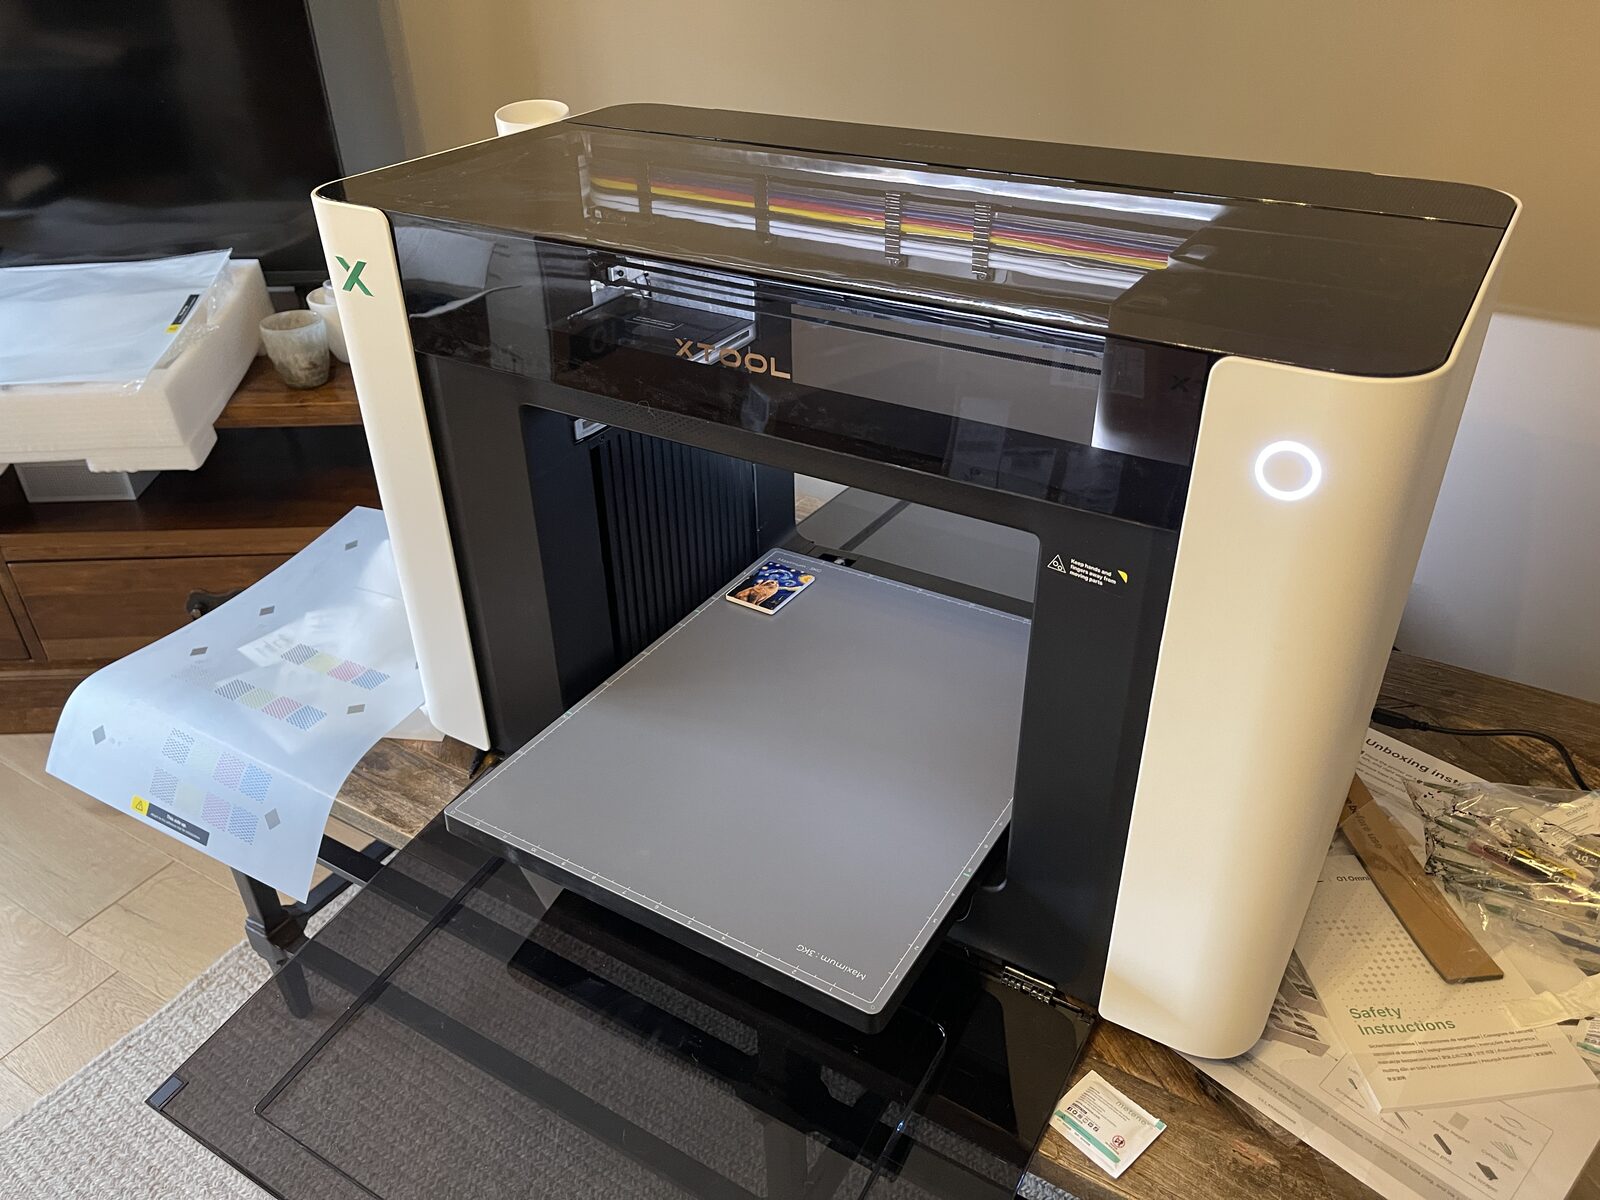
Right out of the gate there is a headline-grabber of a difference. This is the world’s first 4-in-1 UV printer, that is a full bingo card of UV, UV DTF, DTG, DTF.
TL;DR The xTool O1 Omni blew us away with the quality and printing abilities, once we got through a long setup. Having the ability to swap between different modes of UV printing is amazing, but choose carefully at purchase time because from what I have heard you can’t change your machine’s options later!
xTool sent us this printer to review. Links to xTool on this page are affiliate links, so we earn a small commission if you buy through them, at no extra cost to you.
Choose your xTool Omni options
Ours is the DT+UV edition. DT means “Direct To”, so direct to garment and direct to film. We have been wanting to make tote bags and T-shirts, so I jumped at that option, but I did also consider the dual UV option because with that it could be regular UV in one side and flexible or fluorescent in the other.
| What you want to print | UV + DT Fabric (ours) | Dual-Head UV | Single UV |
|---|---|---|---|
| Rigid materials | yes | yes | yes |
| DTG, direct to cotton | yes | no | no |
| DTF film transfers | yes | no | no |
| Fluorescent (neon red and yellow) | no | yes | no |
| Flexible (leather, TPU) | no | yes | no |
From what I have heard there is no post-purchase upgrade path, so choose well before you put your credit card number into the magic box.
Unboxing the Omni and setup
We were sent this from xTool to review, and knowing xTool as well as we do at this point, I had high expectations. There is a comfort in having one, familiar piece of software across a range of different machines. In terms of workflow we only really have to acclimatise to the particular quirks of the machine process.
That said, there were some surprises, and not all happy ones!
First surprise is it is a big machine in comparison to the EufyMake E1 that we reviewed previously. I will be comparing the two quite a bit so apologies in advance.
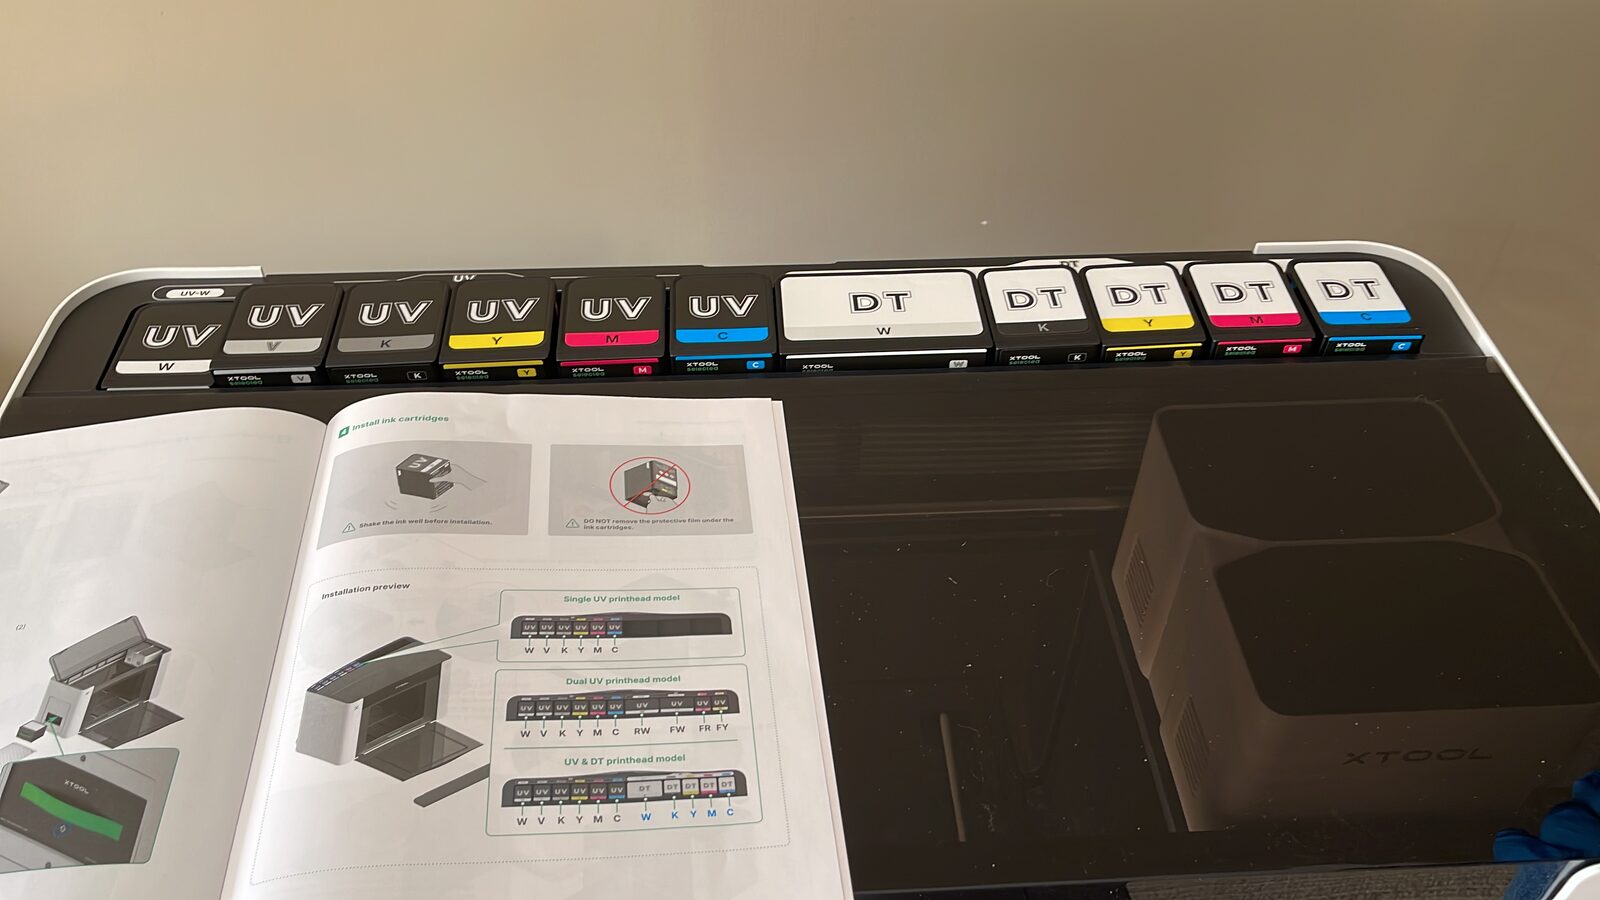
The size difference is due to the two sets of ink this guy takes. It seems even if you get a single print head machine it uses the same case, keeping the same dimensions.
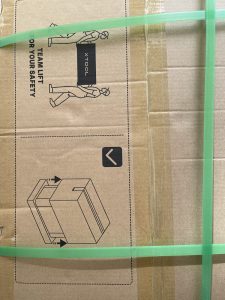
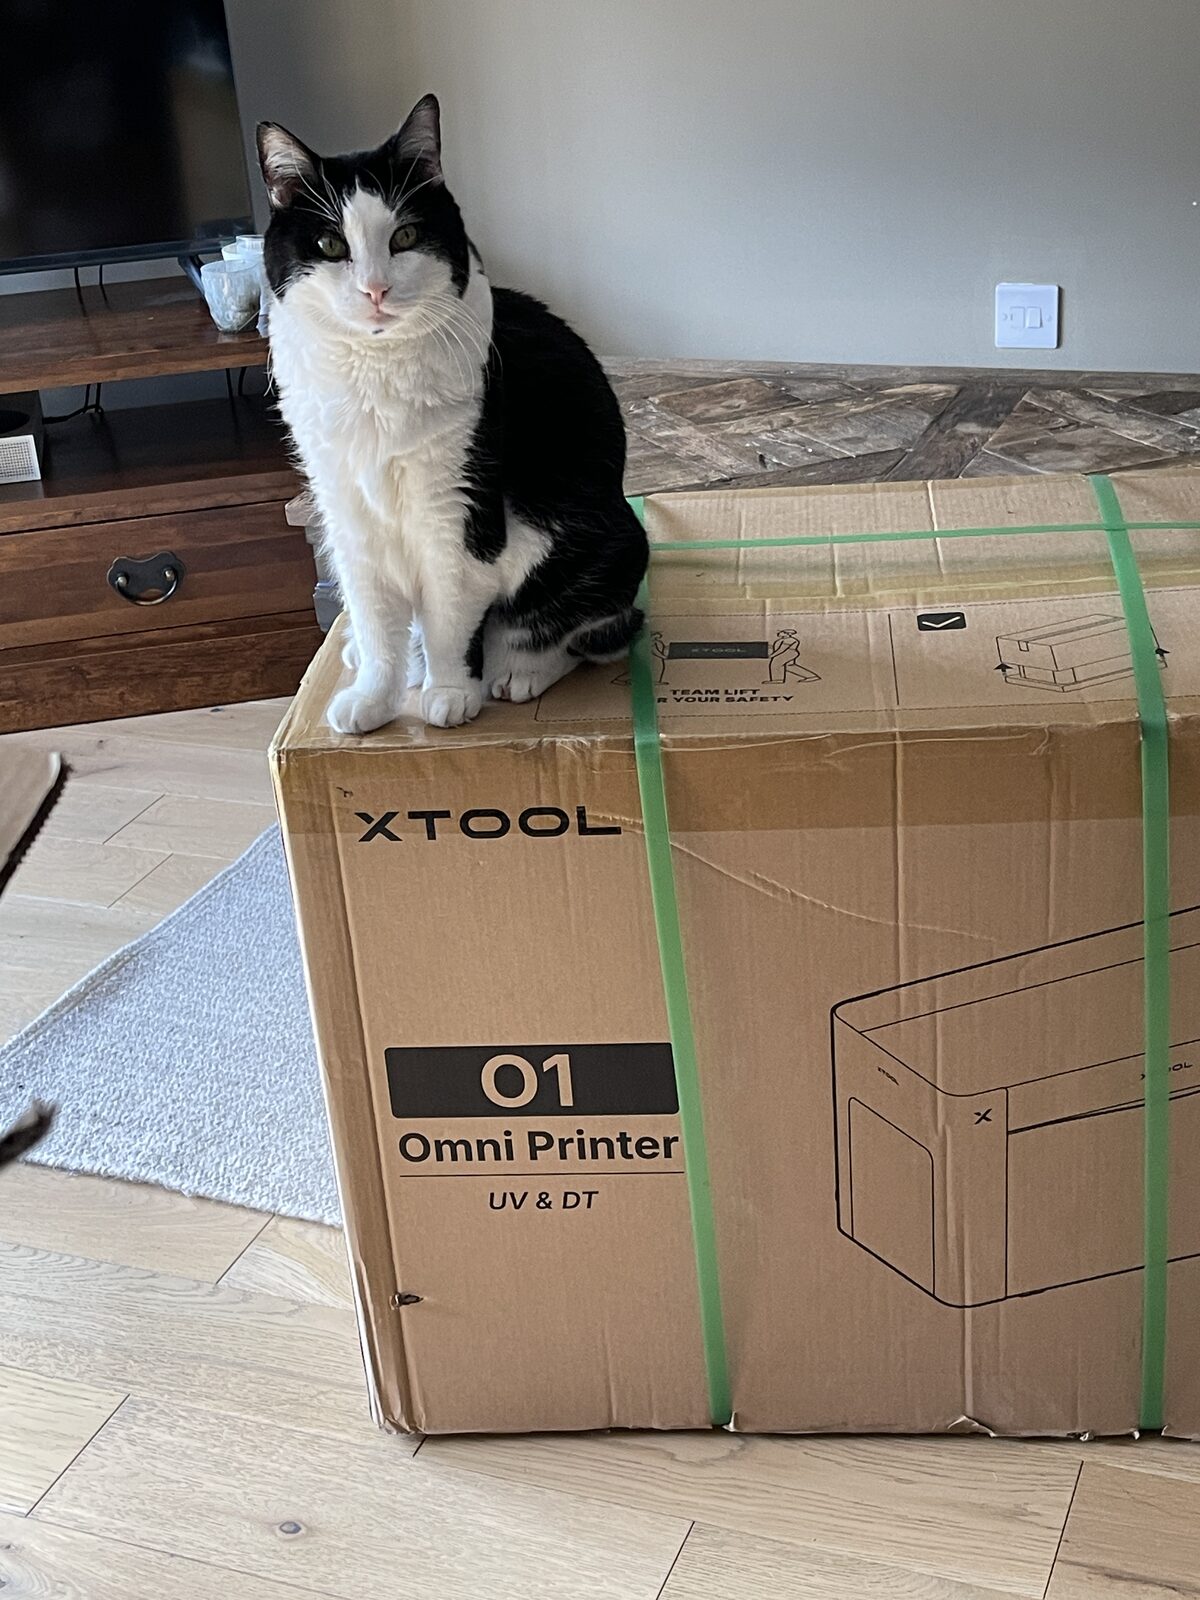
The box carries a two-person lift symbol, and it definitely does take two people.
In our materials pack were t-shirts, tote bags, phone cases, medals with wooden stands, ceramic and metal magnets, Lego pieces, two Stanley cups, clear acrylic, stamps, a canvas, glass canisters, tiles, brass discs. It was like unwrapping presents on Christmas morning!
But one thing was missing. Smooth plastic, glass, and metals need special primer wipes that are NOT in the pack. Without this primer your prints might fail or peel away afterwards.
Very much NOT plug and play
eufyMake wins at box-open to first-print by a huge margin. I would estimate the Omni took roughly five hours, I don’t think the eufy was more than one.
Part of the issue might be a me problem, or at least my WiFi. It’s just hard to get it connected and keep it connected.
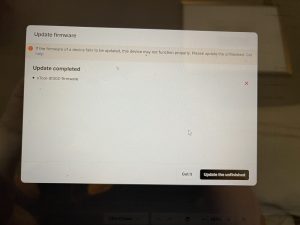
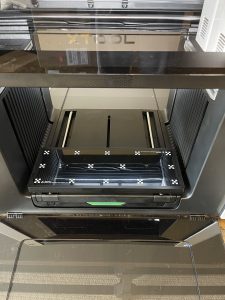
When the calibration kept failing, it turned out the firmware was out of date so check that early in your setup to prevent those woes. Problem is the firmware wouldn’t download (WiFi again?), and setup kept forcing itself back on, even though setup needed the firmware update.
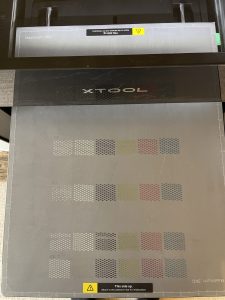
The nozzle check sheets came out with gaps too. Compounding the frustration is the guided setup can’t skip steps. I soon started to loathe seeing the presenter, poor guy.
Finally, without doing anything different, the camera calibration just worked, no idea why. Daylight on the tray?
Worryingly, the test print process carries on after failing a couple of times, even though the next steps need the printed markers to be legible.
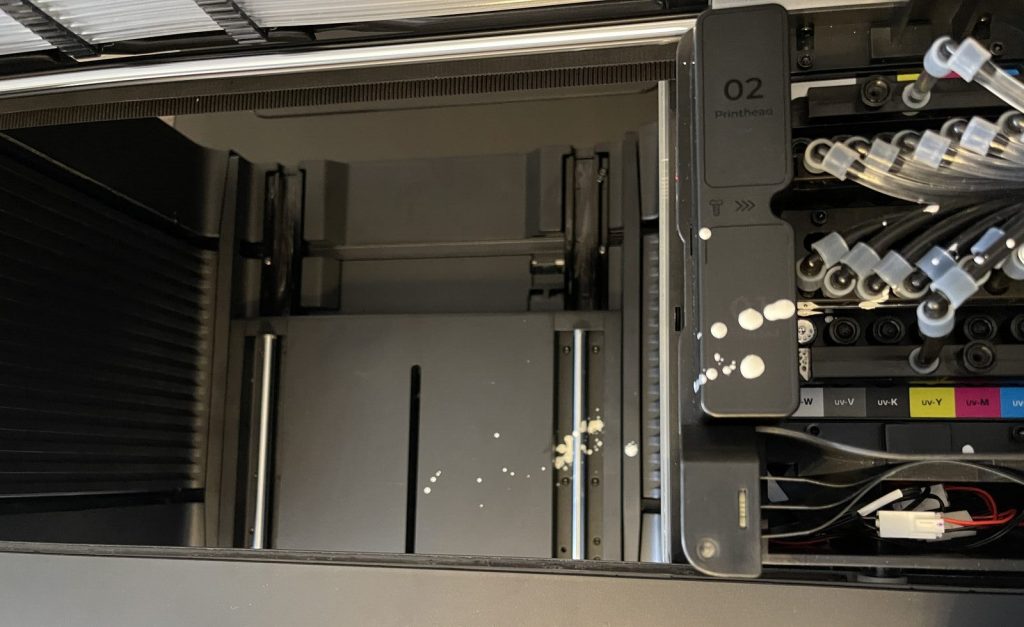
The bit I really was not expecting and dislike is the setup has you priming with syringes and handling raw ink. I made a mess. Wear the gloves and cover your work area. Uncured UV ink is a skin sensitiser.
First prints on the xTool Omni
Once through the marathon setup, the good news started to kick in. My first tutorial print came out beautifully, very crisp and vivid.
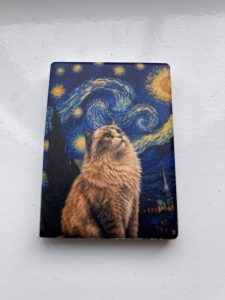
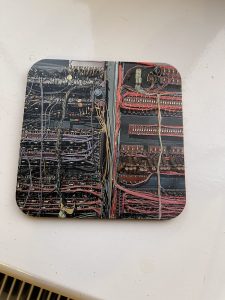
My first print of my own design was a photo from our TNMOC visit, on a cork-backed coaster, very nice result to my eyes.
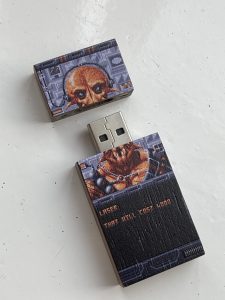
Another retro print, this time Xenon 2 Megablast on a USB stick.
Drop It, Print It?
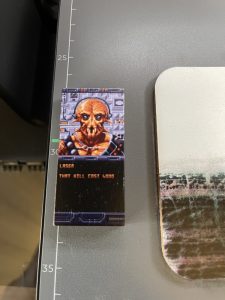
A word of warning if you have been keeping up with the marketing around this machine. xTool’s “Drop It. Print It.” and “full-area laser sensing” invite putting different heights on one bed but it does not cope with that as well as that implies.
It measured the USB stick and everything else came out blurry because it prints the whole job at the height of the tallest thing in the project.
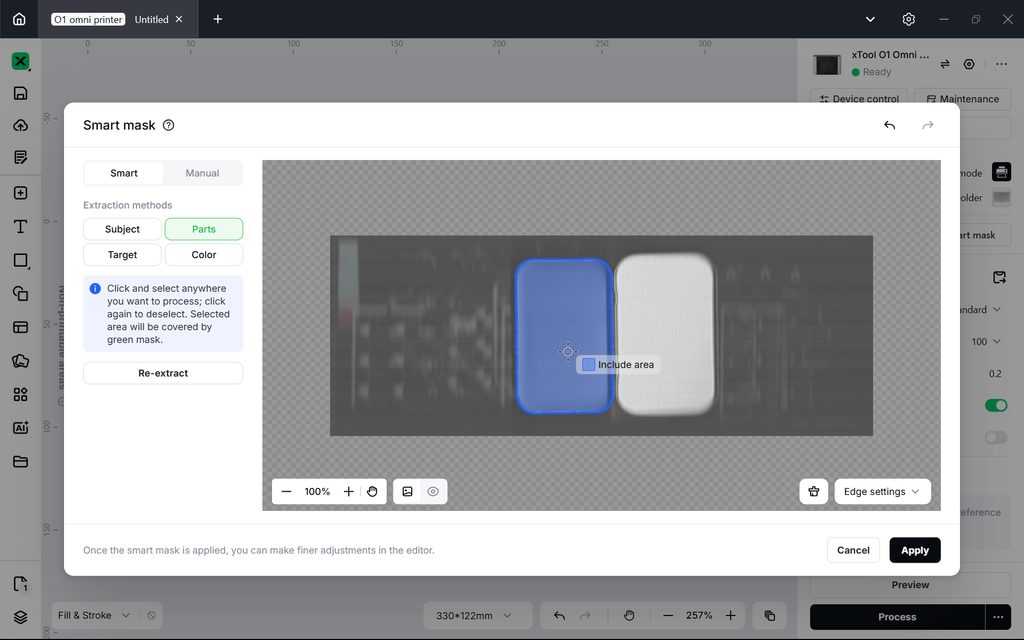
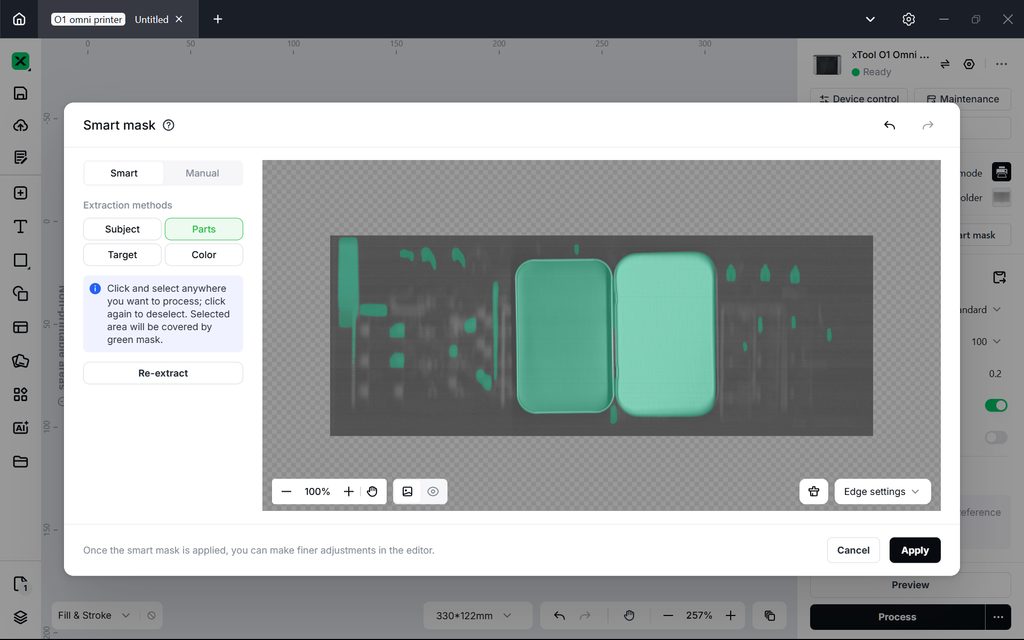
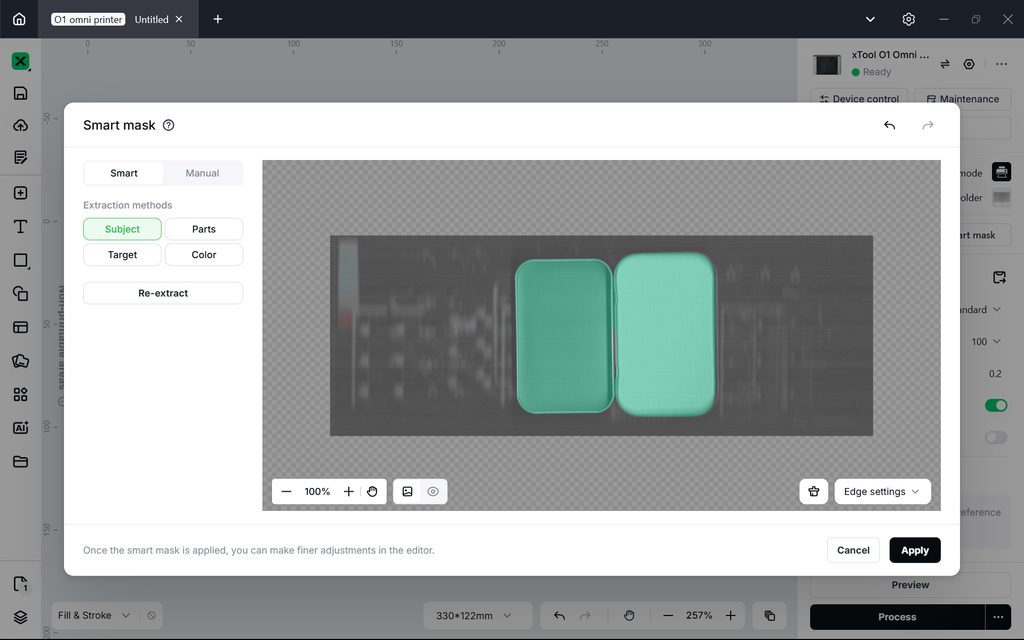
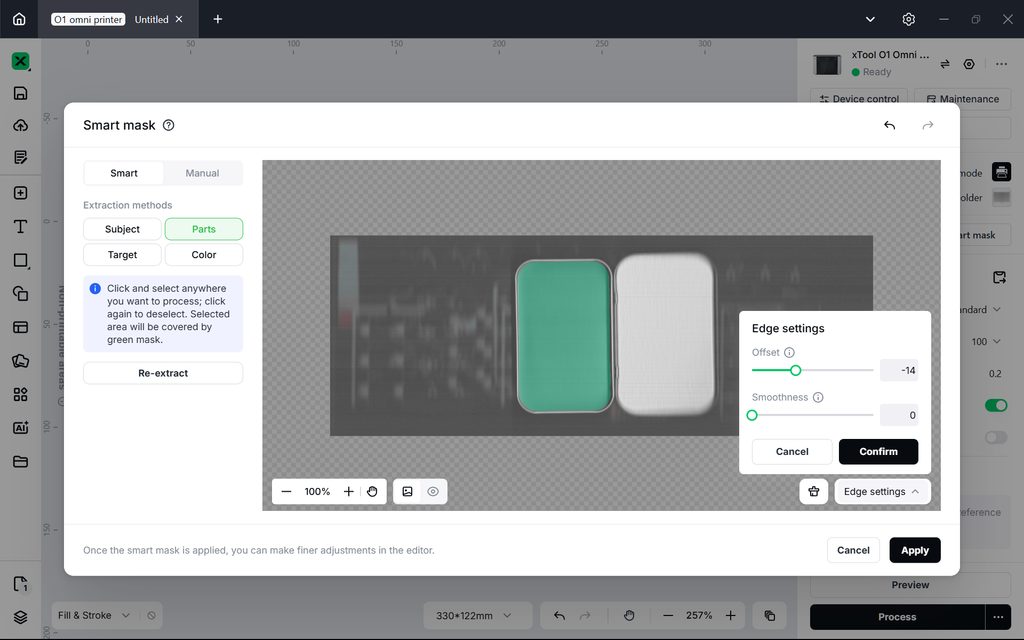
There is a “High drop printing” option but even then it could not deal with printing in the base of a tin even though I edited out the walls of the tin in the masking.
The same thing happened when we went to print a tote bag using the DT side of the printer. It seems it measured the seam created by the handle and made the design come out a mess.
Aligning your designs
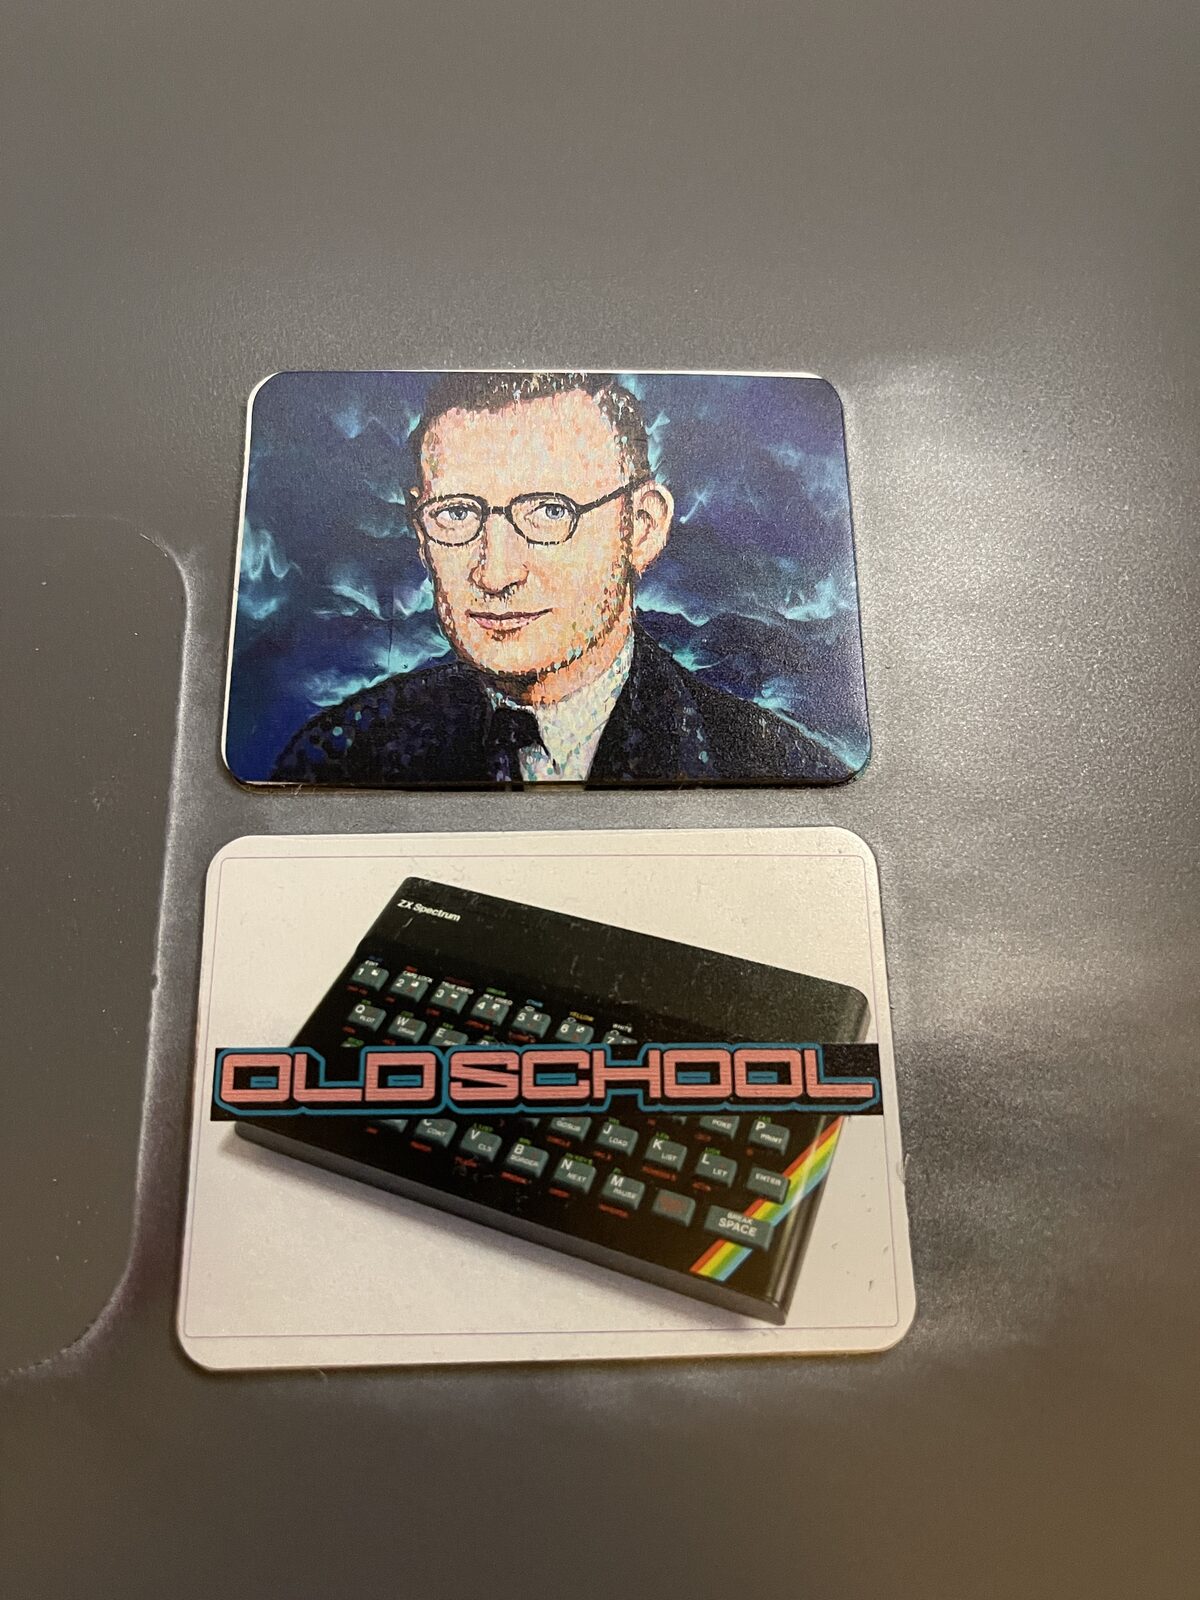
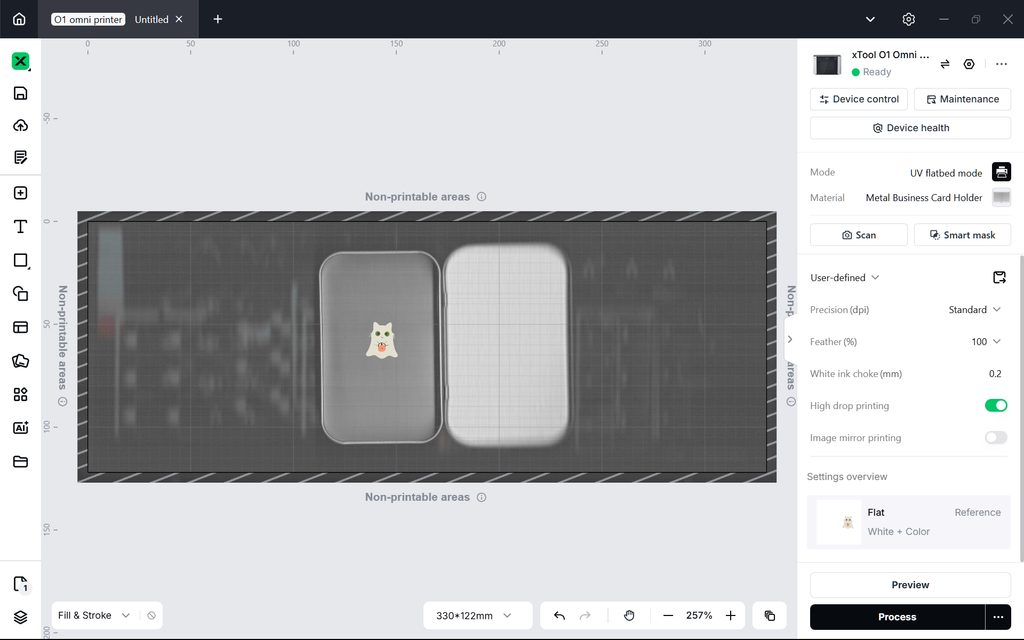
My initial prints came out slightly misaligned. You can see the top magnet has a white sliver top and left; the Spectrum one is fine. Owners and other reviewers mostly rate the Omni’s camera above the E1’s, and Clare had no such issues, so I am seeing this as a skill issue on my part.
Acrylic, and the missing layer order
I am finding the xTool Omni lays down really good layers of ink, and I am not needing as many layers of white as on the eufy in the settings.
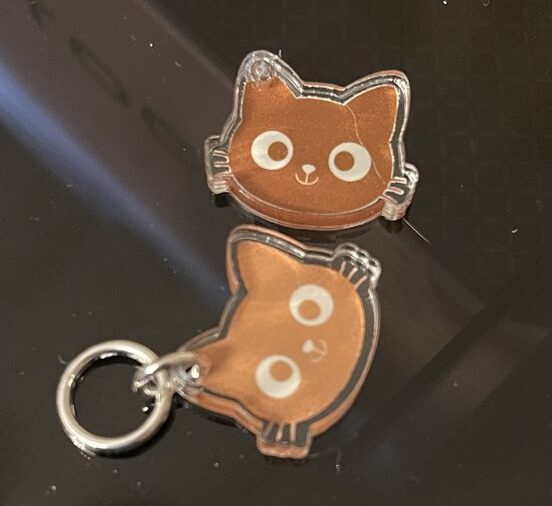
Clare found that for transparent acrylic only white + colour + gloss is offered, colour + white + gloss is not. That’s a pain because you need the colour first for the back of clear acrylic.
What you have to do is select colour + white, then either run the job again with the varnish or go into Spot Colour, add a gloss ink layer, and select all.
Which is where another confusion comes in. The panel doesn’t say whether the list is print order or stacking order and getting it wrong is not a happy situation. Fortunately you can hit preview and if you see colour right away you need the reverse order (you can flip the preview to see the other side).
And, yes. Keep the cats away. Not just because their hair gets well sealed into your precious prints, but the fumes and UV light are not good for them either.
Fabric testing
As mentioned earlier, we did some fabric tests and as yet I have not been able to produce anything I can say I am proud of but our results are improving.
Despite my expectations based on YouTube and marketing, you can’t just print direct to garment. Well, you can, but your results won’t be good.
First you need to mix and spray with pretreatment. There are two pretreatments and I think one is for dark materials and the other for colours to be vibrant on pale ones. Please correct me if that is wrong!
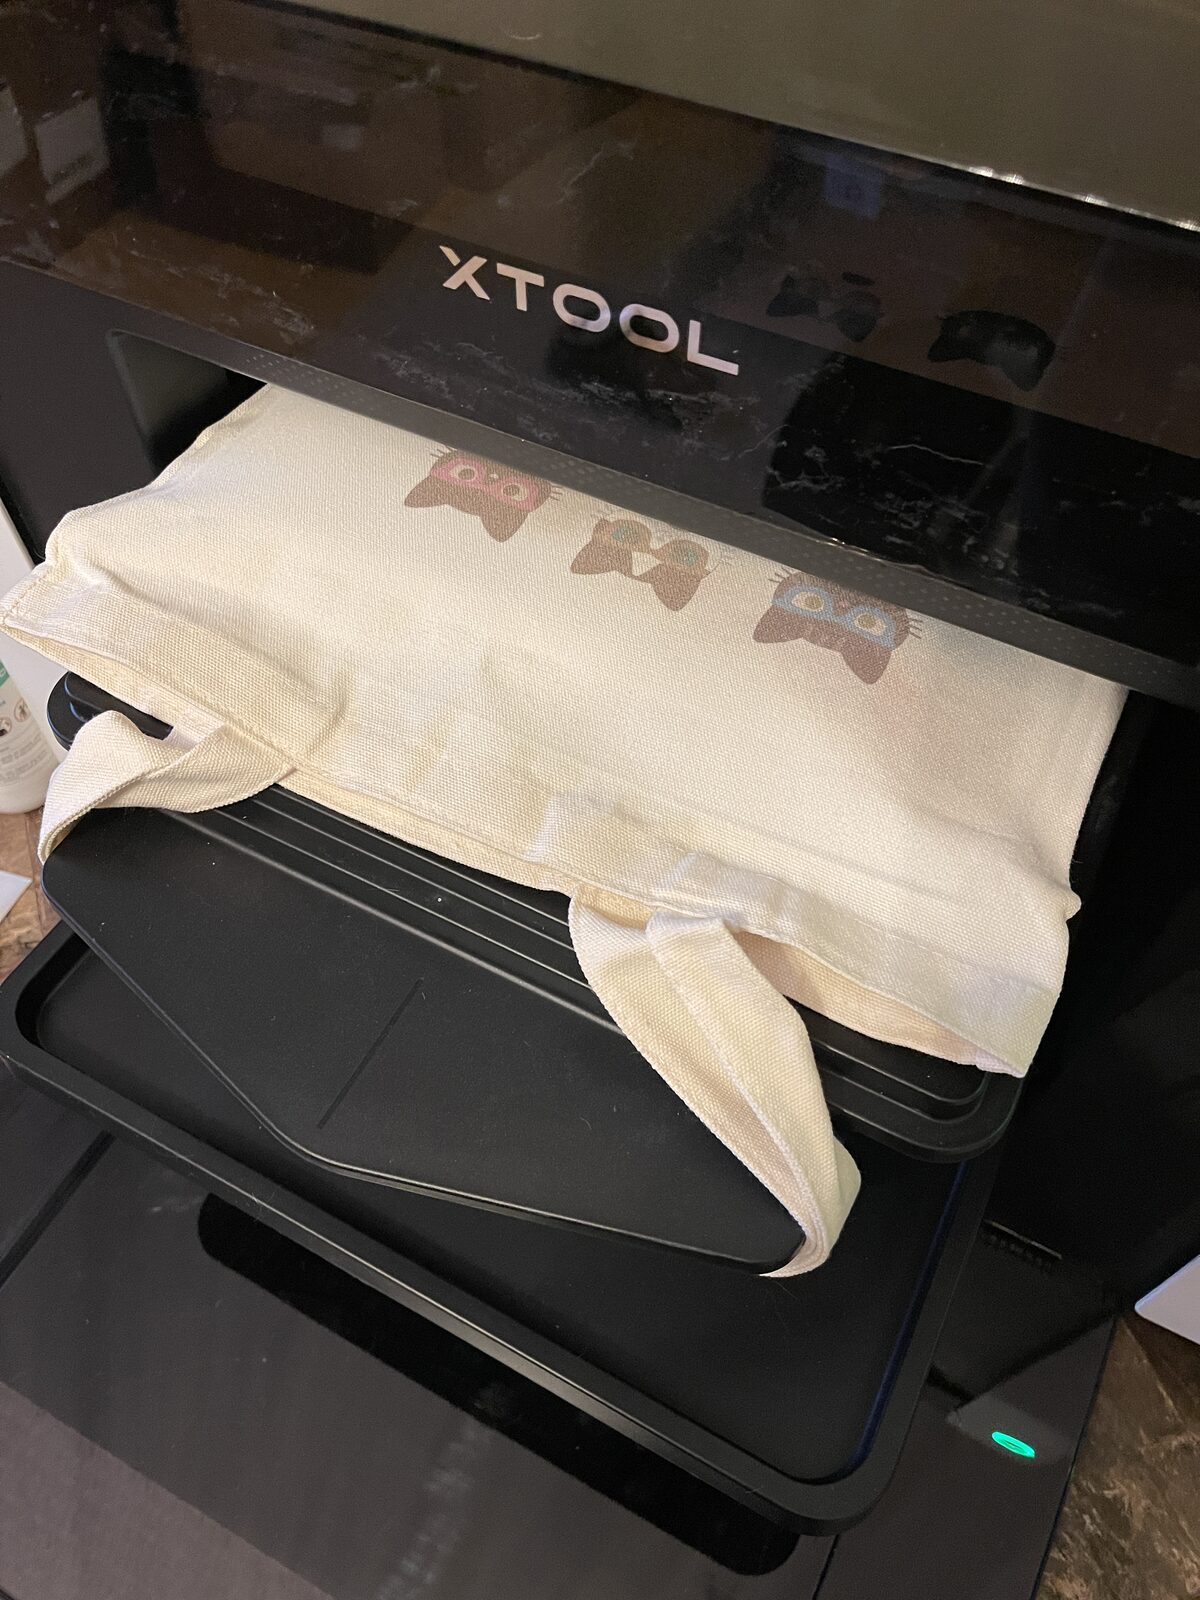
Our height differential issues were resolved by stuffing some of the packing foam inside the bag to make the part we wanted to print on the highest point.
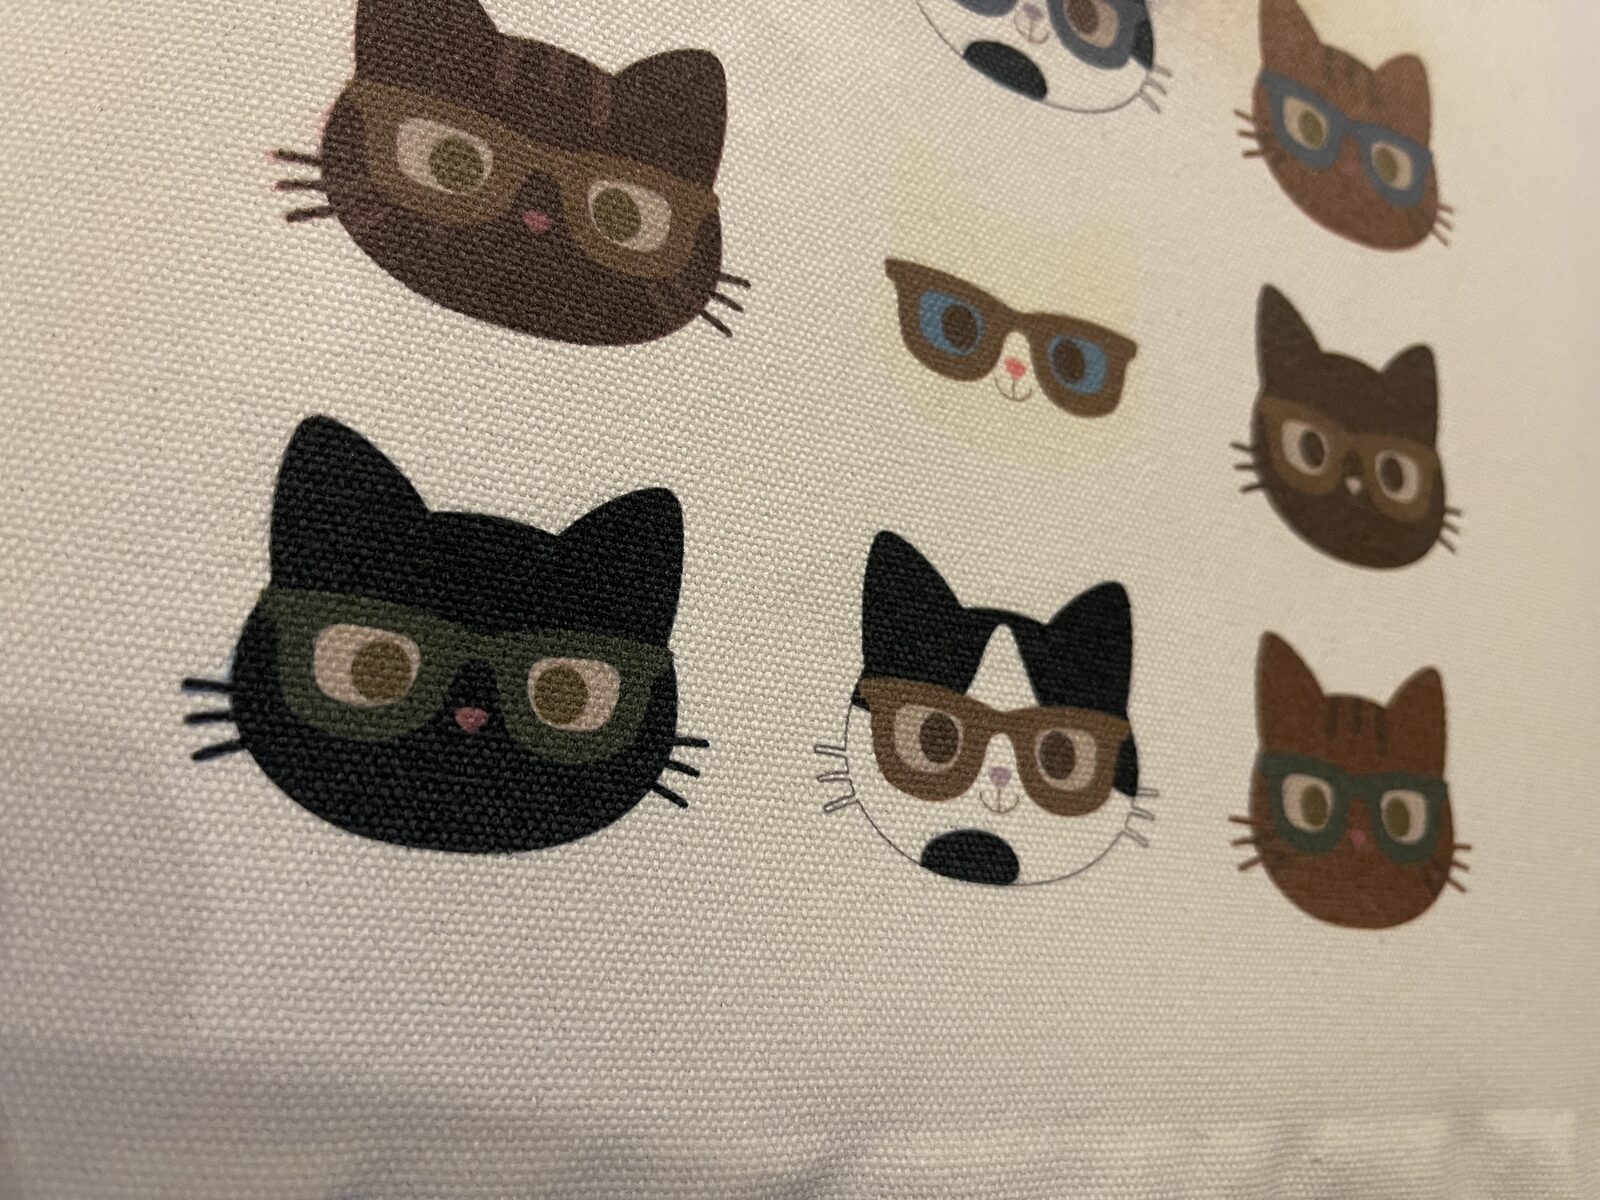
Fine details held really well, despite the kind of “grain” in the material. One ghost-cat was our mistake, we forgot to give that one an outline so cream on off-white. Ooops.
Our older model xTool Smart Press worked fine for the pressing. I think the WonderPress is a bit bigger?
What else you’ll need
As well as materials to print on, you will need some other stuff.
You have already seen that we needed a heat press before we could use garment printing. Fortunately that pretreatment was included.
We also got sent from xTool the laminator and a couple of sheets of transfer film and a roll of the other part to go in the laminator. I am ordering more A and B film so look out for the sticker-specific update in future!
What else might you need?
- Primer for glass and ceramic, metal, acrylic: three different primers, sold separately. UK prices per 50 (check on the day): acrylic £16.00, metal £16.99, glass and ceramic £17.99 pre-order. xTool spokesperson did let me know that my eufyMake wipes are fine on the Omni.
- I’ve been resin 3d printing for a long time so I have a couple of UV lamp options. Our English weather is not reliable for adding curing time to the finished prints. You might want to get something yourself.
- Get an air purifier if you print using the large-bed or garment jobs indoors. Our unit didn’t come with an air purifier and ours is attached in another room to our laser so we mostly use the small bed with the Omni’s doors closed.
- You might want to order a spare ink set if you rely on the printer for customer work. From what I can tell the reservoirs are nice and big but with the regular cleaning cycles etc it could run out all of a sudden.
- Check local disposal rules. Cure leftovers before binning; cleaning fluid to the council’s hazardous waste? Better find out before you have a mess to dispose of.
Print, then laser cut?
You might have seen that xTool Studio now encourages printing on the Omni and cutting on a laser. I had always understood the opposite process was the only safe option.
I reached out and sure enough xTool’s PR confirmed that you can go ahead and print first, then cut. No firm answer on fumes from cutting through cured ink, but of course cutting at an offset from the printed area is definitely an option. Of course, always ensure you are working with good fume extraction regardless.
Omni and the free xTool software
As always, xTool Studio is free and powerful. It’s actually very good for what we do with it, working mainly with Adobe Illustrator files.
There is an AI help assistant that is hit or miss, for example it couldn’t tell me how to set the currency on the cost estimator. I found it myself, start a job then click into “configure ink costs”.
Regardless it really should follow the region already set elsewhere. If my region is United Kingdom then it should pick up the UK store price!
Those, materials sold by xTool not showing in the materials library, and not being able to save CMYK+WHITE+GLOSS as a print setting are my main gripes. Otherwise it is a delight.
The big question: xTool Omni versus eufyMake E1?
The eufyMake is far quicker to set up and doesn’t involve any uncured ink, therefore it is the one I would choose if you are just starting out and just want to print rigid designs. It’s also a touch more compact.
You can check out my eufyMake E1 review to see what I thought of that machine in detail.
Where the xTool Omni wins is the bigger range of jobs you can do with one machine due to having the two heads.
Another major point in the xTool favour is that ecosystem all supported by one software package that continues to improve all the time.
Lastly it seems at the time of writing that the xTool ink is a little bit cheaper, but that is all highly subject to change so look up current prices for yourself.
xTool O1 Omni UV+DT printer review conclusion
Despite taking a long time to get set up, I have to say the experience with the xTool Omni has continuously impressed. Setup aside, my main gripes are all software-related, which is an area where xTool excels and is always improving.
For version two I am sure they will remove the manual syringe step from the setup process and improve on the calibration. I don’t really ever want to see raw ink in a non-industrial machine.
The results are amazing, and it’s one of the few machines that produces things that literally delight people.

 Which Laser Cutter Should You Buy?