• Skip to main content
  • Skip to header right navigation
  • Skip to site footer
makerhacks-logo

Maker Hacks

Ideas, news & tutorials for makers and hackers – Arduino/Raspberry Pi, 3D printing, robotics, laser cutting, and more

  • Home
  • About
  • 3D Printing
  • Laser Cutting
  • YouTube
  • Free Arduino Course
  • Recommendations
  • Contact

Blender Part 3

You are here: Home / Software and Programming / Blender Part 3
FacebookTweetPin
Author: Chris Garrett

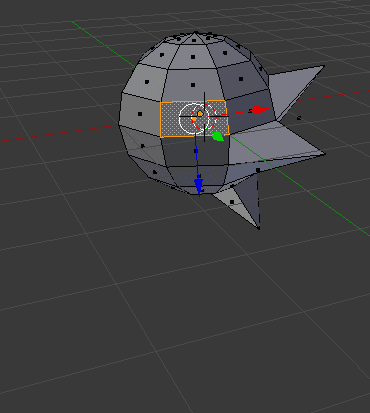
While in part 2 of this tutorial we touched on how to create objects in Blender, now we want to make them look exactly how we imagine in our minds eye, which means editing, sculpting, and smoothing them.

More Precise Placement

Right at the start of this Blender tutorial we mentioned how the left mouse button is used to set the 3D cursor. This is where that becomes useful because where the 3D cursor is placed is where your objects will appear.
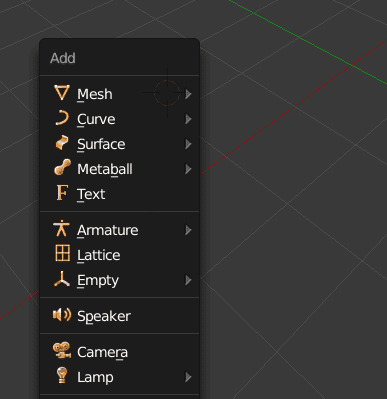
Screenshot from 2018-04-23 14-25-06.png
  • Left-Click to set the position of the 3D cursor
  • Shift-c to center the 3D cursor
  • Shift-A to bring up the object creation menu
  • Set your preferred object location and properties in the panel

Editing

Once you have some objects, now we can modify them.

edit-mode.png

Right-click to select then hit Tab or select editing mode from the menu.

Ctrl-Tab to select between

  • Vertex — The points
  • Edge — The lines
  • Face — The flat panels
Screenshot from 2018-04-23 13-25-44.png

Boolean Operations

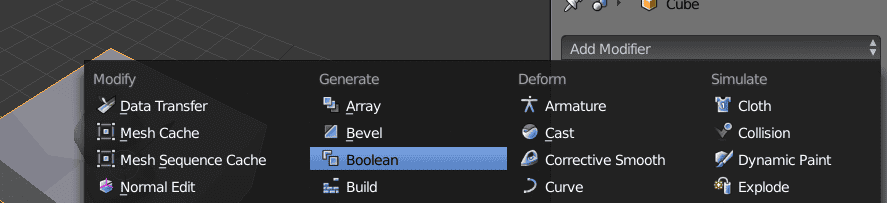
To join or subtract objects to/from each other, we use Boolean Modifiers. This is found in the wrench icon.
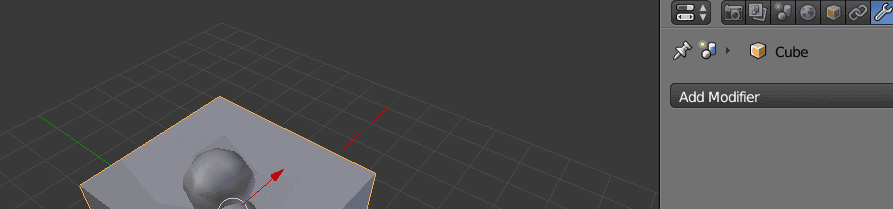
Screenshot from 2018-04-23 14-04-26.png
Screenshot from 2018-04-23 14-04-50.png
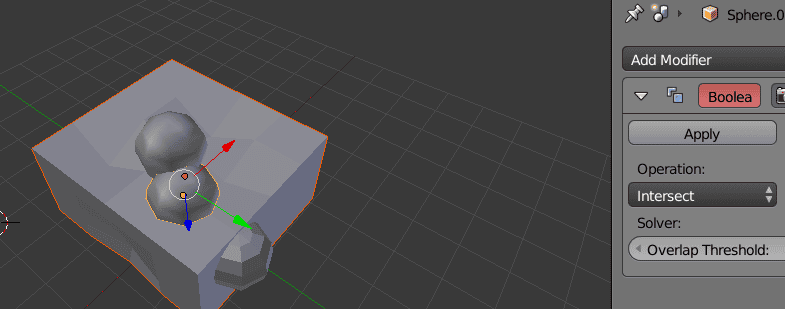
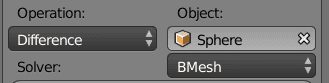
  • Difference can be used to make an object-shaped hole,
  • Union is used to join objects.
  • Intersect keeps the parts that overlap.
Screenshot from 2018-04-23 14-05-22.png

Before you can apply the change, you need to select the object being used for the operation, in my case I created a small sphere that I am going to use to take a dimple out of my box.
Screenshot from 2018-04-23 14-06-43.png

Just be aware using Booleans really messes up your mesh. There are other ways to get quite a sophisticated result

Proportional Editing

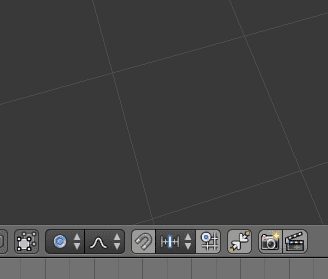
As you manipulate the objects you will notice they can seem quite radical changes. To smooth out the tweaks you can use proportional editing.

Hit the O key or use the icon.
Screenshot from 2018-04-23 13-41-16.png

There is also a menu item:

Screenshot from 2018-04-23 13-39-53.png

Subdivide

If you need more detail in your object then Subdivide will add more reference points by slicing up your object.

Screenshot from 2018-04-23 14-41-07.png

Smoothing

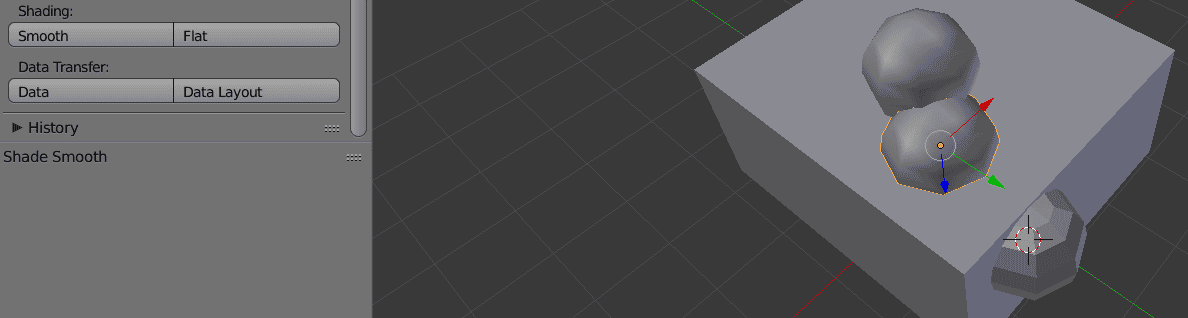
Smoothing is exactly what you would imagine!
Screenshot from 2018-04-23 13-59-25.png

Sculpting

You don’t need a dedicated package like Z-Brush if you want to sculpt organic-appearing models, and in some ways the Blender sculpt tool is more intuitive.

Screenshot from 2018-04-23 13-48-45.png

Export

Once you have your object how you want it, you can export as an OBJ, STL or various other formats.

Screenshot from 2018-04-23 14-10-05.png

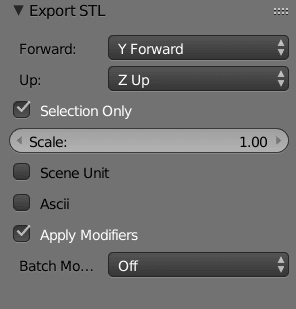
If your object looks weird in your slicer, make sure you take note of your export properties, especially the scale:
Screenshot from 2018-04-23 14-46-02.png
Screenshot from 2018-04-23 14-50-11.png
Category: 3D Printing, Software and ProgrammingTag: blender, cad
FacebookTweetPin

About Chris Garrett

Marketing nerd by day, maker, retro gaming, tabletop war/roleplaying nerd by night. Co-author of the Problogger Book with Darren Rowse. Husband, Dad, ?? Canadian.

Check out Retro Game Coders for retro gaming/computing.

☕️ Support Maker Hacks on Ko-Fi and get exclusive content and rewards!

Previous Post: Elegoo Saturn Review – Elegoo’s Budget-Friendly Mid-Size Resin Printer
Next Post:Sienci Mill One CNC ReviewSienci Mill One

Sidebar

  • Facebook
  • Twitter
  • Instagram
  • YouTube

Join the Newsletter

Sign up and get a free Arduino course + more!

Subscription Form

Recently Popular

  • xTool S1 Review
  • xTool P2 Review (first look)
  • IKIER K1 Pro Max Review
  • Gweike Cloud Review
  • How to choose the right 3D printer for you
  • Glowforge Review – Glowforge Laser Engraver Impressions, Plus Glowforge Versus Leading Laser Cutters
  • Flux Ador
  • Prusa i3 Mk3S Review
  • Best 3D Printing Facebook Groups
  • xTool D1 Pro Laser Cutter Review
  • Elegoo Mars Review – Review of the Elegoo Mars MSLA Resin 3D Printer
  • Glowforge ‘Pass-Through’ Hack: Tricking the Front Flap of the Glowforge with Magnets to Increase Capacity
  • How to Make a DIY “Internet of Things” Thermometer with ESP8266/Arduino
  • Wanhao Duplicator i3 Review
  • IKEA 3D Printer Enclosure Hack for Wanhao Di3
  • Creality CR-10 3d printer review – Large format, quality output, at a low price!
  • 3D Printed Tardis with Arduino Lights and Sounds
  • Anet A8 Review – Budget ($200 or less!) 3D Printer Kit Review
  • Make your own PEI 3D printer bed and get every print to stick!
  • Upgrading the Wanhao Di3 from Good to Amazing
  • How to Install and Set Up Octopi / Octoprint
  • Creality CR-10 S5 Review
  • Glowforge Air Filter Review
  • Thunder Laser Review

30 Days to Arduino

Arduino Tutorials
  • 3D Printing
  • CNC
  • Electronics and Hardware
  • Laser Cutting
  • News and Reviews
  • Software and Programming

arduino budget cad cnc diode laser glowforge Hacks Ideas laser cutter linux Makes making python raspberry pi resin Reviews technology tips xTool Lasers

.

Maker Hacks Blog Copyright © 2026 · All Rights Reserved · Privacy Policy