The “Massive Adafruit Arcade Button” is one of my favorites, I just find it comically large. Therefore whenever I get a chance to specify this particular button, I jump at it.
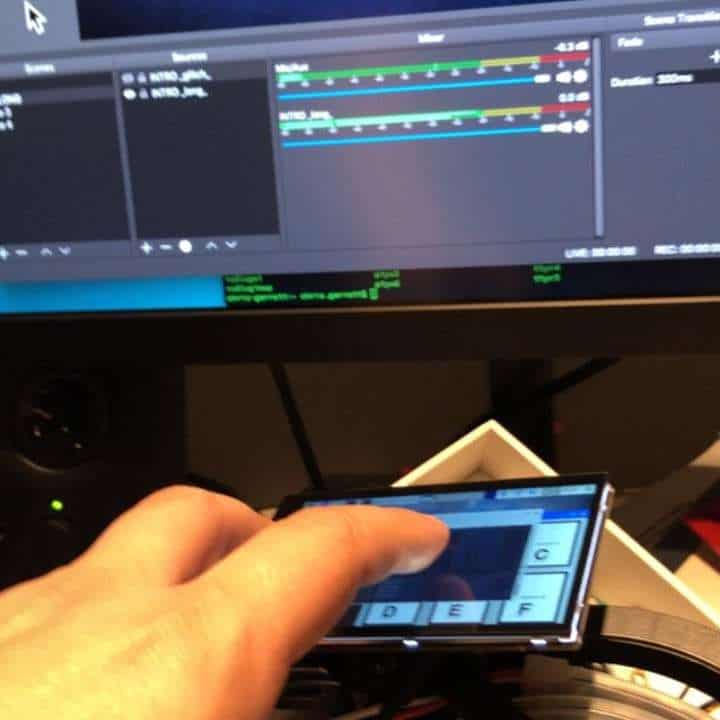
As luck would have it, I am building a project for an event the company I now work for is holding. I will write about the Python and Pi side after the event, but today I put together the enclosure, and I think for the laser cutter owners, it might come in handy.
I cut it out on 3mm baltic birch plywood and I also cut an extra top in black acrylic, which I think looks a little nicer and goes with the black screen enclosure I am using.

For this

While the file I used for cutting was the SVG, the project started life as a Fusion 360 CAD design.

To ensure everything would fit together, the model is made up of 3mm thick walls. Tabs are drawn into the sketches, and I used the split body tool to use a wall or the roof as a cutting tool to ensure each piece “cut” into the next.
For the vector files I finished with creating new sketches from each face and exporting them as DXF.
A few mistakes I made that you will surely avoid:
- I used an Adobe Illustrator template someone in the Glowforge community shared to ensure my layout would fit on the
bed, but forgot to set it to metric. A quick bit of scaling math put me on track. - There was an opportunity to use some scrap acrylic but I made the design just too big. Next time I will work
backwards from the material if that is an option. Fortunately, it fit togetherfirst time. - “To save time” I didn’t build the design using parametric variables (eg. “thickness” rather than specifying 3mm). Now it is harder to repurpose in
future for different materials. D’oh.
Despite those mistakes I think it came out pretty well. I just hope it survives the trip to Texas!