Part 2 of the Rat Rig V-Core 3 3D Printer Review series will focus on wiring up the printer and first print impressions.
Let’s dive in!
Rat Rig V-Core 3 Wiring & Firmware
We left off last time with the mechanical build being complete and needing it to be wired up. The Rat Rig V-Core 3 wiring was straight forward. My build was open frame with the single electronics panel in the rear. I chose to use the BigTreeTech SKR Pro 1.2 as the control board for my build because it was easily attainable, and I knew it was going to be easy to setup the firmware when I got to that stage using Rat Rigs V-Core OS Klipper build. Rat Rig provides a great wiring diagram for the wiring process:

The tool head is wired via umbilical to the rear electronic inner frame area. Watching Michael’s Rat Rig V-Core 3 review on his Teaching Tech YouTube channel, he had created a mod which allowed you to mount a PTFE tube between the tool head and the rear which acted as an anchor for the wiring and to keep the umbilical upright and preventing sagging. The wires for each component were installed, and microfit connectors added as required for future maintenance or repair work, with the wires leading to the control board mounted on a Mandala Rose Works Electronics panel.
The wires for the heat bed and Z axis stepper motors passed through the design hole without issue and plugged into the board.
Installing the firmware was such a breeze.
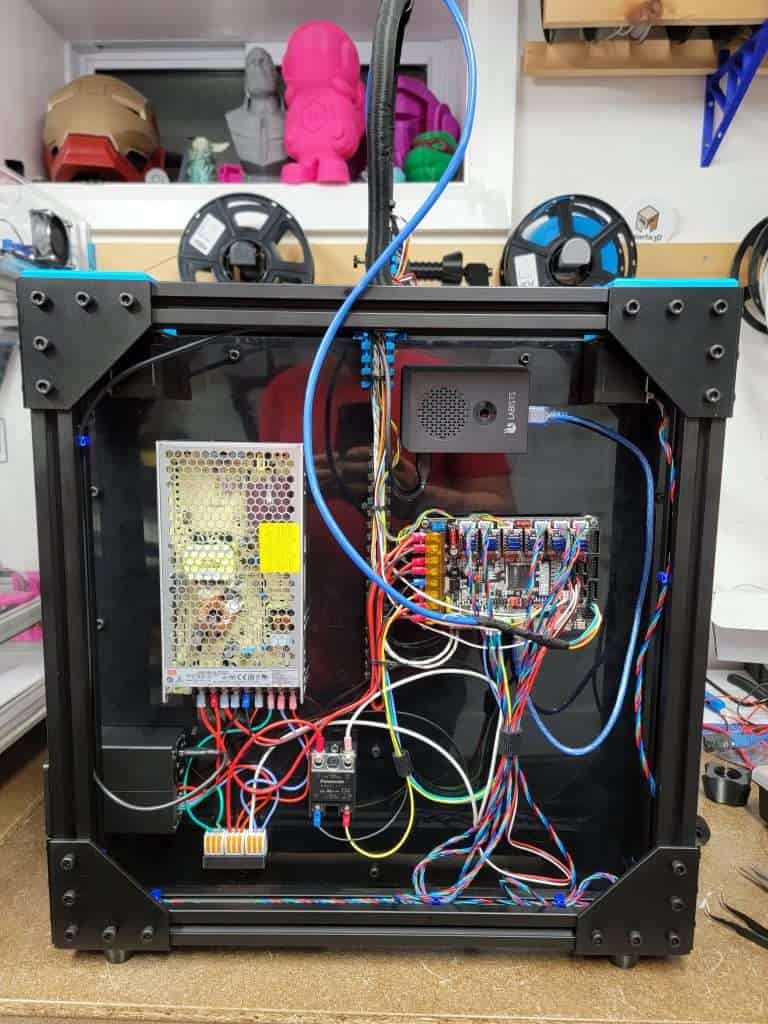
For safety purposes, I think it’s best to fully enclose the rear electronics bay and prevent any exposure to the mains wiring.
One of the first comments to my 3D printing buddies was how simple it was to get the printer up and running. I have built a handful of Voron’s this year, and the firmware setup is cumbersome having to login to the Pi remotely, copying and pasting commands, transferring files back and forth between the Pi, PC, and eventually the control board.
For the Rat Rig, I flashed one micro SD card, and copied a firmware.bin file to another SD card , plugged them into the Pi and SKR Pro respectively, powered it up, and I was up and running. I had to modify just a few options in the printer.cfg file so Klipper knew the size of my machine, the hot end I was using, and which extruder I was using, but those were very easy steps to follow. The preconfigured V-CoreOS package is very well done in my opinion.

Rat Rig V-Core 3 First Prints
With the printer up and running, next up was the tuning process. I checked the e-steps and before moving on I printed a Calicat. As a very first print I was very happy.
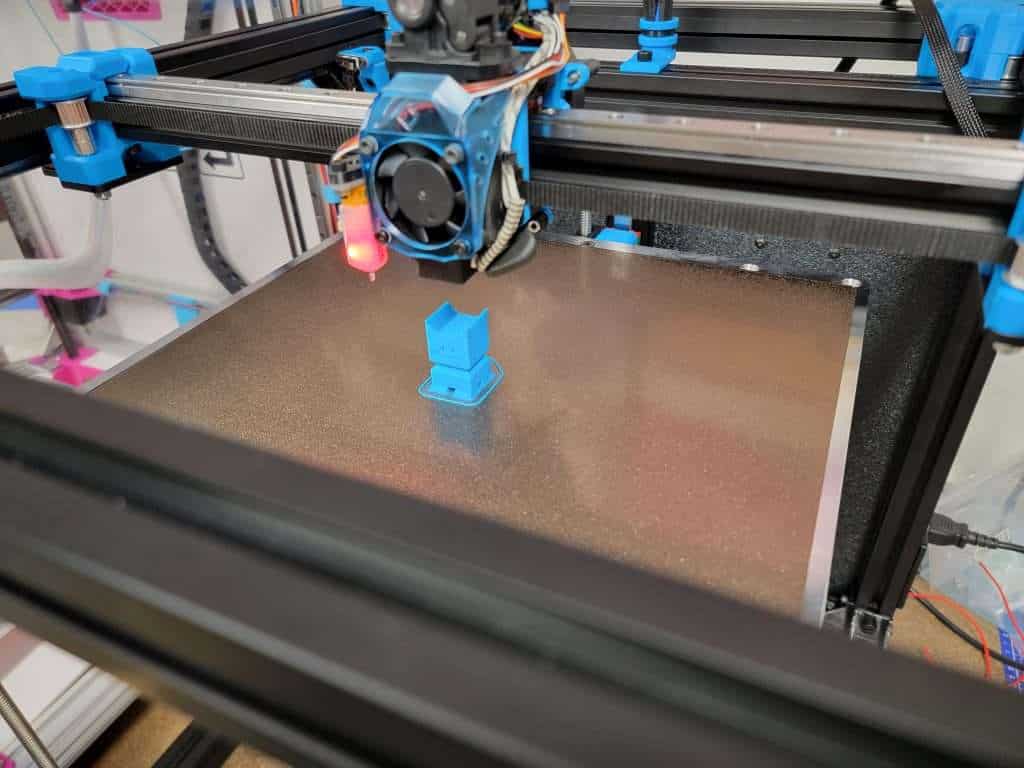
Next up I installed an ADXL345 on the tool head to run Shaper_Calibrate and tune Input Shaper. I checked the flow of the prints and using a profile from a similar printer toyed with settings while i printed some calibration cubes.
After I was content with the cube prints I printed this Starro from Wekster. It came out really well and surpassed my expectations. When you have a great solid printer, meeting a well designed, for 3d printing, model, you get great results.


I printed a large tugboat, a mug/can holder, a mini Vision (From Wekster) as some additional sample models. You may see some layer gaps in the mug, however, my homebrew wall mounted spool holder failed and the spool was on the workbench getting caught up on some things. The Orbiter extruder really performed well in that scenario as it was still extruding for the most part. I caught the issue and fixed the spool holder with the print still running and it finished the print without issue!


First Impressions
I can’t say it enough, but the Rat Rig V-Core 3 has exceeded my expectations every step of the way so far. The design is functional, not overly complicated to build, and easy to get printing. Following typical tuning procedures, for which their are plenty of how-to’s on YouTube, this first round of printing has shown me decent out of the gate results. I think the V-Core 3 is very robust with it’s 3030 extrusion frame, 9mm belt system, and MGN12 linear rails and there is great potential in this printer which we look to explore in the coming weeks.

Part 3 of the series, the conclusion, will be posted after some extensive use. Stay tuned for the next part where we really get an opportunity to run it and make a final evaluation of the Rat Rig V-Core 3 3D Printer.