
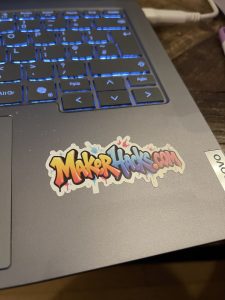
The xTool C1 is a photo-quality printer, scanner, and blade cutter, all in one machine, combined with the brilliant xTool Studio software. For us it came at the perfect time, and it blew away any other sticker-making tool we have ever used.
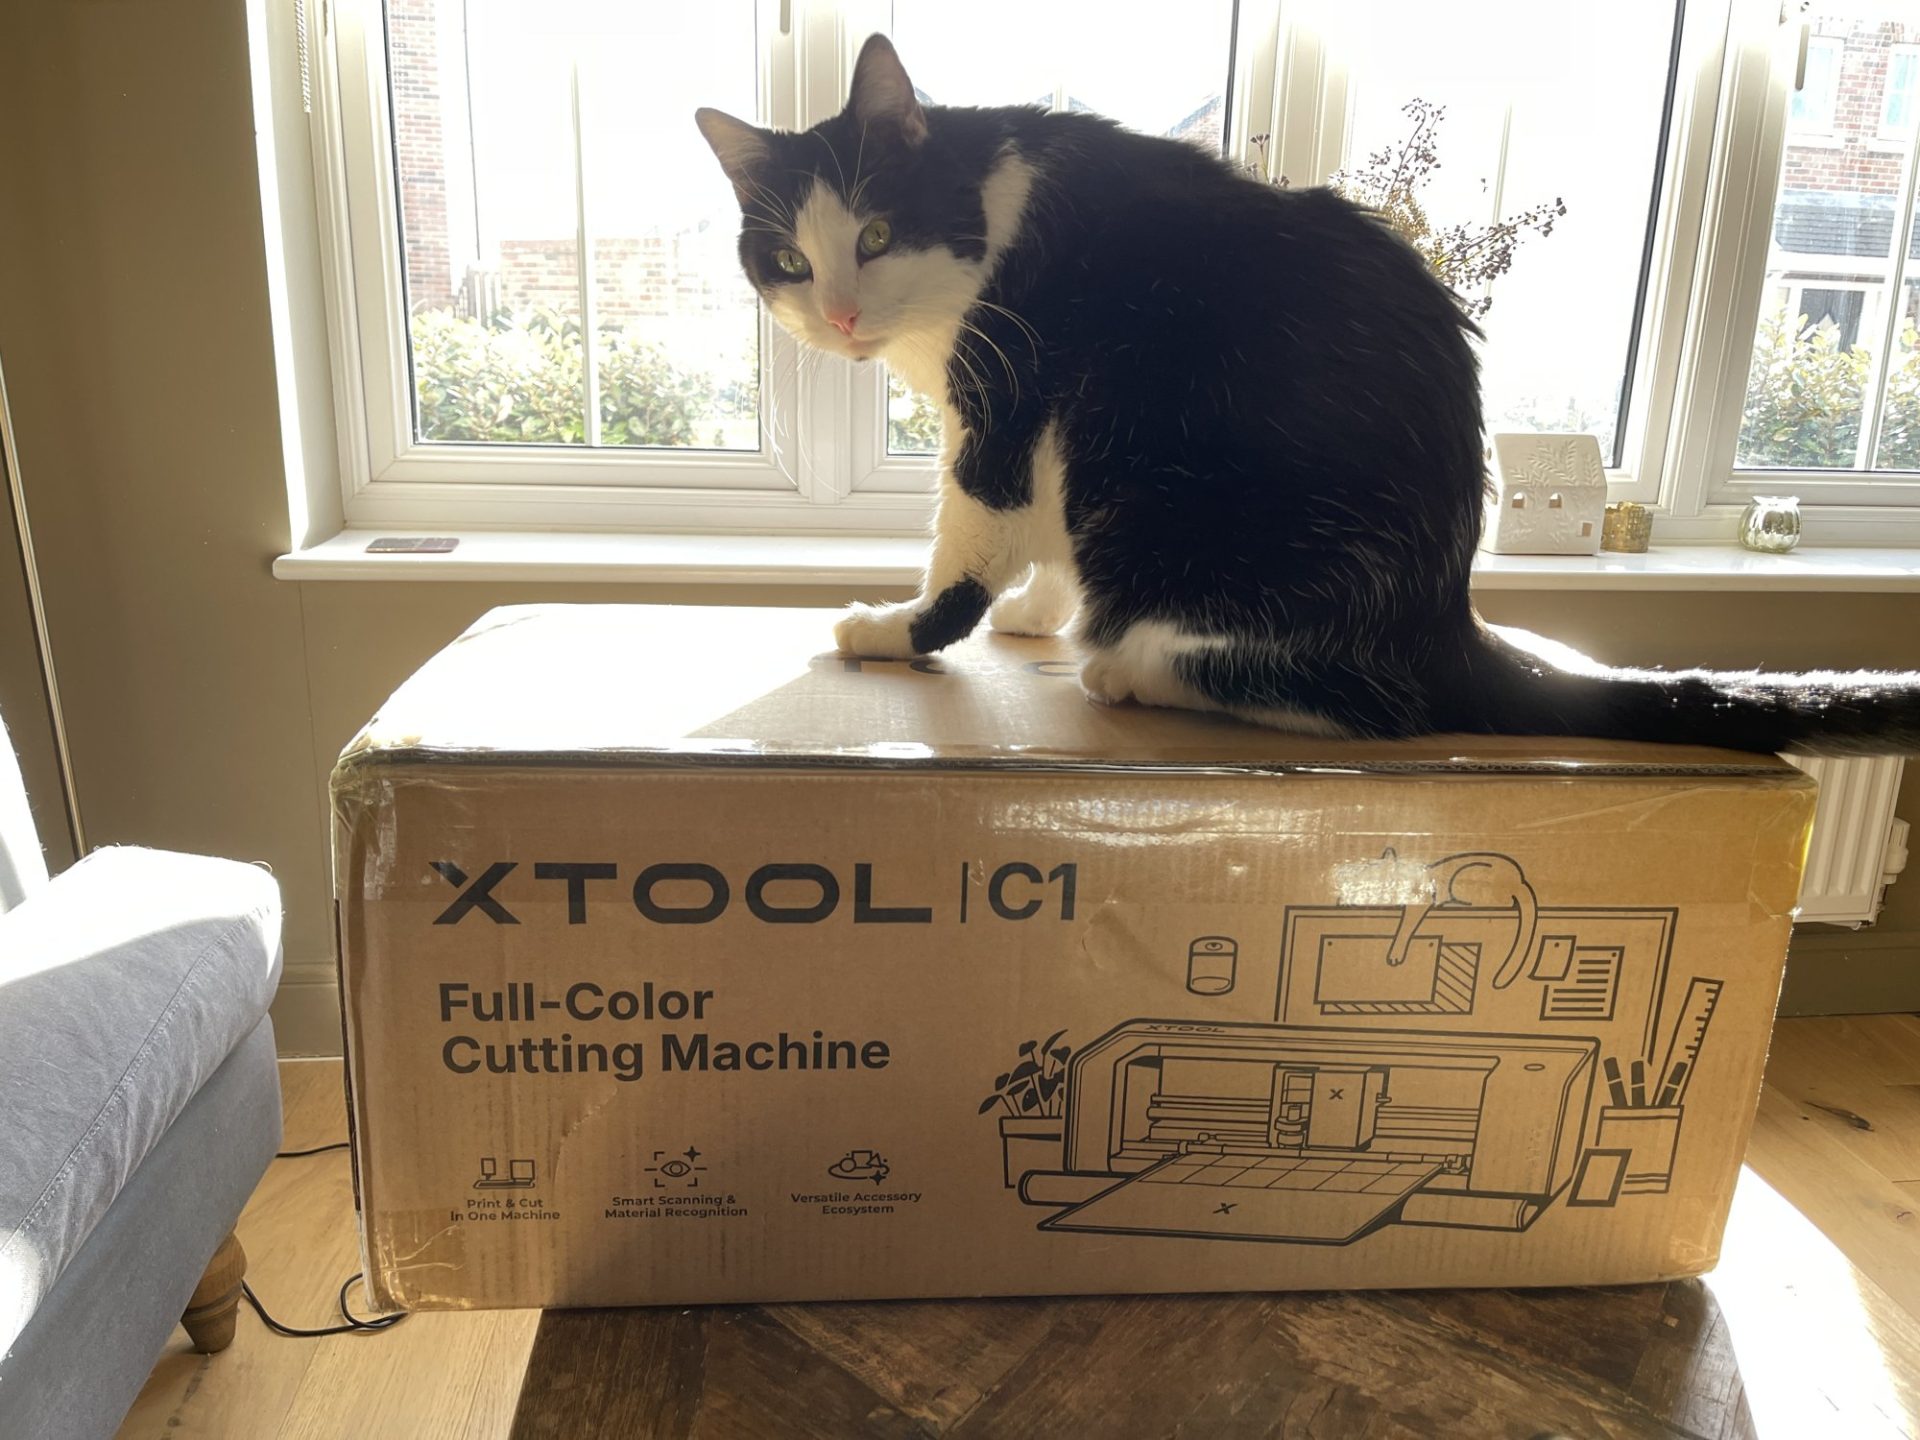
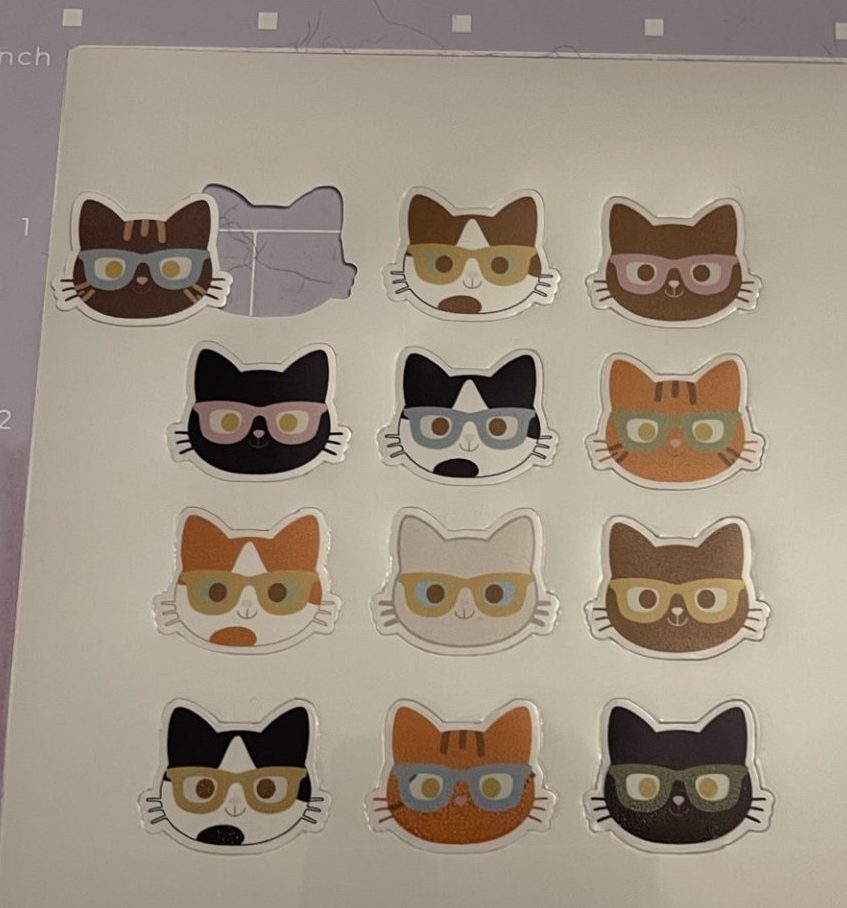
I would say it was perfect, if not for … let me just say cats are involved at this point.
xTool sent me the C1 to review. It arrived on 27 October, right as we were prepping for a huge 2,000 person event, so this is two weeks of real-world, heavy use, not a “first look” verdict.
As always, you know the drill, links to xTool on this page are affiliate links, but they don’t get any say in what I write and it is not a sponsored post.
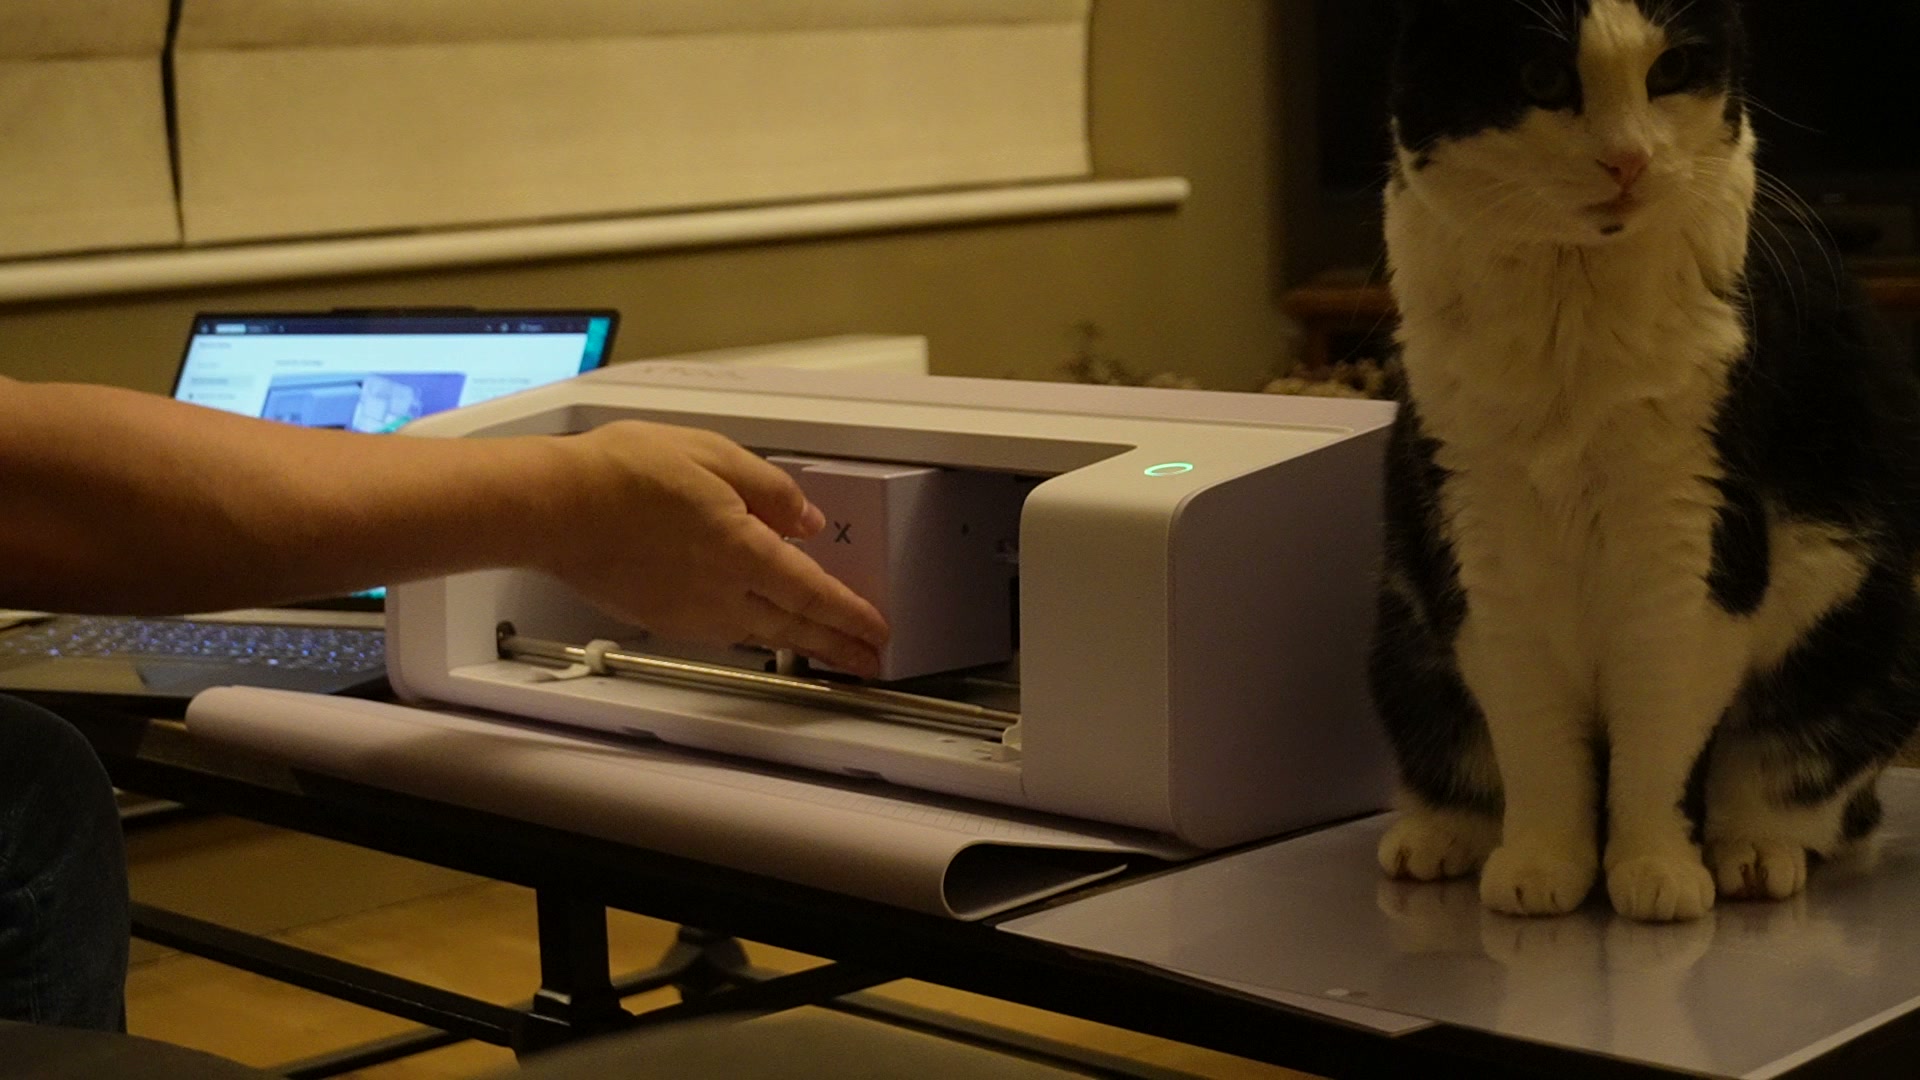
What the C1 is
Picture your regular 12″ wide desktop blade cutter such as the Cricut (is that pronounced Cricket or Cry-Cut? I feel like crying while using them ..) or Silhouette. Add in a CMYK inkjet printhead, and then add a built-in scanner.
Yep, finally printing and cutting stickers involves setting up your design and material then letting one machine take over. Print a full colour design onto the material, then cut it out, without alignment marks, different software, or moving between separate machines.
It connects over Wi-Fi as well as USB, so it does not have to sit right next to the computer.
Even without the print+cut feature, which is super convenient, the scanner is the part that matters to me. It scans whatever is on the mat and shows it on screen, so I automagically generate or drag the cut onto the actual material. Did I say no registration marks?
My comparison is our Silhouette Cameo 5 Alpha. For print and cut it relies on registration marks printed around the design, which the cutter then has to find. You can’t just paste registration marks into your design, unless you buy an additional Adobe Illustrator plugin.
Scanning beats registration marks any day, no wasted margin around the design, and it works on things I printed anywhere else including the xTool O1 Omni and eufyMake E1 UV printers, the xTool M2, or the sticker makers’ favourite, the Epson EcoTank. That is a big deal, as we will touch on later.
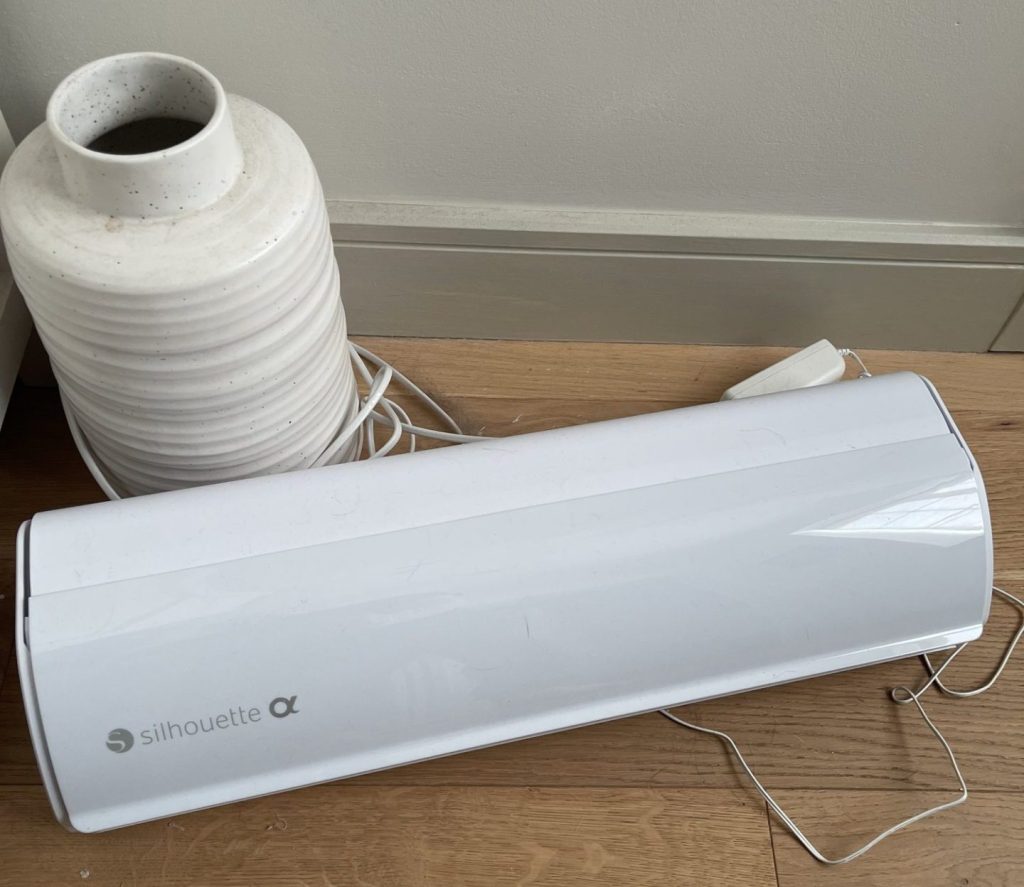
Before the C1, this is how I made sticker sheets: lay out the sheet in Silhouette Studio, print it with registration marks, then send it to the Cameo.
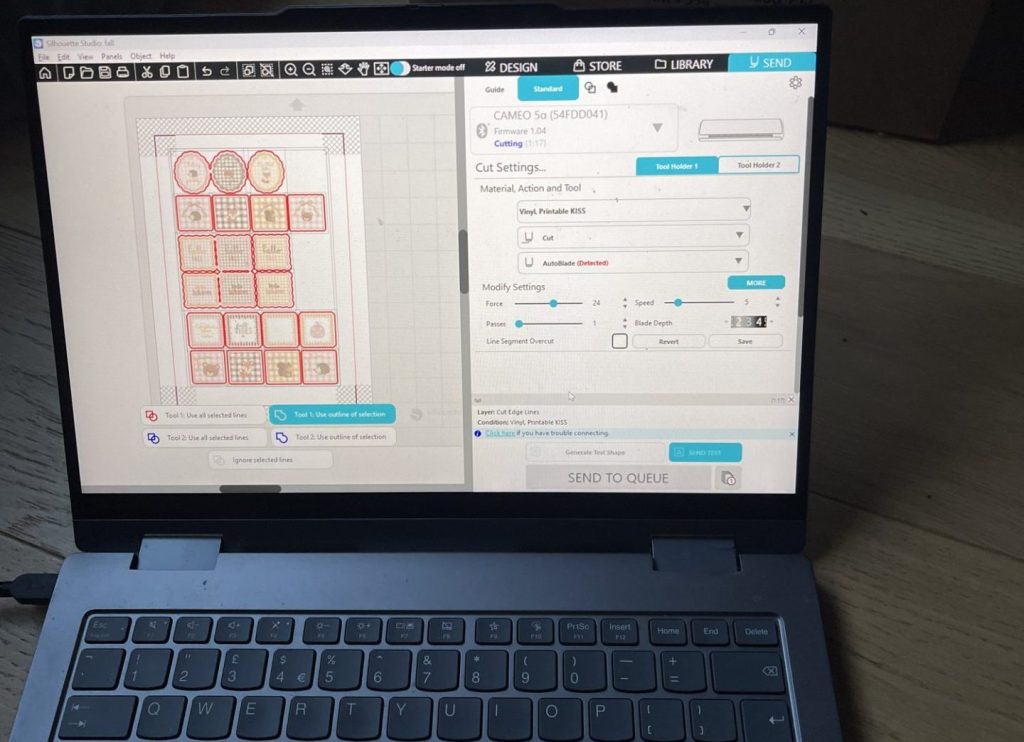
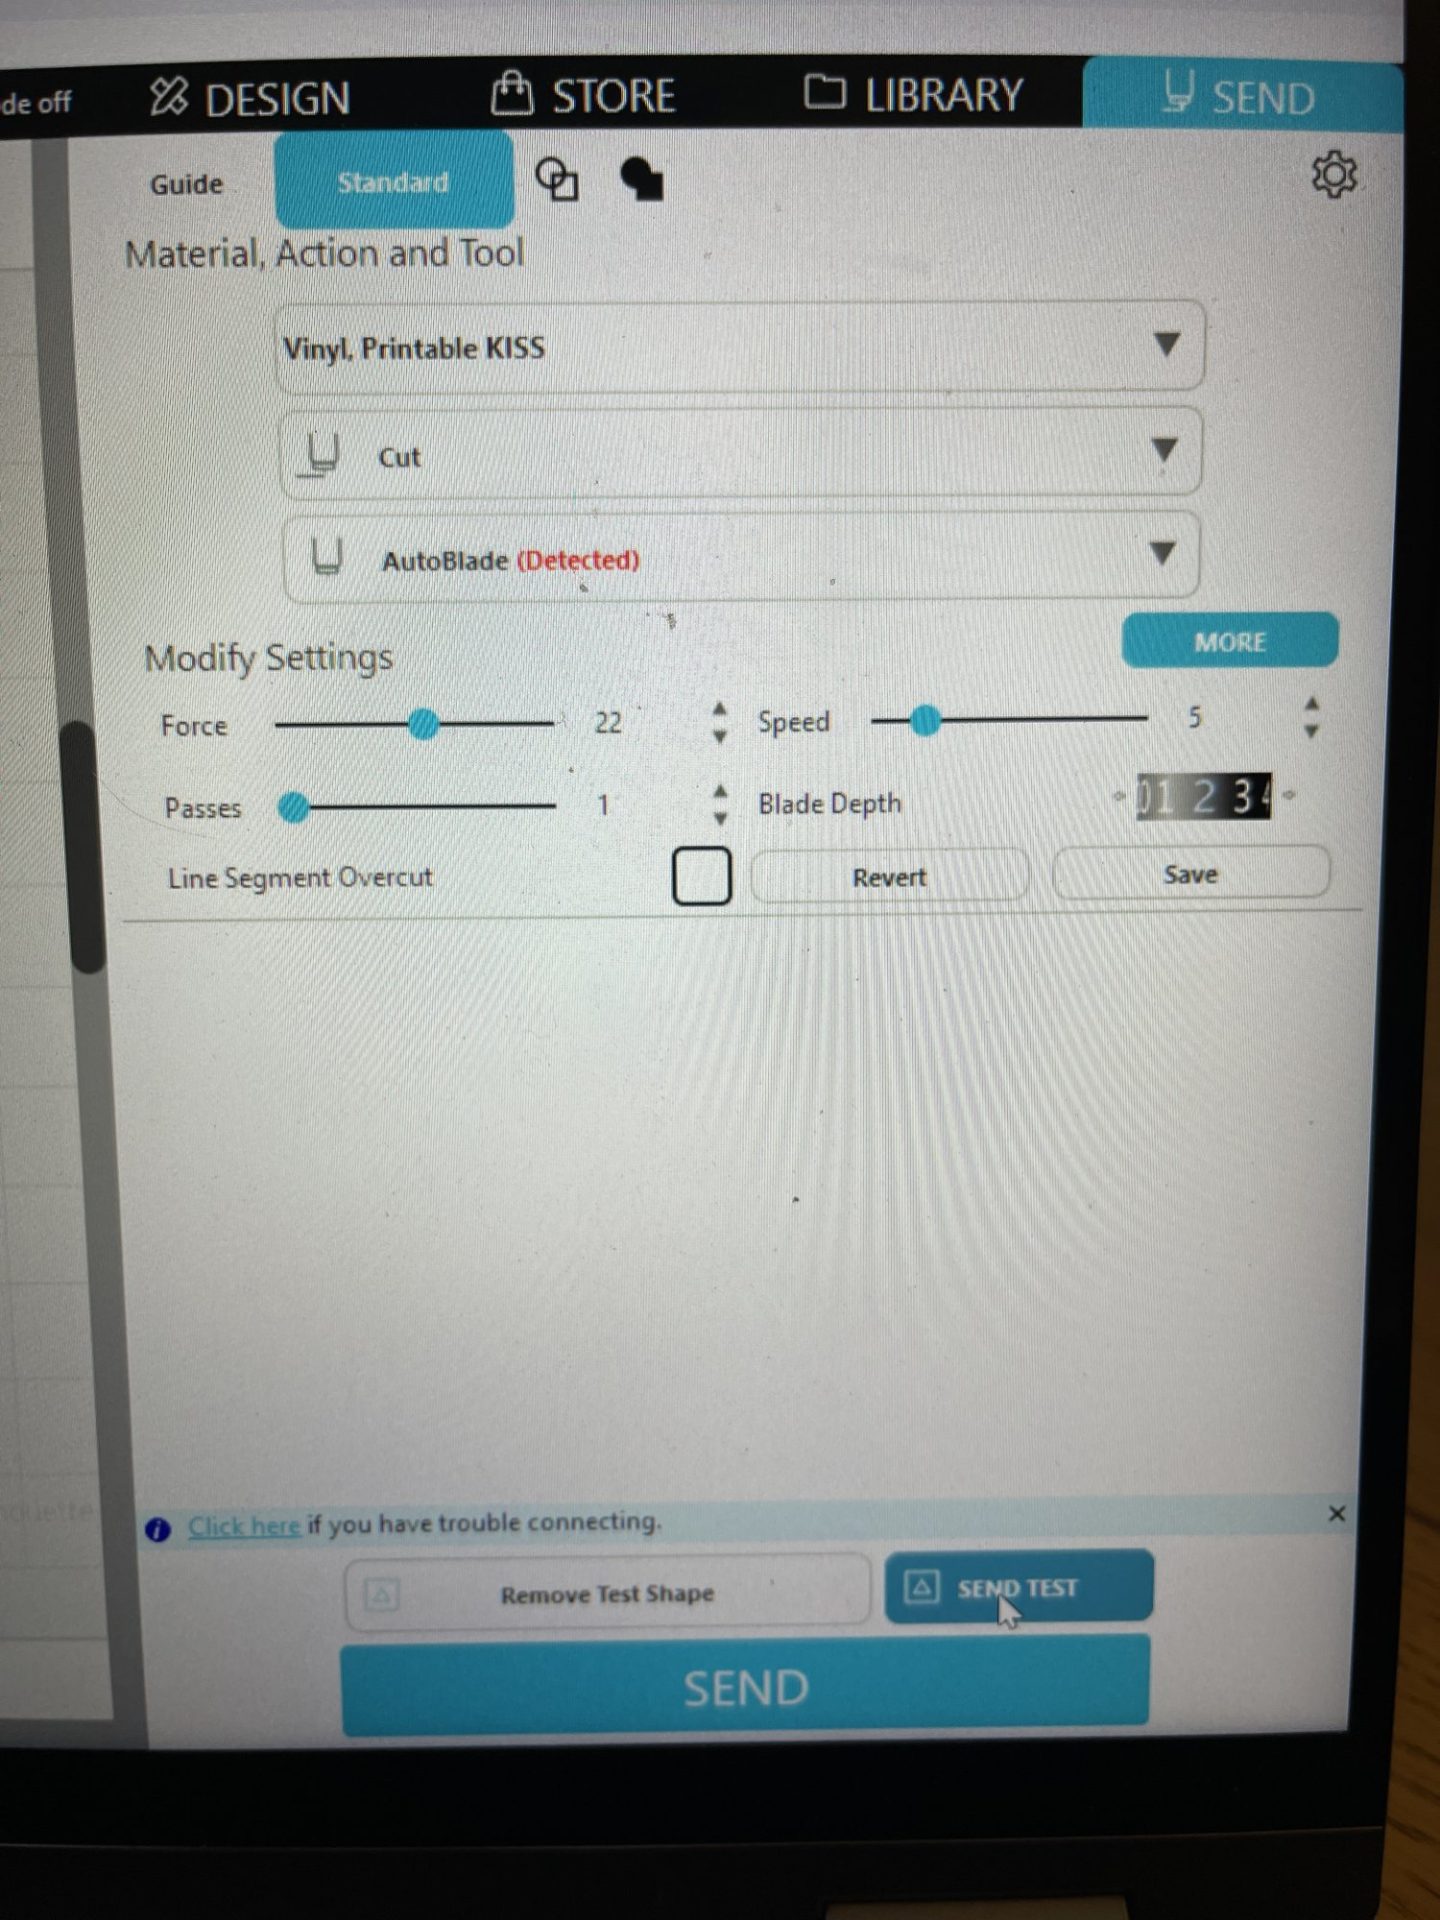
The Silhouette has its own preset guesswork too. Printable vinyl kiss cut with the AutoBlade: force 22, speed 5, one pass, then a test cut.
It does work. This kiss-cut sheet came off the Cameo.
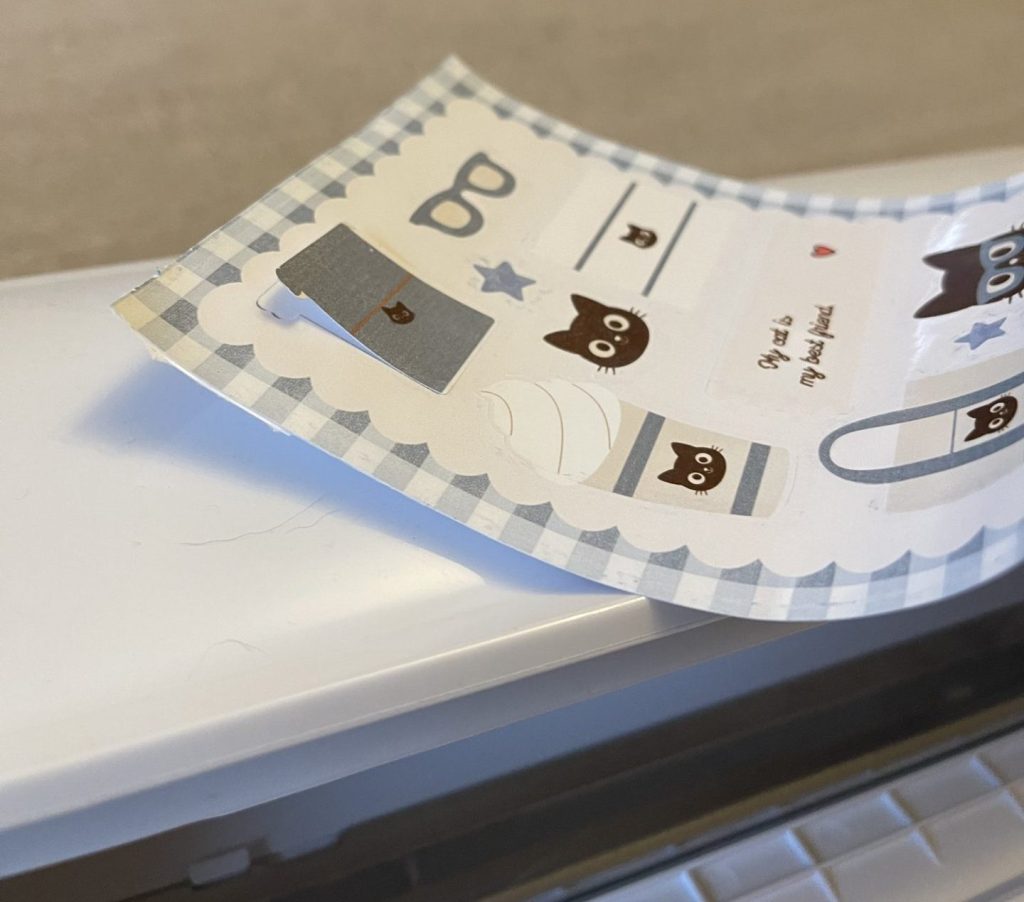
It’s hardly “plug and play”, though, and the Silhouette software feels very 1990s in use.
xTool C1 Price and availability at the time of writing
As yet I haven’t seen UK pricing for the sticky mats or ink. This is important stuff so I will update as soon as I get answers back from my contacts.
US: C1 Basic $469, Deluxe $539. With an Atomm Pro membership ($9.90 a month) they drop to $399 and $469. C1 plus WonderPress apparel bundle with membership: $849.
UK: C1 Basic £449, Deluxe £499. With Atomm Pro membership (£9.48 a month): £399 and £449.
The membership includes 1,400 AI credits a month, 5 GB of cloud storage and a $20 / £20 materials coupon each month.
Pre-order at the time of writing. The US store says shipping from mid December.
The UK store lists a 24-month warranty, the US store 12 months.
Unboxing and setup
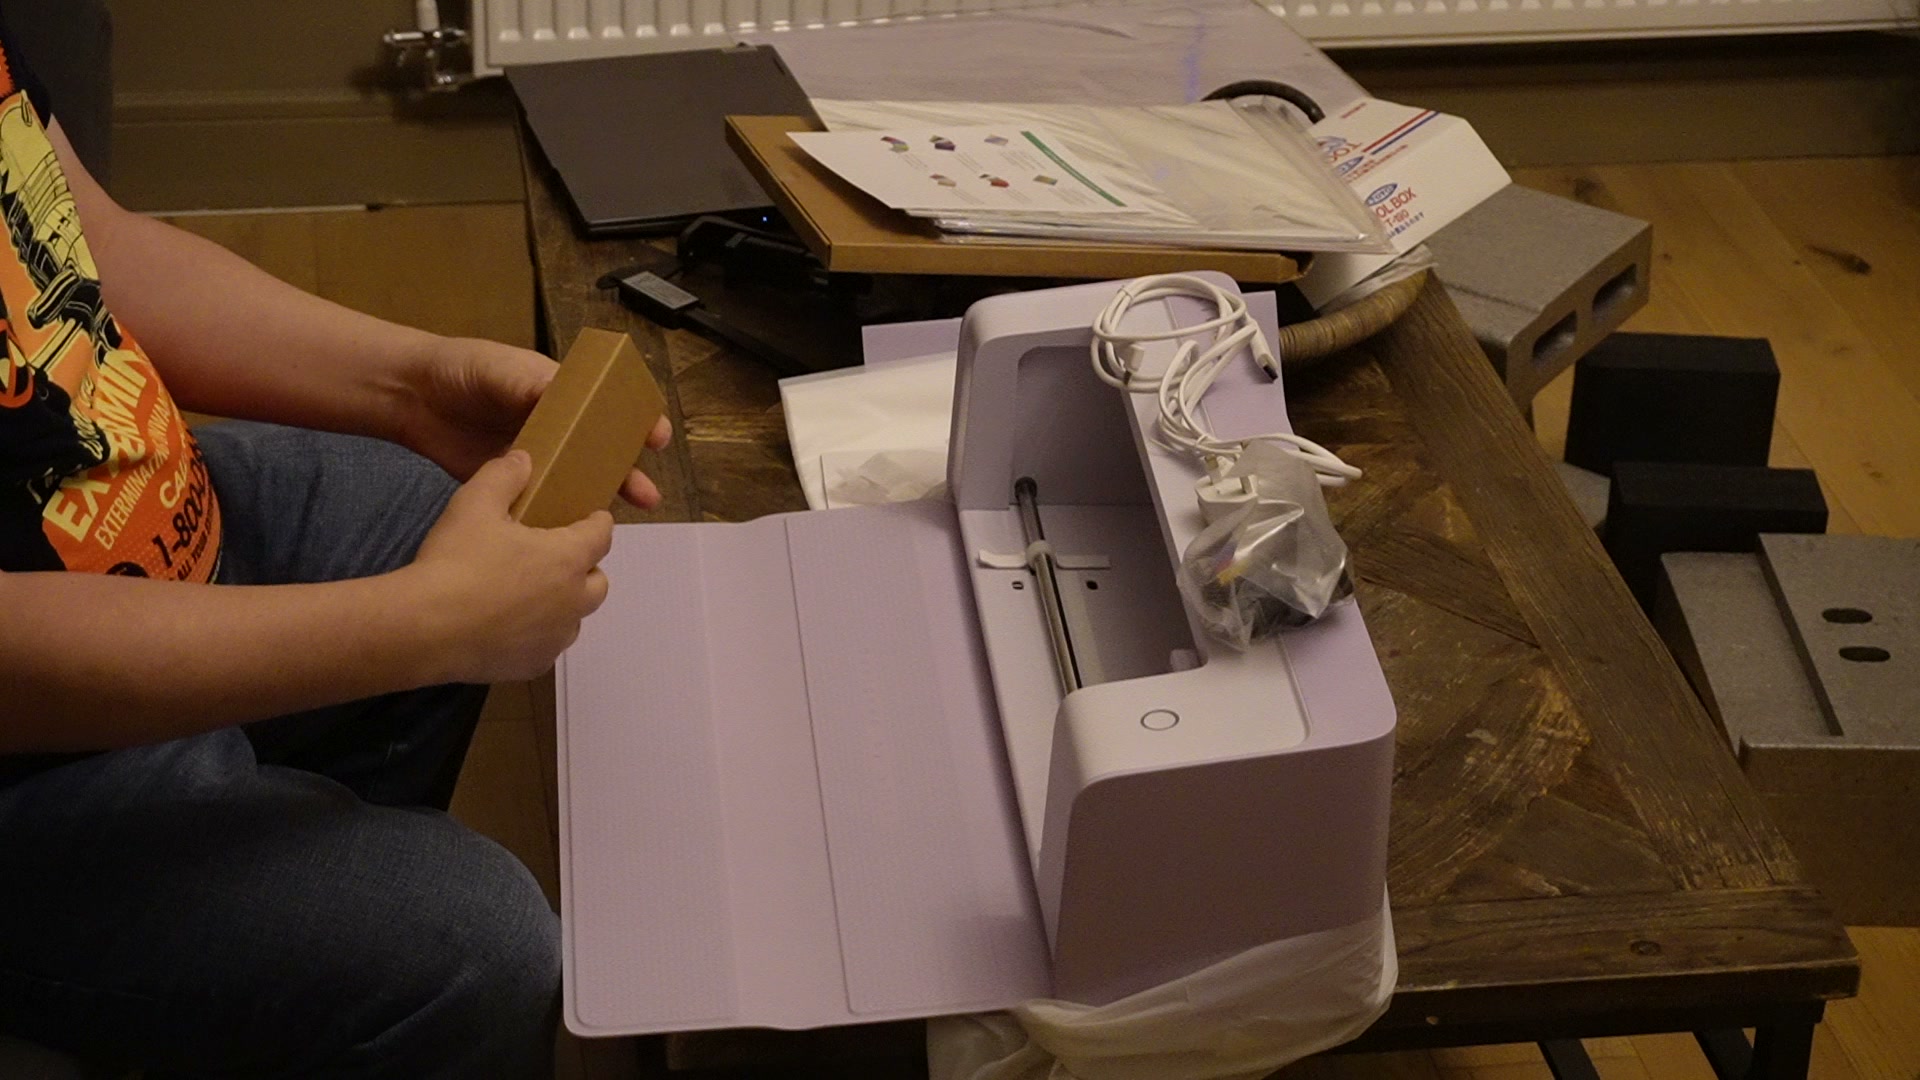
The flexible cover at the front matters. Rolled up, it supports the middle and back of the mat. Laid flat or folded, the mat sags and the front lifts, and it can catch the scanner as it feeds.
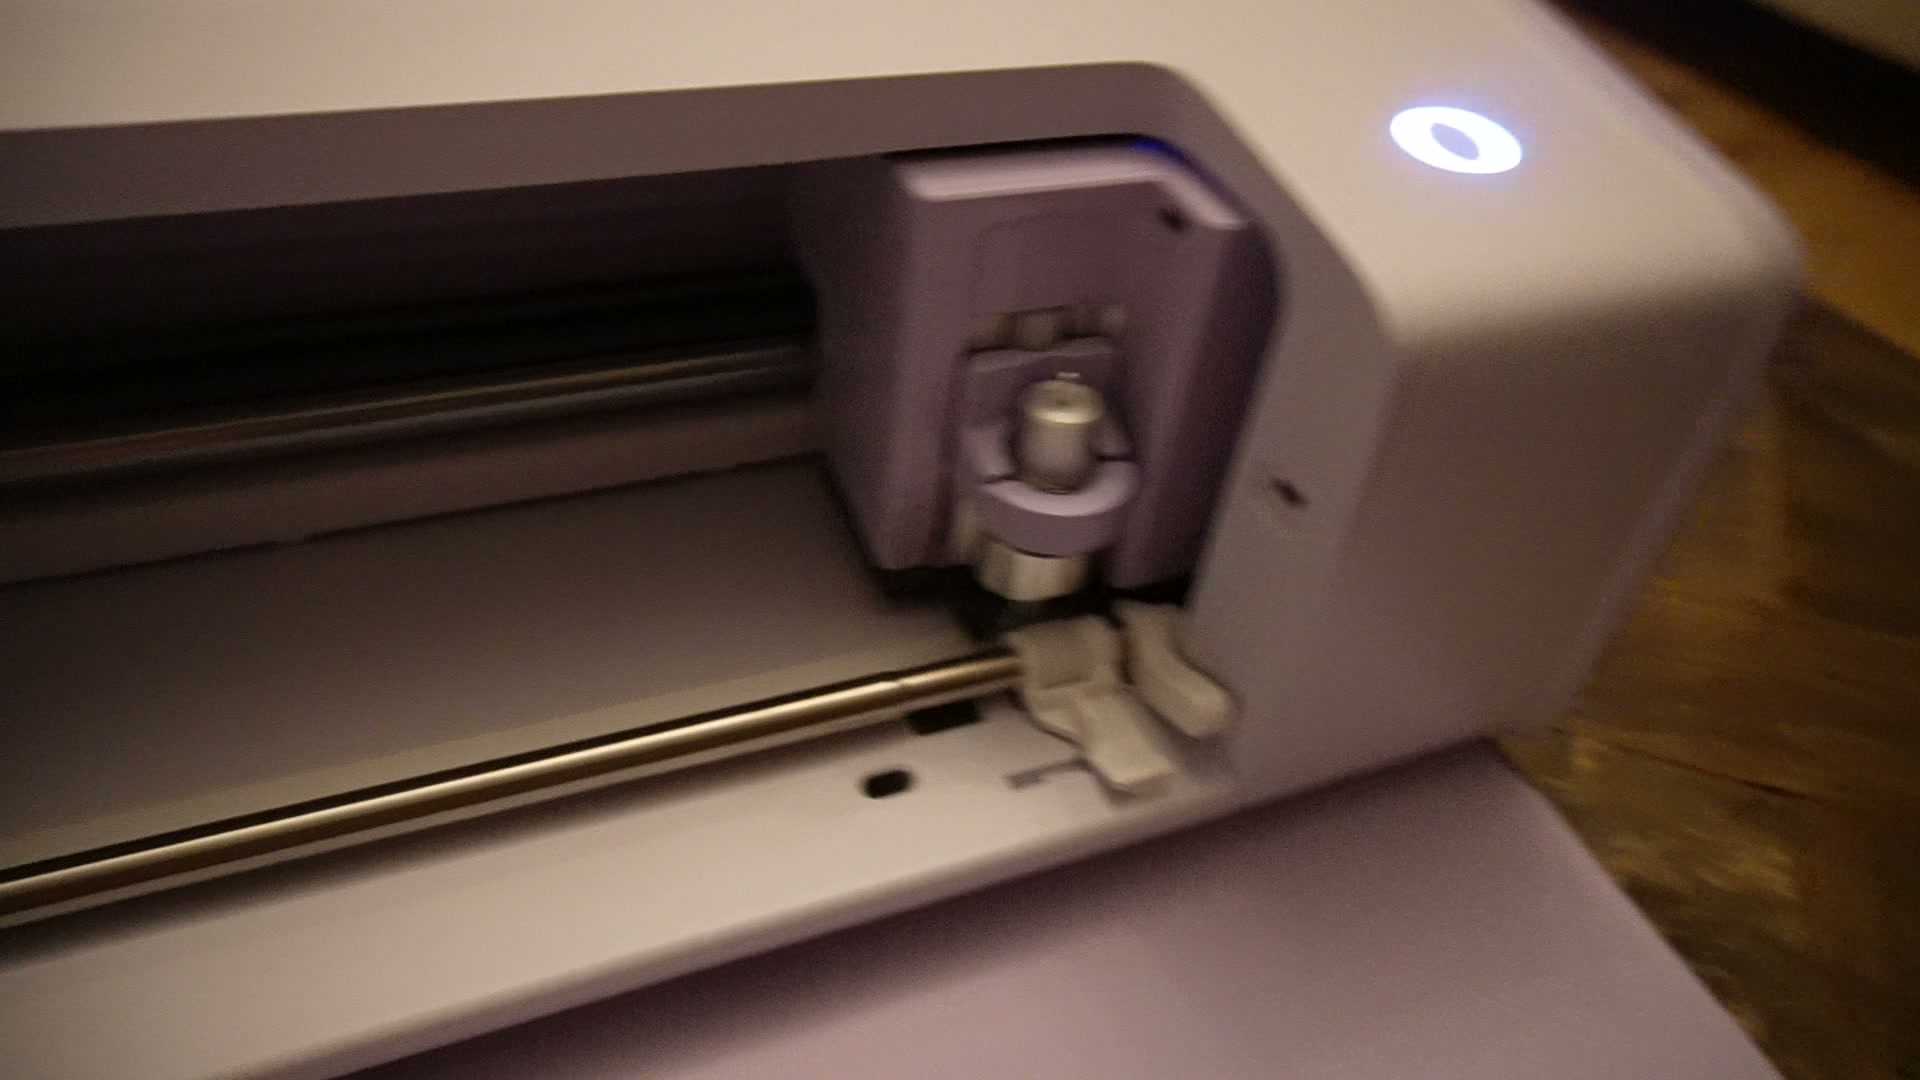
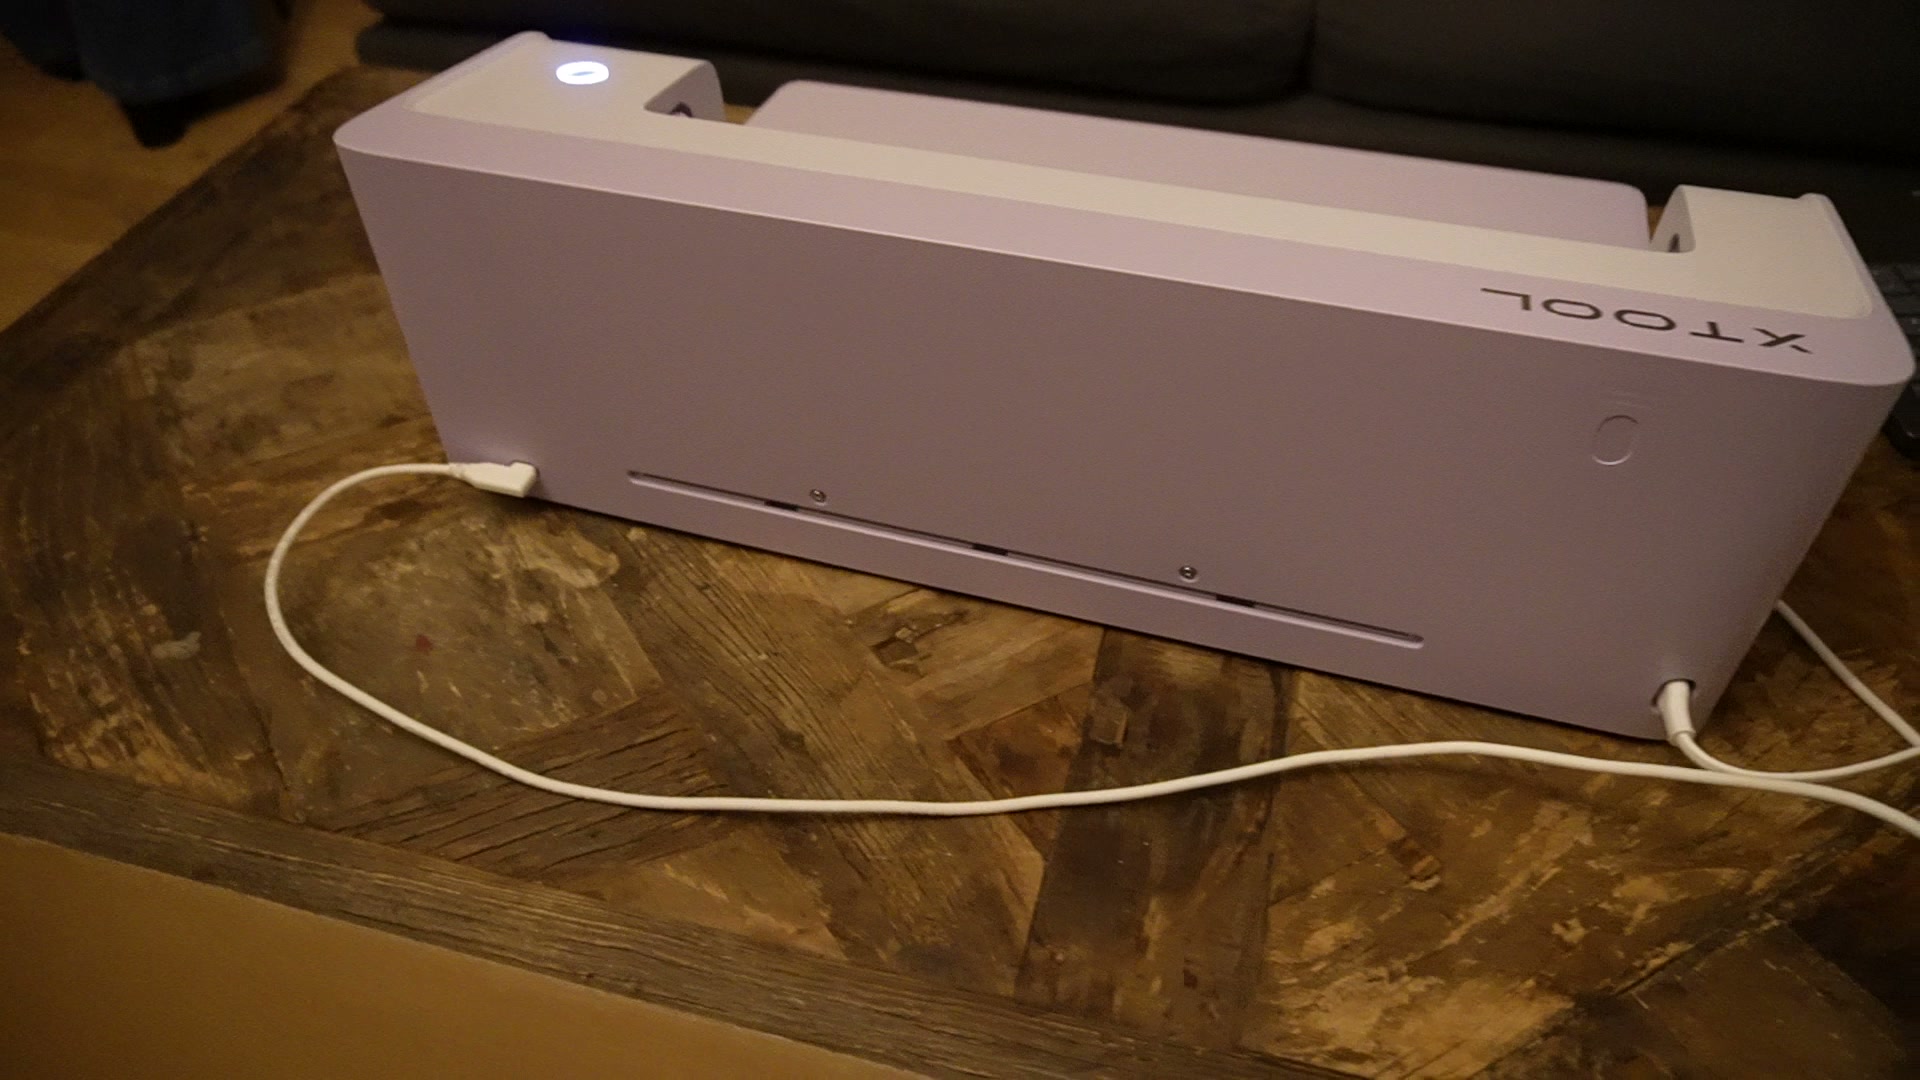
First connection to xTool Studio forced a firmware update before it would do anything.
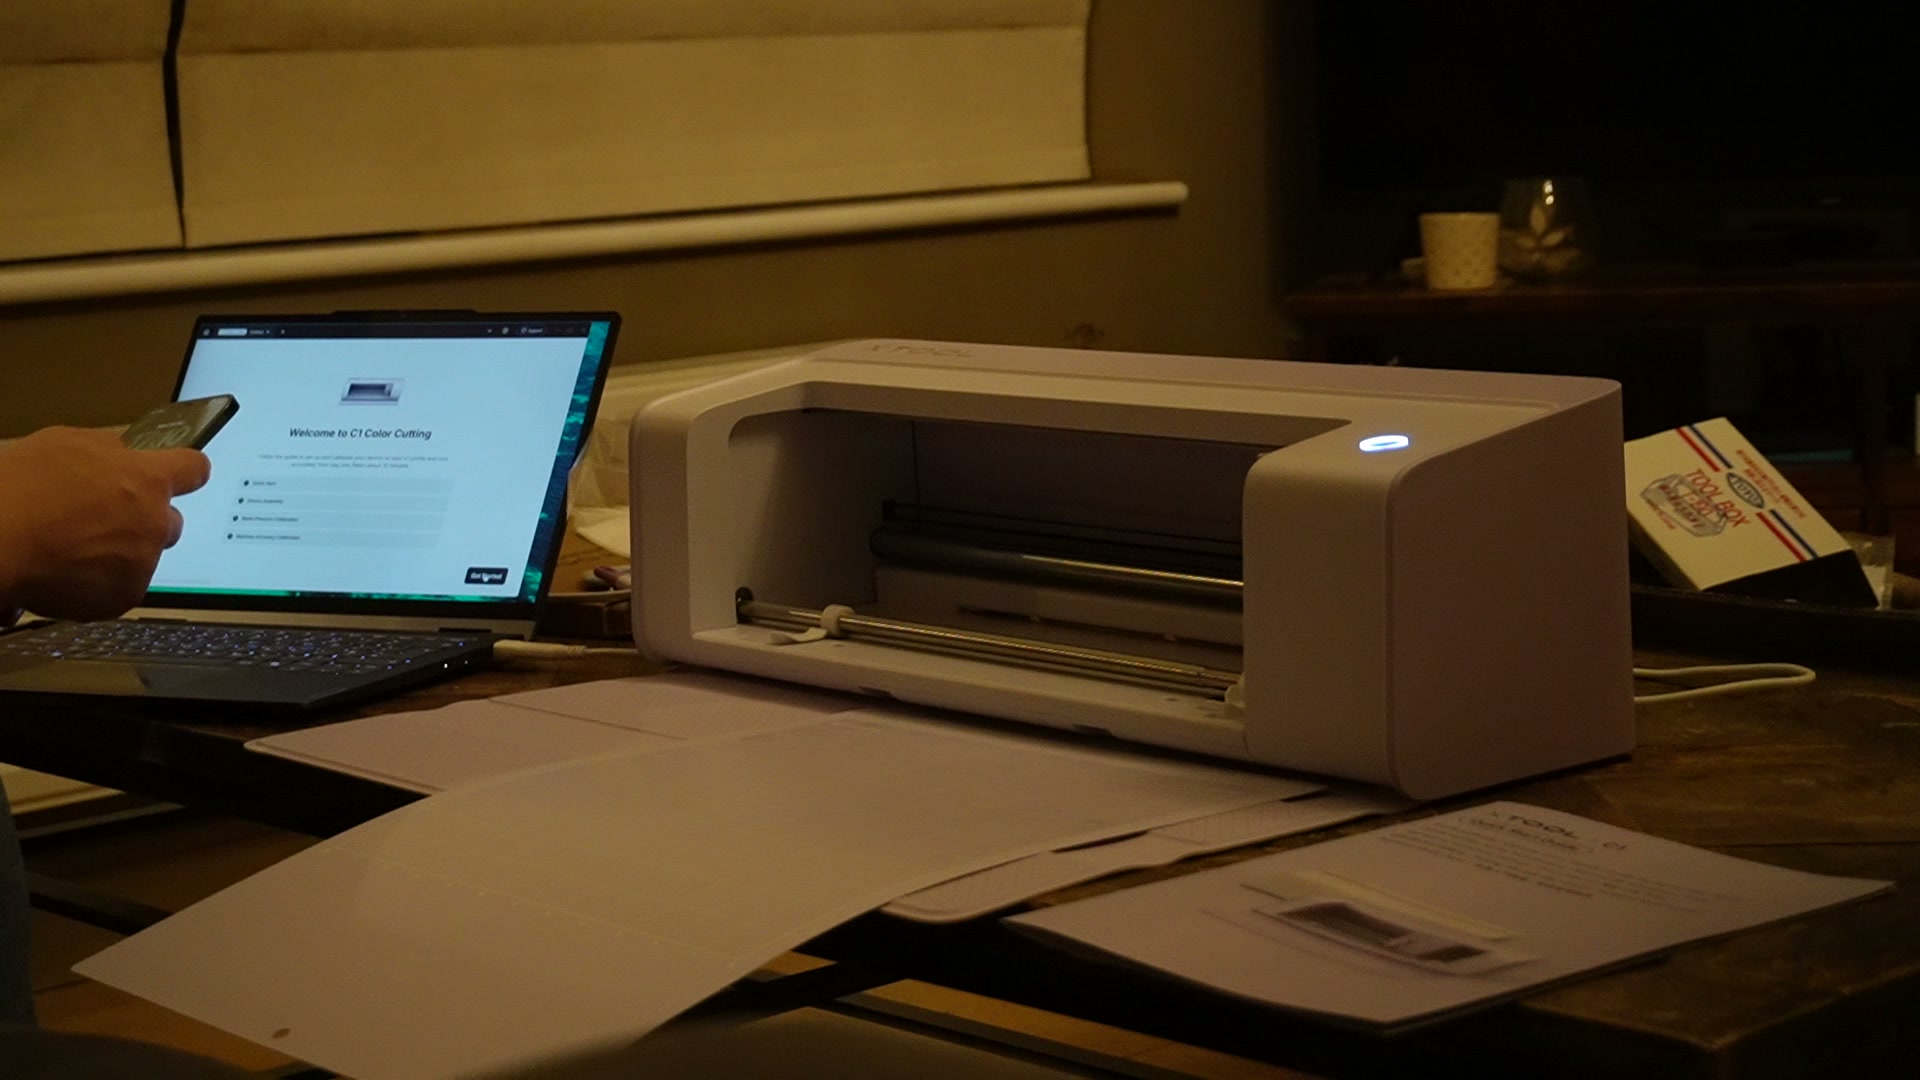
Setup walks through device assembly, blade pressure calibration and machine accuracy calibration.
The accuracy calibration prints and cuts a test sheet. xTool says it gets print to cut alignment within 0.3 mm. If the white edge from that 0.3 mm still shows, there is a bleed setting that prints past the cut line.
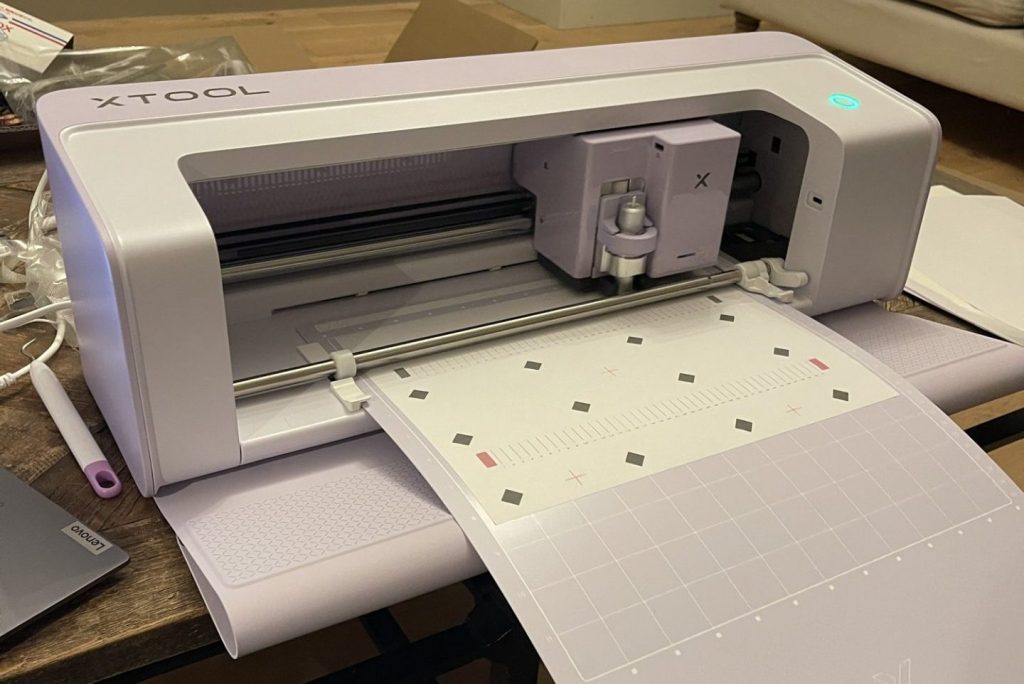
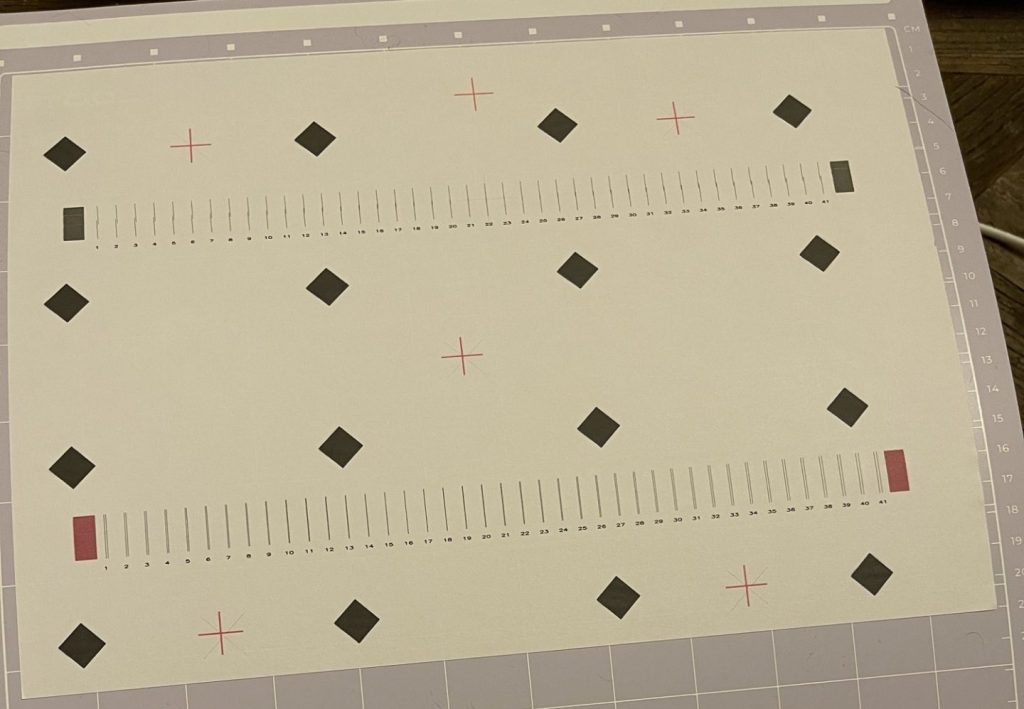
The mat has to be pushed right against the rollers before it will auto-feed. It’s nice how it ensures it is all lined up, no messing with sliders and fiddly size guides.
Can the C1 really print and cut?
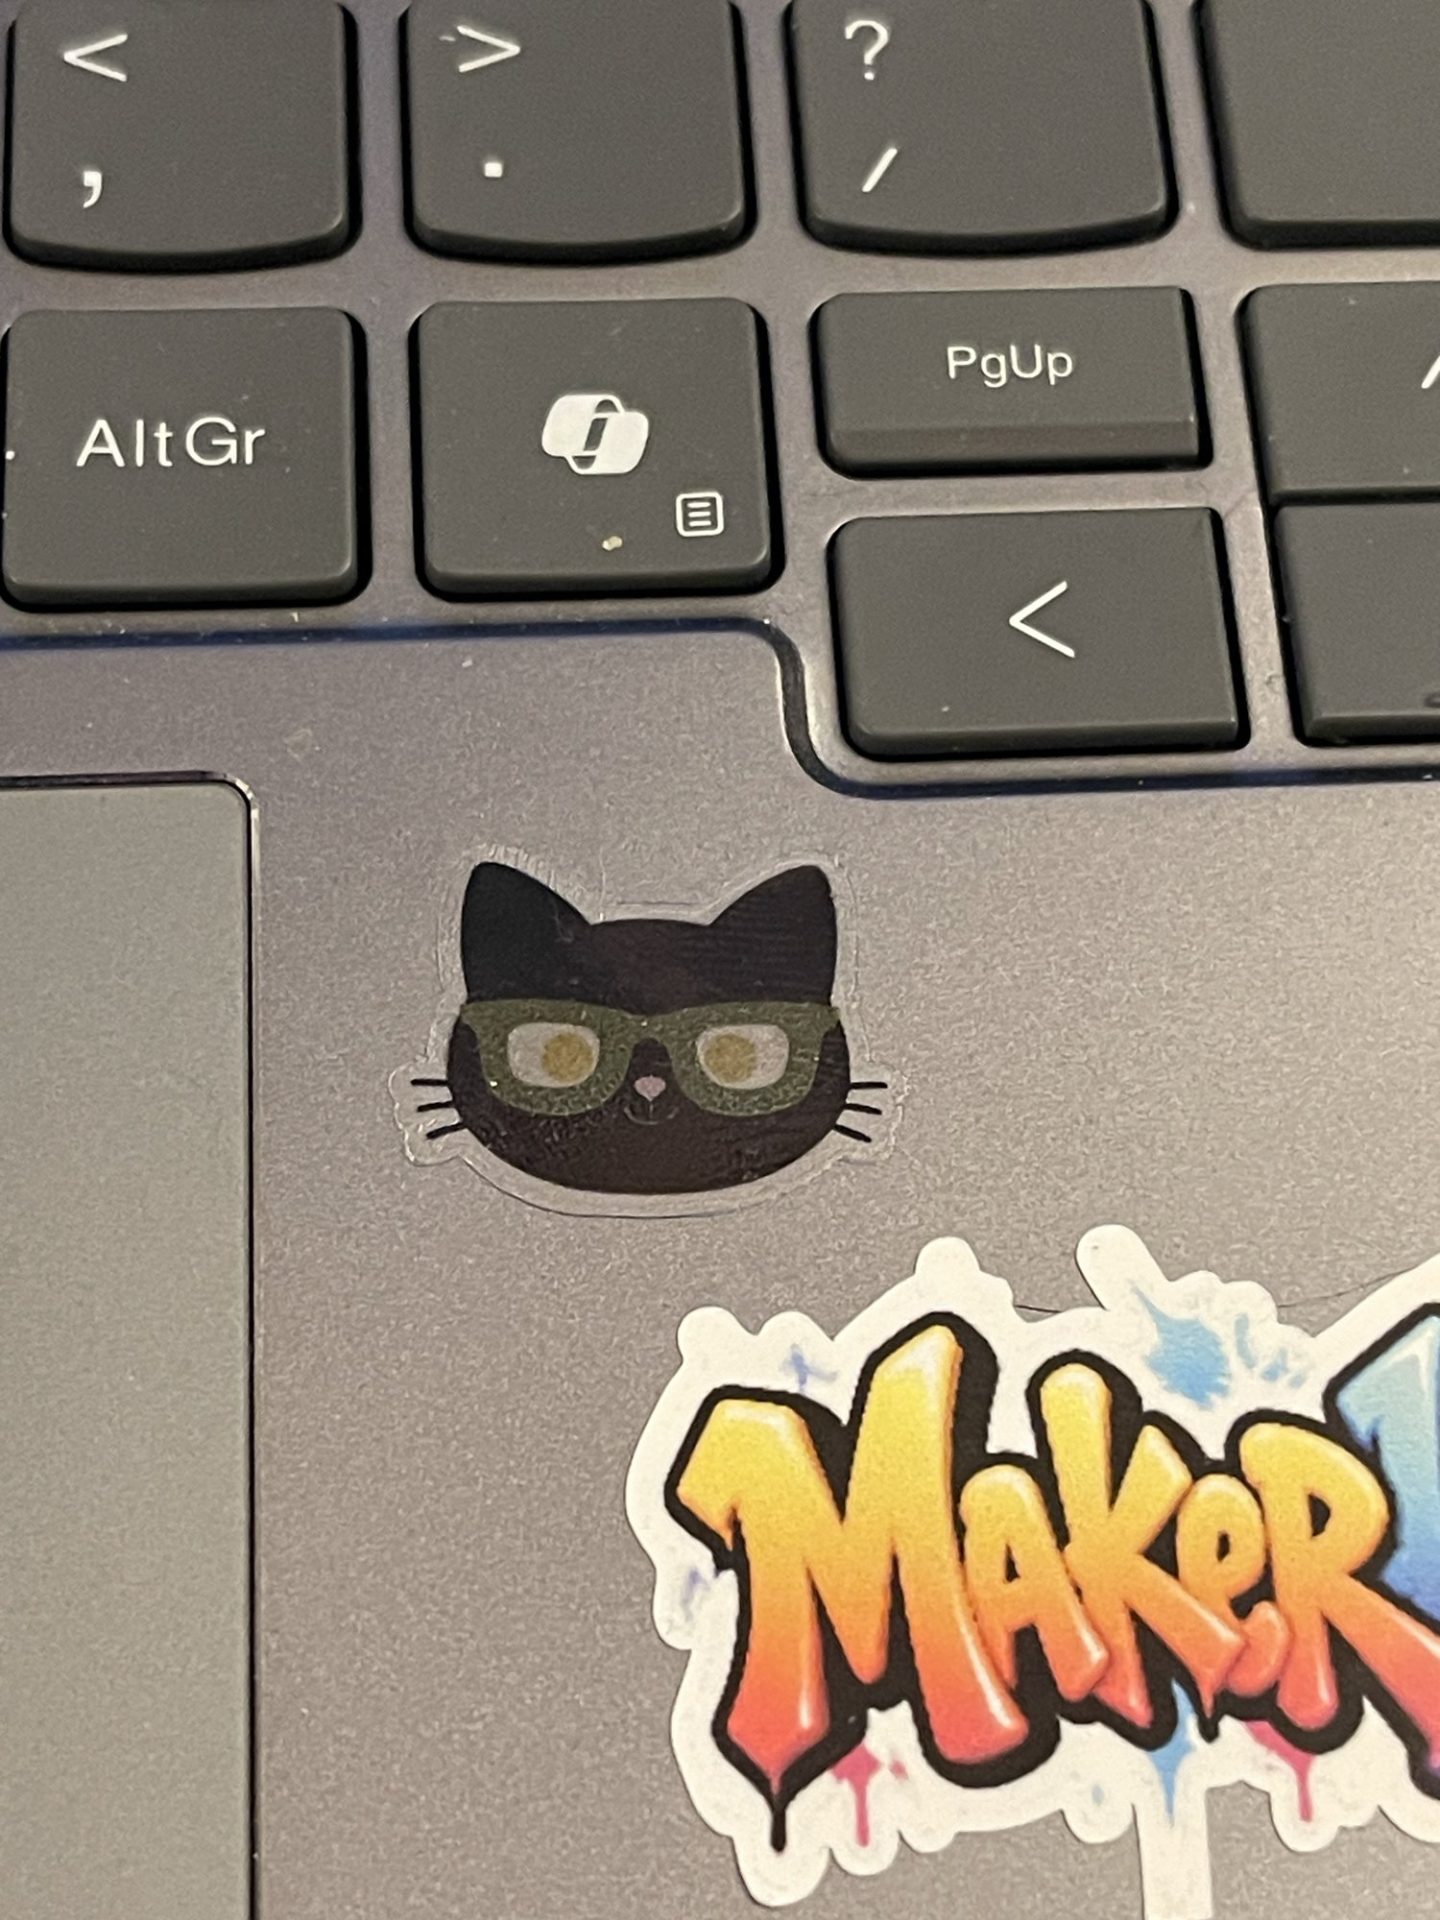
Print and cut works. My first real job was a MakerHacks sticker, and it went straight onto my laptop. In that case it was even easier than I have been suggesting so far because the included sample materials have QR code stickers that tell the machine what materials you have loaded and what the correct parameters are.
Other than the cat-related issue I mentioned earlier, and since resolved software/firmware bugs, all my problems were caused by settings.
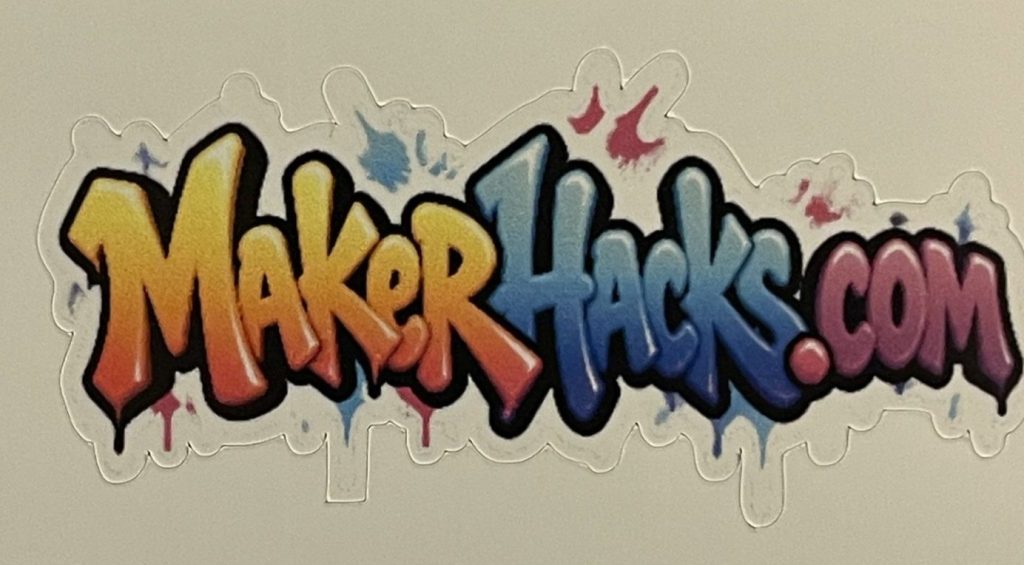
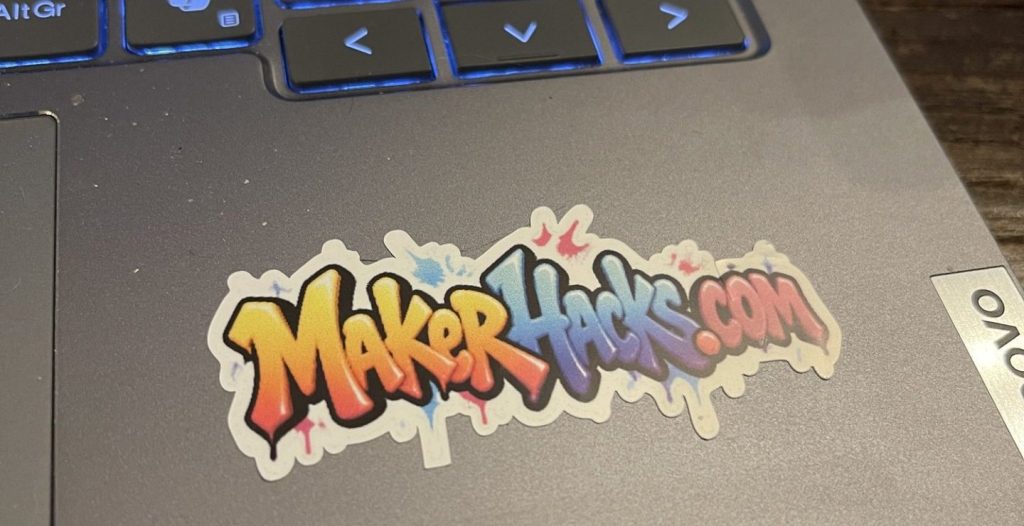
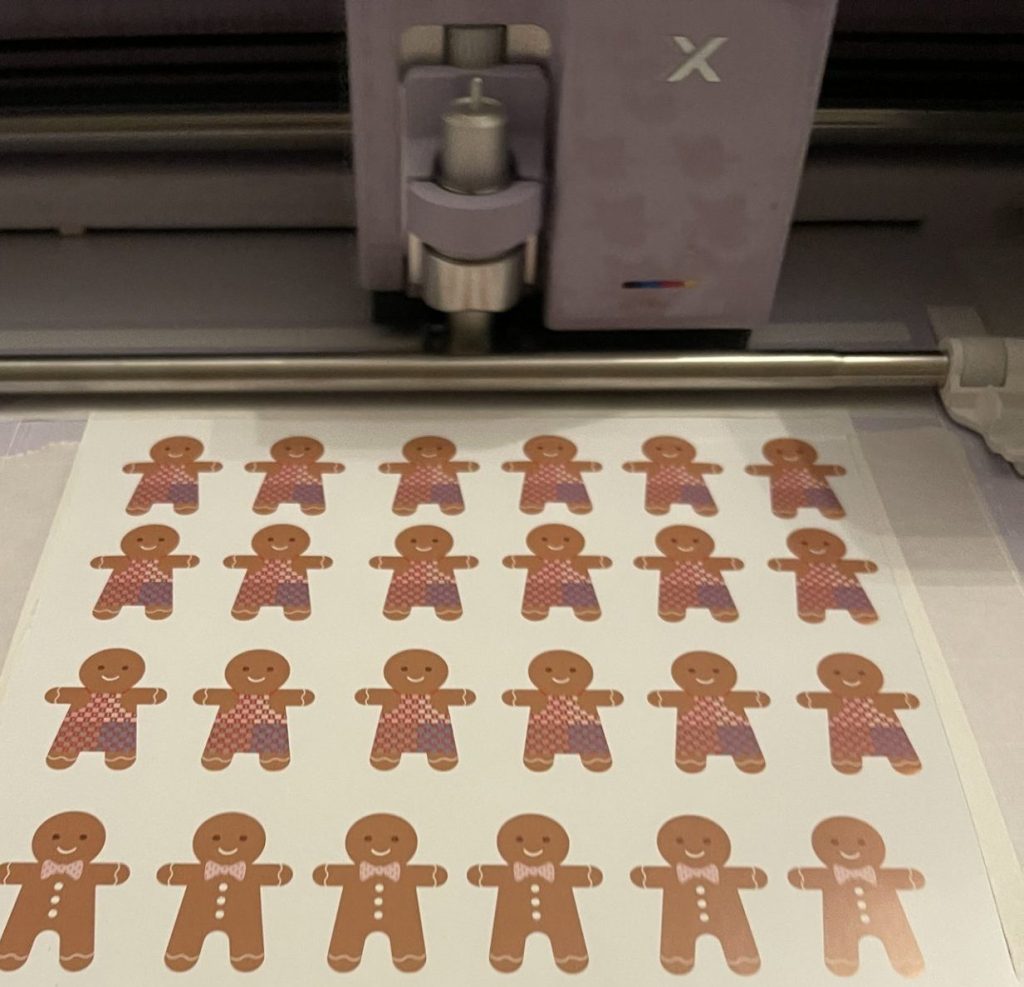
The software is improving fast. When the C1 arrived, a printed background and the cut had to be two separate operations. Now print, print and cut, and cut-only parts can be mixed in one job.
I did hit this error with four sheets laid out: “Failed to generate the processing file. Please try again.“
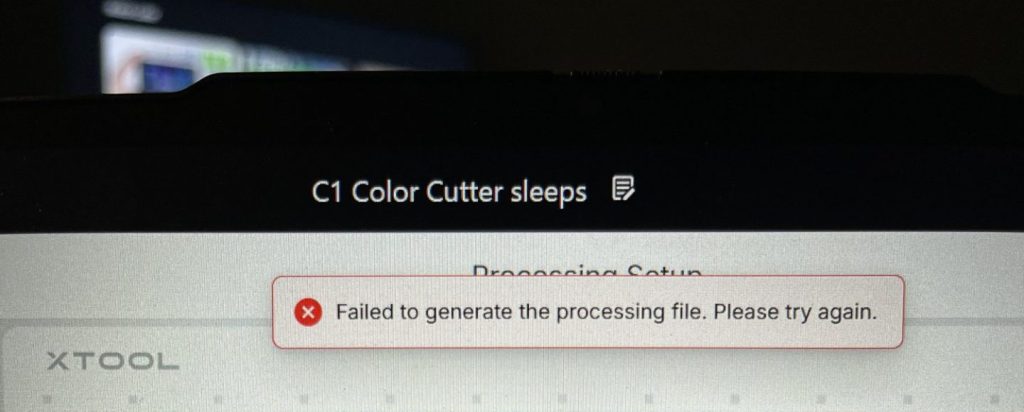
Moving the design away from the edges, saving, and opening the app again seems to resolve the issue in most cases.
Scan and cut?
Scan and cut also works.
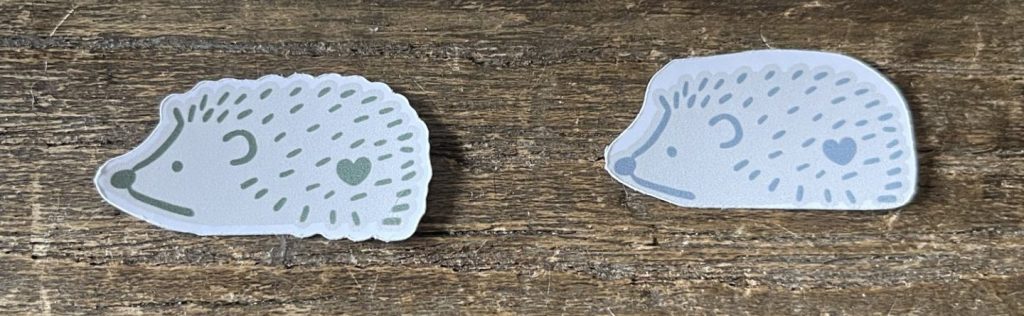
Using the automatic cut lines is a friendly and convenient option, but I find using vector cut lines a better result. See the photo above for how automatic has been turning out for me. Your mileage may vary.
This is a great alternative workflow, and one that I think will be extremely popular. Print on something else, then let the C1 scan it and cut around the artwork. That should give great results. I have an inkjet printer, plus the xTool O1 Omni and eufyMake UV printers, so the C1 does not have to be the main printer for it to be a valuable tool.
The UV printers add some cool options that the C1’s inkjet cannot such as printing in white, raised layers and adding a layer of gloss.
Scan resolution is switchable between 300 dpi (faster) and 600 dpi (sharper) in the device settings.
Materials, QR codes and blade settings
As I mentioned, xTool’s own materials carry a very convenient QR code. The C1 reads it during the initial scan and sets speed, pressure and passes itself. Yes, it works when you peel it off and add it to the mat, too.
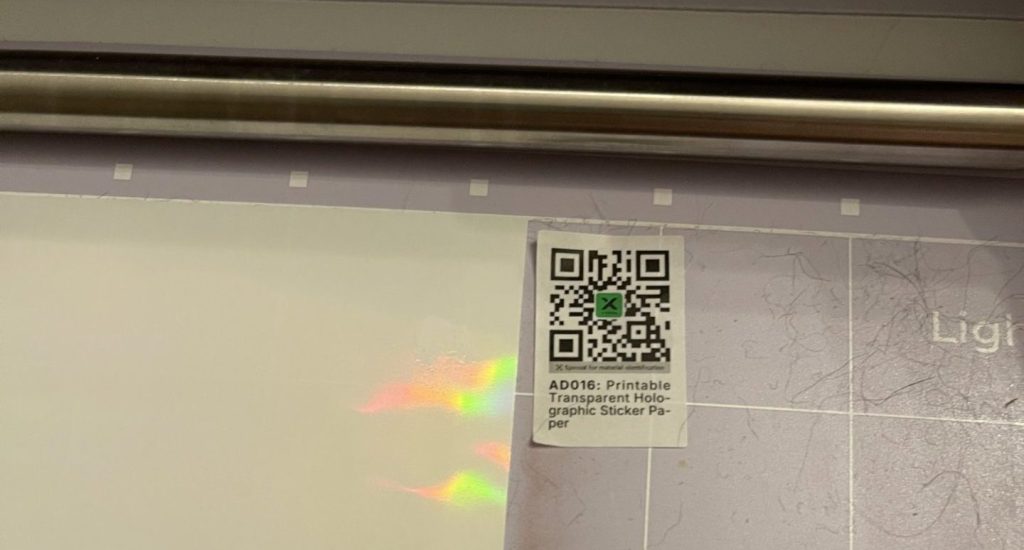
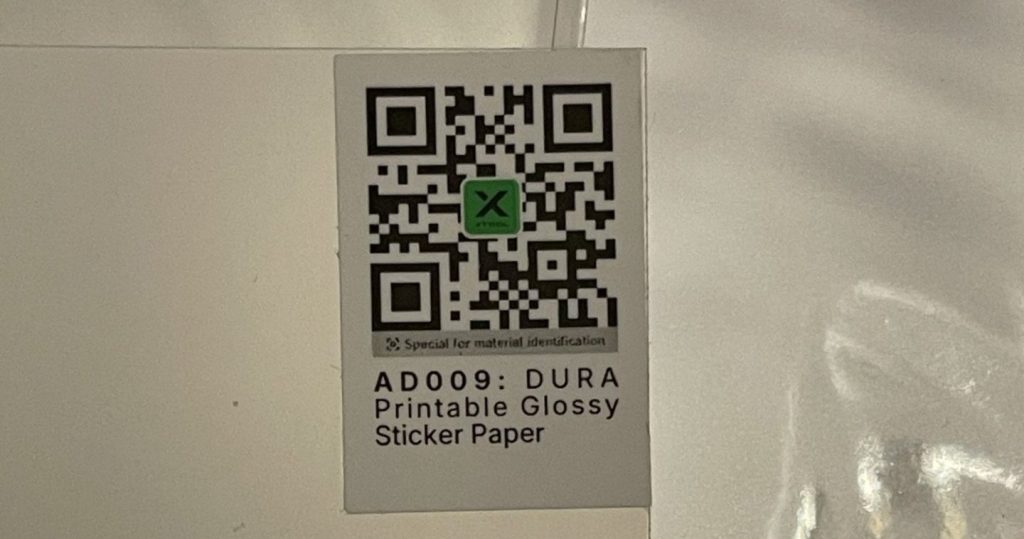
Anything without a QR code is the familiar “new machine + new material” trial and error on blade settings, even when the materials were purchased from xTool like our white glossy sticker sheets. xTool’s own guide does say the material library is still incomplete.
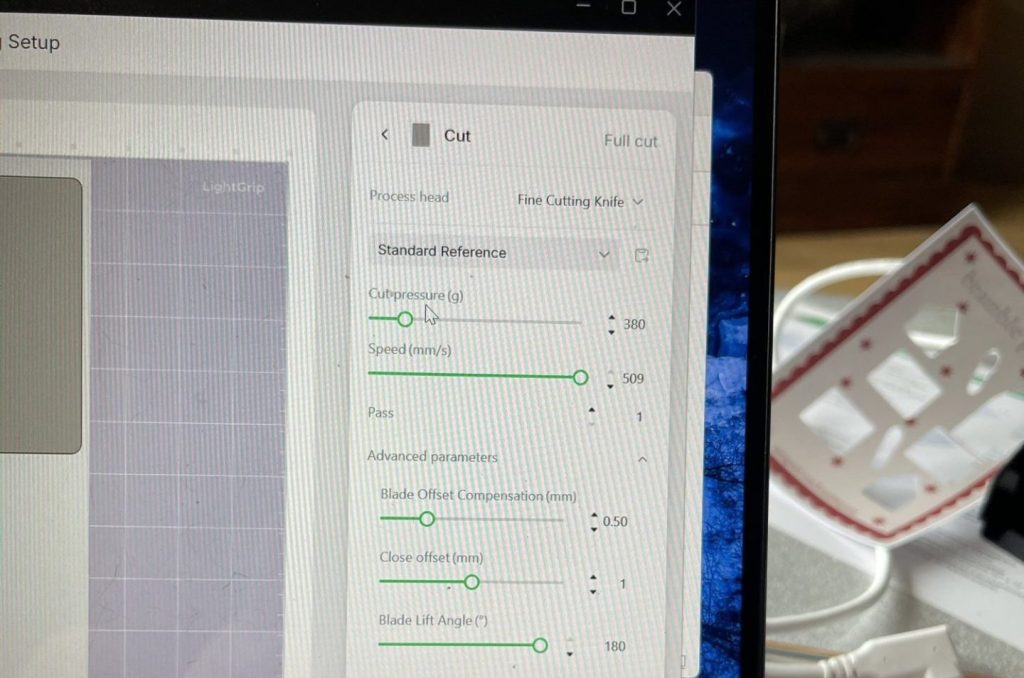
The materials are not cheap, but they are very good. It’s nice we are not locked into them, and xTool’s printable glossy sticker sheets, which I bought before the C1 turned up, and Koala sticker paper both gave excellent results once I had workable settings.
Blades from xTool’s guide:
Fine-point for vinyl, HTV, paper, stickers and cardstock up to 1 mm, with half-cut (kiss cut) support.
Deep-point for thick HTV, magnetic sheet, thin cardboard and thin leather up to 1.6 mm.
Rotary blade for fabric. A cutting blade for balsa and basswood under 2 mm. Maximum feed thickness 3 mm.
Optional ultrasonic cutter for thicker material, mounted on the machine or used freehand. xTool says it launches in January 2027.
Pens: xTool’s 0.4 mm pens with an adapter sleeve. Cricut pens fit too.
The mat problem
The included lightgrip mat lost its grip quickly. I now have to hold the sheets down with masking tape with mixed results.
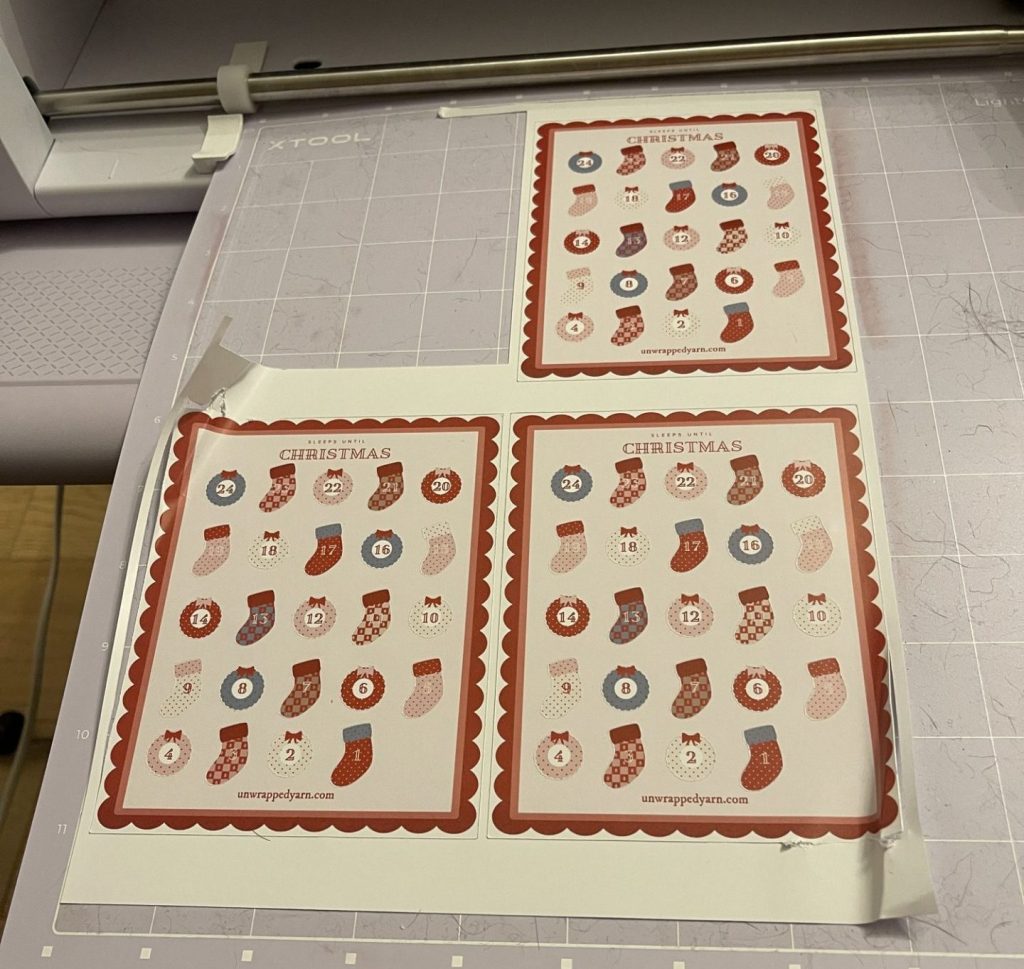
Even taped, it still loses stickers. A sticker or piece of tape catches the blade and gets dragged out of place, then the cut goes through the one next to it or crumples up the sheet entirely.
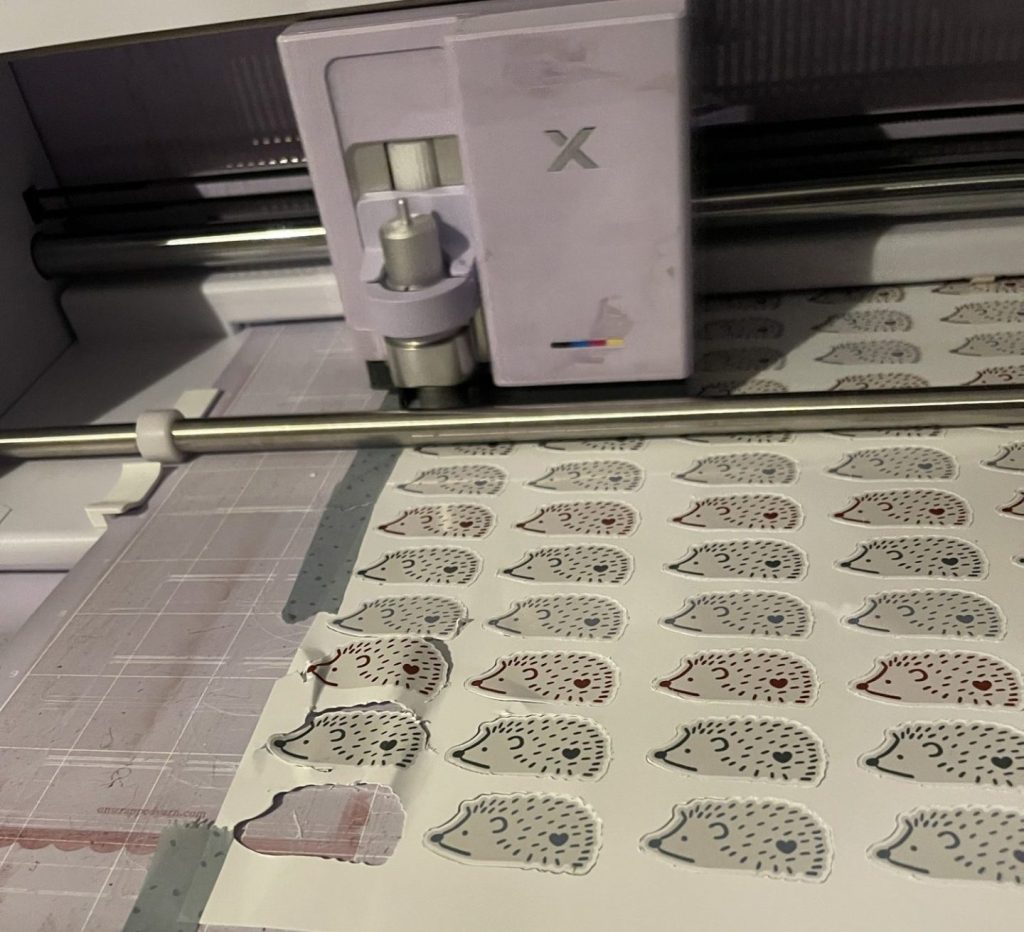
xTool suggests washing the mat with dish soap and letting it air dry. I have done that a couple of times. The grip comes back, kind of, but not for long, and never as good.
I highly recommend buying a spare mat or two when they become available!
To be fair to xTool, our use is harder than most. We have four cats, so more hair than most homes, and all the blade testing on non-QR materials has cut deep into the mat.
The guide says the lightgrip mat is for paper, light card under 300 g, vinyl, HTV and printable HTV, which is all I have cut. Anything thicker should go on the fabricgrip mat, or the lightgrip loses its stick fast.
Cricut mats fit, but the scanning does not work with them.
An electrostatic mat is listed as an add-on. It holds by static instead of adhesive, so it should not wear out the same way. I have not tried it as they are not available to purchase yet.
xTool C1 Ink cost
Cartridges will be $59 in the US and €59 in Europe. xTool first showed the cartridge at $79, and cut it before launch after pushback in their C1 Facebook group, saying it is the best price they can offer. I asked xTool for the UK price and have not heard back with an answer yet.
xTool rates a DURA cartridge at about 100 A4 pages at top quality with their “standard sample content”. So about 50p a sheet, and more for heavy coverage.
That is much more than UV ink. For comparison, xTool Studio estimated £0.21 for a white plus colour UV print covering about one A4 sheet, a sticker sheet I then cut on the Silhouette.
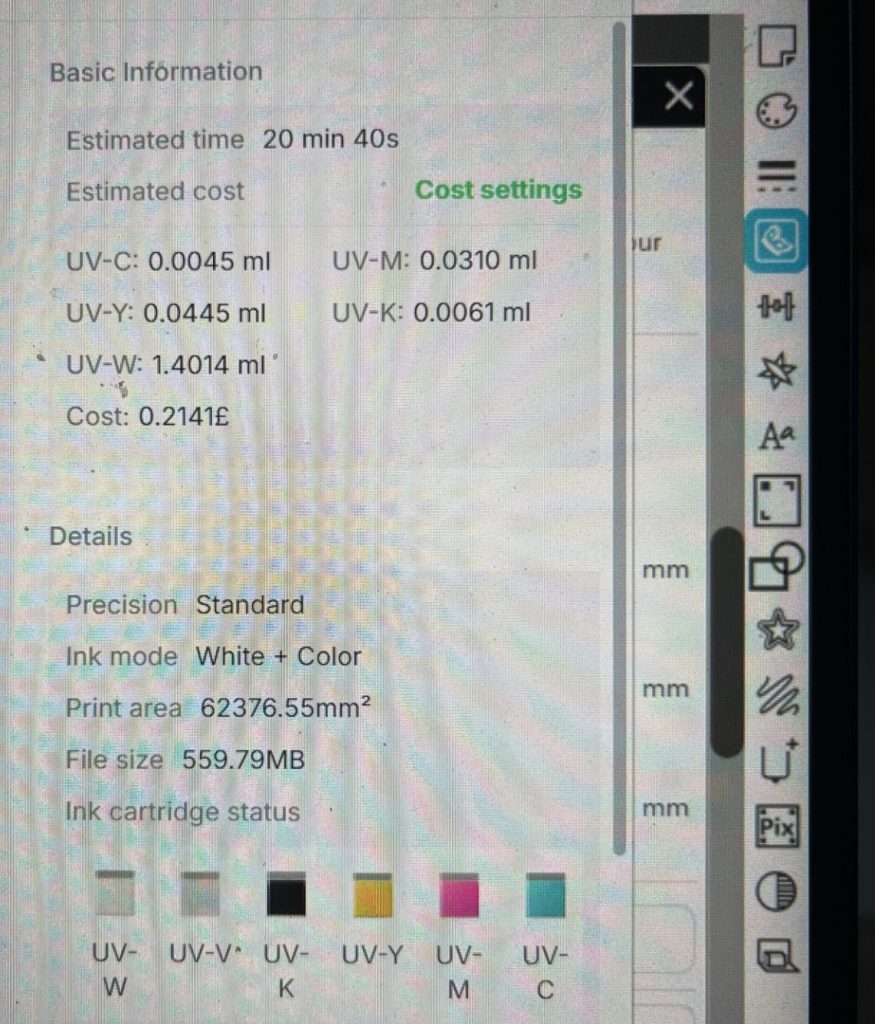
On the plus side, all four colours (CMYK) are in one cartridge, rather than four separate tanks to manage, and the Dura ink on Dura materials is waterproof and UV-resistant, so it’s not just regular printer ink.
If only black runs out, it can carry on in three-colour CMY mode with worse colour. If any other colour runs out, printing stops until the cartridge is replaced.
Right now they are regarded as not refillable, and no third-party cartridges exist yet. If the C1 sells, I expect that to change. Apparently, the M1 Ultra ink cartridges were HP compatible …
Maintenance
The printhead needs a moisture sponge kept damp with deionised water, swapped about every two weeks. I bought a 5 litre bottle for the X1 coolant so I am good to go for quite a while!
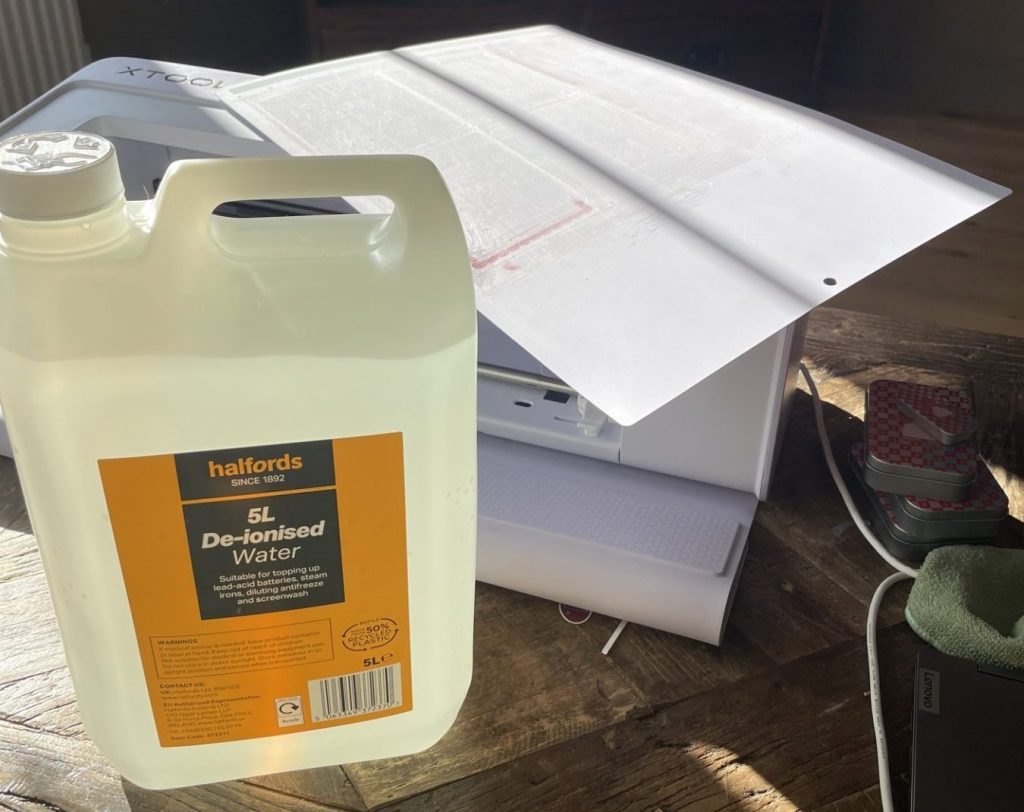
The printhead parks at the far right when idle and locks there, so it can moisturise itself and run maintenance. You can see from my photos that after our heavy use the machine is getting pretty filthy.
It has to stay plugged in and switched on. The automatic printhead maintenance only runs while it has power, so unlike a Cricut or Silhouette it cannot live in a cupboard between projects.
With the cartridge taken out (Printhead Maintenance, then Replace ink cartridge, in xTool Studio’s device settings), printing locks but cutting and scanning still work, and the machine no longer needs to stay powered. Handy if a cartridge runs dry and a replacement is not ready yet. Melissa at Silhouette School tested this.
The primer sponge fills up after about 2.5 ml of priming. xTool’s guide says to pry the cap off and rinse the sponge in the sink.
xTool C1 Verdict
Right out of the box the xTool C1 has continually impressed me, and had I been able to purchase a new sticky mat I don’t think I would have had any frustrations at all with the machine. I am a little concerned what the final ink price will be because that could be the difference between a profit and a loss for users buying the machine for a sticker business.
Things I love:
- Print and cut and scan and cut both work, and scanning beats registration marks.
- The quality is impressive, at least as good as our photo printer when using the correct materials, and superior to the xTool M2 output in terms of colour-reproduction, banding and dithering.
- As always, the free xTool software is superior to the paid options of competitors. The software and firmware have got noticeably better in just two weeks.
The catches:
- Ink at around 50p a sheet
- The lightgrip mat wearing out fast
- Trial and error, and potentially damage, using any material without a QR code
After the market is over I will report back with results from C1-produced products and any answers I get back, subscribe so you don’t miss any updates!

 ACMER P3 48W Review