
Athorbot Buddy Couple reviews are scarce right now, so I would feel privileged that GearBest sent me one to review even without the fact I was excited to try it because of the promise of easy dual color printing. Let’s see what my experience was like in the first week of use … first, specs!
Athorbot Buddy Couple 3D Printer Specs and what you get
- 220 x 270 x 200mm print area
- Heated bed
- Dual extruders (bowden) and one 0.5mm combination nozzle
- Metal construction
- LCD control and enclosed 24v PSU/main board
Surprisingly you do NOT get an SD card or memory stick. Instead you get a DVD (who still uses those??) and you are supposed to get a login to the website member area, but of course I was sent this to review so I do not have the required order number to gain access. You won’t have that problem :)
In the picture below you can see the sample filament and example print.

In appearance, it’s like a white Wanhao Di3, but with a metal extrusion base, and and an elongated bed. It has peg board instead of glass so after the first few painters tape adhered prints, I threw the peg board and dug up an old piece of 200×200 glass, so I haven’t used the full 270mm yet.

Dual color is the main differentiating factor (beyond the long bed). Dual extruders are not new, double extruder printers have been around for a while, but the challenge is usually in calibration, and getting everything level, with the correct offsets. Athorbot get around these issues by having two bowden extruders, but one nozzle. This also adds the capability to mix colors (more on that later).
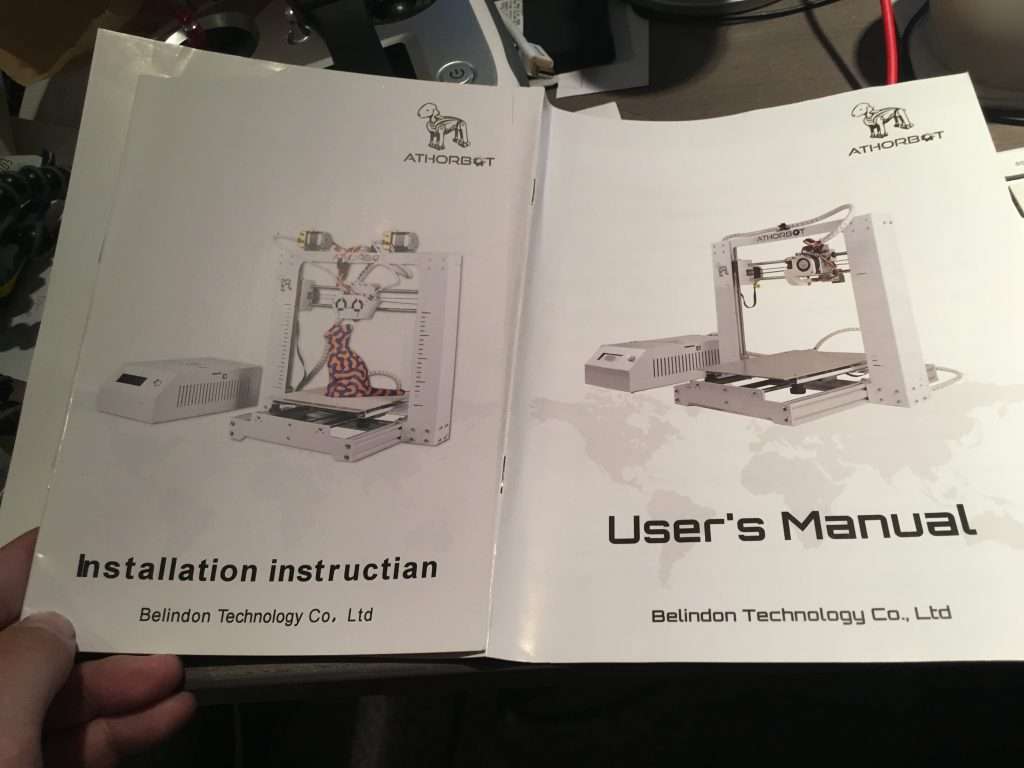
It arrived extremely well packed, and comes with all the tools you need to get assembled and started, with a printed instruction booklet for the assembly and another for usage. Unfortunately I got the wrong user manual, but after contacting a representative through Facebook I was sent a zip file containing the correct and up to date PDF files.
Assembling the Athorbot Buddy Couple
Assembly is easy, as you can see in my slightly speeded up video ;)

Again, like the Wanhao, you just have to attach the upright section to the base with a few screws, then plug in all the cables, matching the labels. Easy stuff. People less clumsy than me will get it done in minutes.
Using the Athorbot Buddy Couple
Single color printing, or mixed color printing can be done pretty much right away with zero issues. Just set it up in Cura as a Prusa Mendel, which is what I did until I got a hold of the aforementioned zip file that also included firmware and a Simplify3D profile.

Despite me not having a fully dialled in slicer profile, I was encouraged by the print quality and the sturdiness of the machine.
Athorbot Firmware
Here is the part that is not intuitive.
If you want to mix colors (eg. 50% red and 50% white, or in the traffic cone example above, print at layer height) then you have to use the mix firmware. If instead you want to have two color prints, then you need the dual firmware. Yeah, I didn’t get that right away so was confused.
With the mix it will wait for you to select a percentage then will continue printing. With dual it will select the extruder based on your sliced gcode and just print away happily provided you installed the firmware in advance.
I would prefer a new firmware that has both capabilities, but they do not offer the firmware source code and configuration files (losing points for that), so I don’t know if that is possible.

The good news is, once I had that zip file, I had everything I needed, and now you know too, so frustration avoided :)
How does it print?
Print quality of the Athorbot is pretty good, even considering I still have yet to fully calibrate and get my settings satisfactory. Right now the community is small, but I expect it to grow exponentially, and with it will come more community input into slicer settings and getting the most out of the machine!

I used xxxxx-3d Canadian PLA filament for all my prints so far, and and still working out the temperatures and retraction, but what I see is encouraging me to keep going.

Conclusion
I have some slicer tweaking to do but other than that the machine has worked flawlessly. Not only has it printed two color prints that actually worked, but the single color performance is good too. The bed size is big enough for the majority of prints (though people have CR-10mounted the hotend setup on a …). While I was a bit thrown by not having access to the member area, that is a reviewer problem not going to be a customer issue!
Right now I am loving the machine.

Did you notice I didn’t mention a vital piece of information? I never told you the price. That is because I didn’t want your frame of reference to be price over features and benefits.
Recommended retail price is $600 USD, which I think is about right for this machine … but at the time of writing GearBest has a code that will make it $399!
Click here then enter the code: ATHORBOT at checkout while stocks last.
If you are not fast enough to get this deal, GearBest still will sell it at a discount, I just don’t know how much :)
You can be sure I will follow up with my long term experiences, and my slicer settings once dialled in!

