• Skip to main content
  • Skip to header right navigation
  • Skip to site footer
Maker Hacks

Maker Hacks

Ideas, news & tutorials for makers and hackers – Arduino/Raspberry Pi, 3D printing, robotics, laser cutting, and more

  • Home
  • About
  • 3D Printing
  • Laser Cutting
  • YouTube
  • Free Arduino Course
  • Recommendations
  • Contact

Glowforge Passthrough Hack: How to Trick the Glowforge Front Flap to “Pass-In” Large Materials

You are here: Home / Laser Cutting / Glowforge Passthrough Hack: How to Trick the Glowforge Front Flap to “Pass-In” Large Materials
FacebookTweetPin
Author: Chris Garrett

The Glowforge Basic does not have the pass-through feature of the Glowforge Pro but with this magnet hack, you can trick the front flap to think the lid is shut fully, allowing you to "pass-in" larger material than usual.

glowforge passthrough hack tricks the Glowforge front flap with magnets
Trick the Glowforge with this Passthrough Hack

Trick the Glowforge Basic Into Allowing Larger Materials with this Passthrough Hack

The Glowforge Basic does not have the pass-through feature of the Glowforge Pro but with this “passthrough hack”, using magnets you can trick the front flap to think the lid is shut fully, allowing you to “pass-in” larger material than usual.

Glowforge does NOT want you to do this hack.

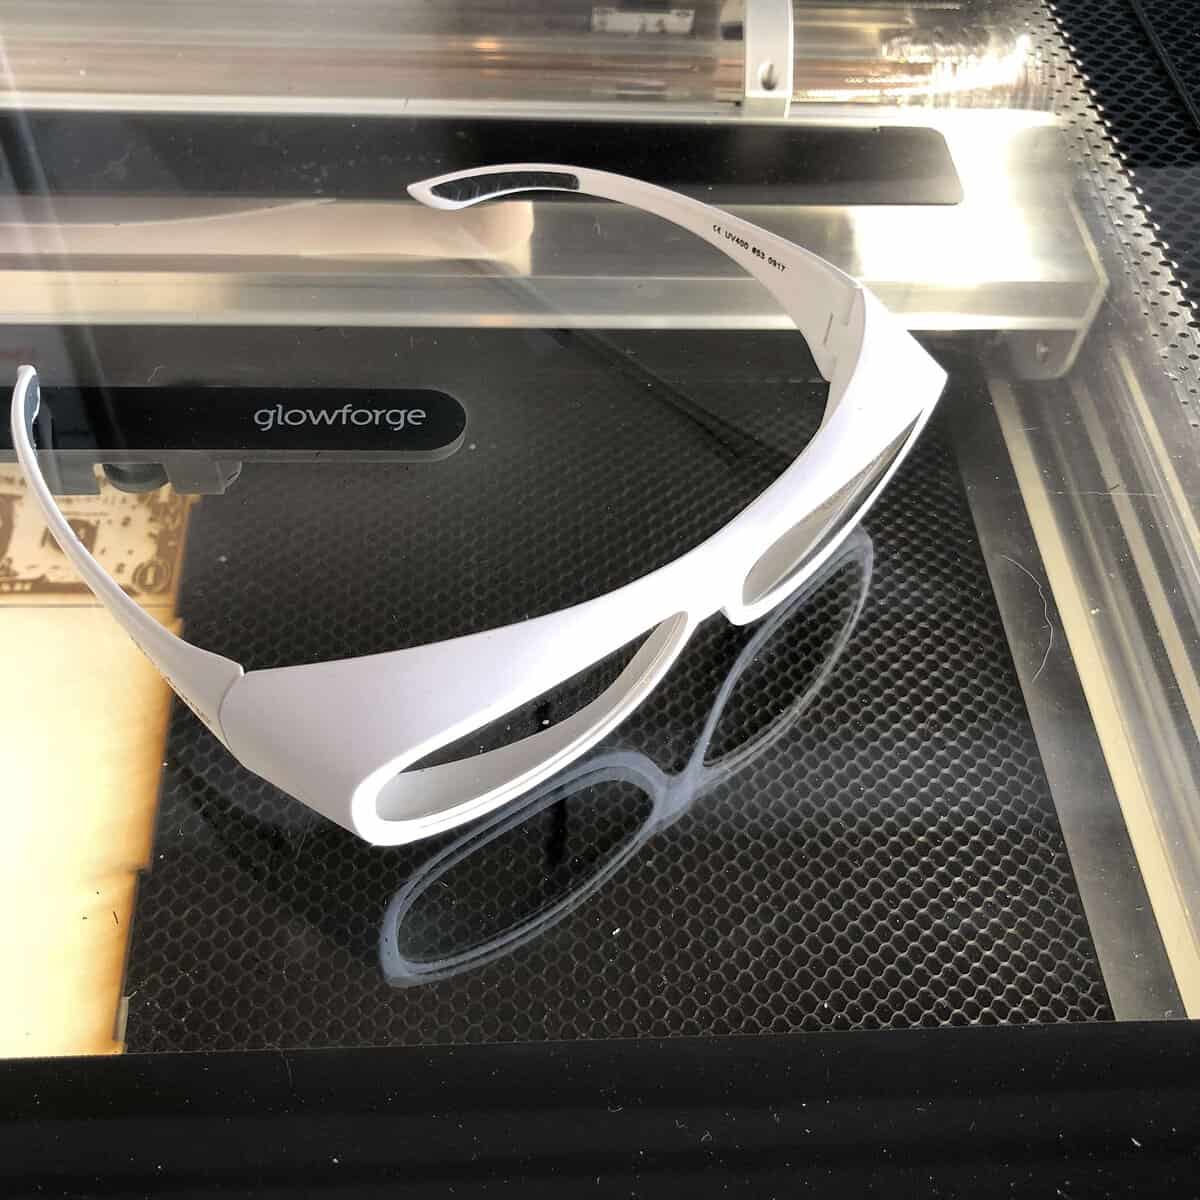
  • First, obviously, this is going to remove the safety feature that is protecting your eyes.
  • Second, you are removing the seal that makes the smoke go out of the vent rather than into your room.
Glowforge Protective Glasses might be useful with this hack

That said I do this passthrough hack, I just take precautions!

Why Trick the Front Flap of Your Glowforge?

This is not a permanent hack, it just involves magnets and some tape. While this means you are not permanently changing your Glowforge, if you find you need to do this a lot, then that would probably mean you need to upgrade to a pro 🙂

Passthrough hack in place with magnets and tape
The Glowforge Lid with Sensors Tricked Left and Right

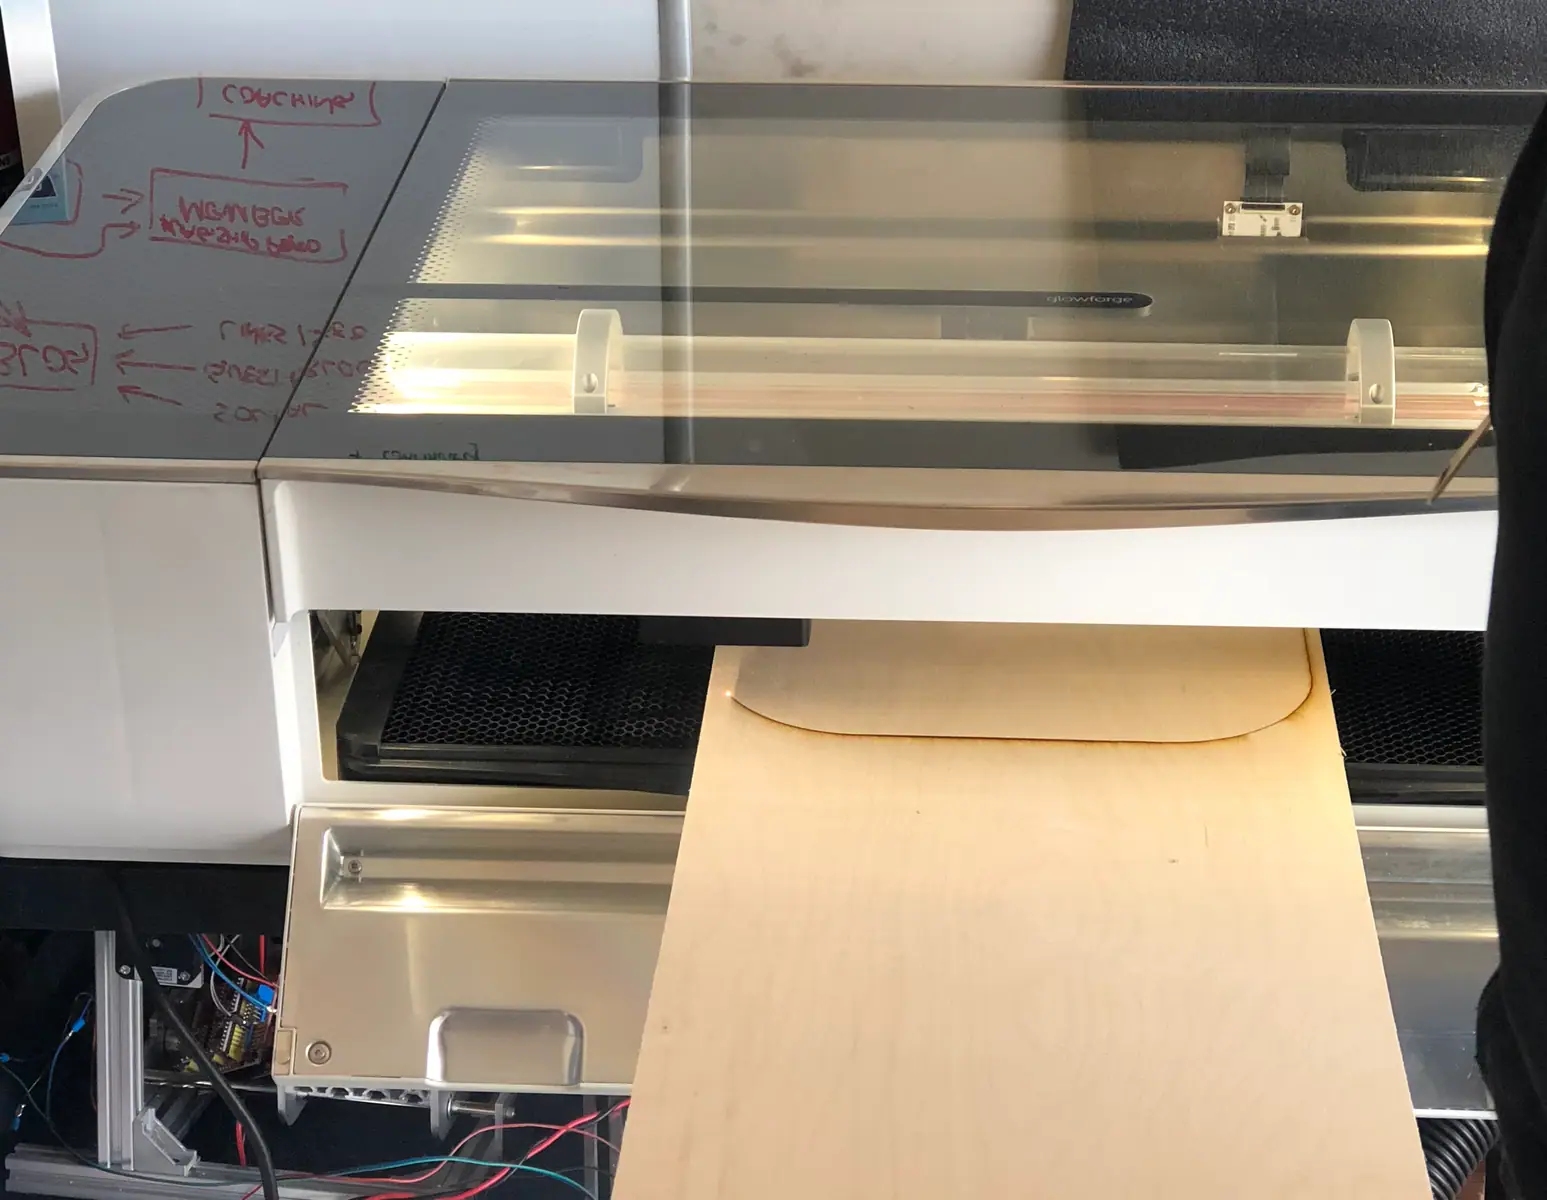
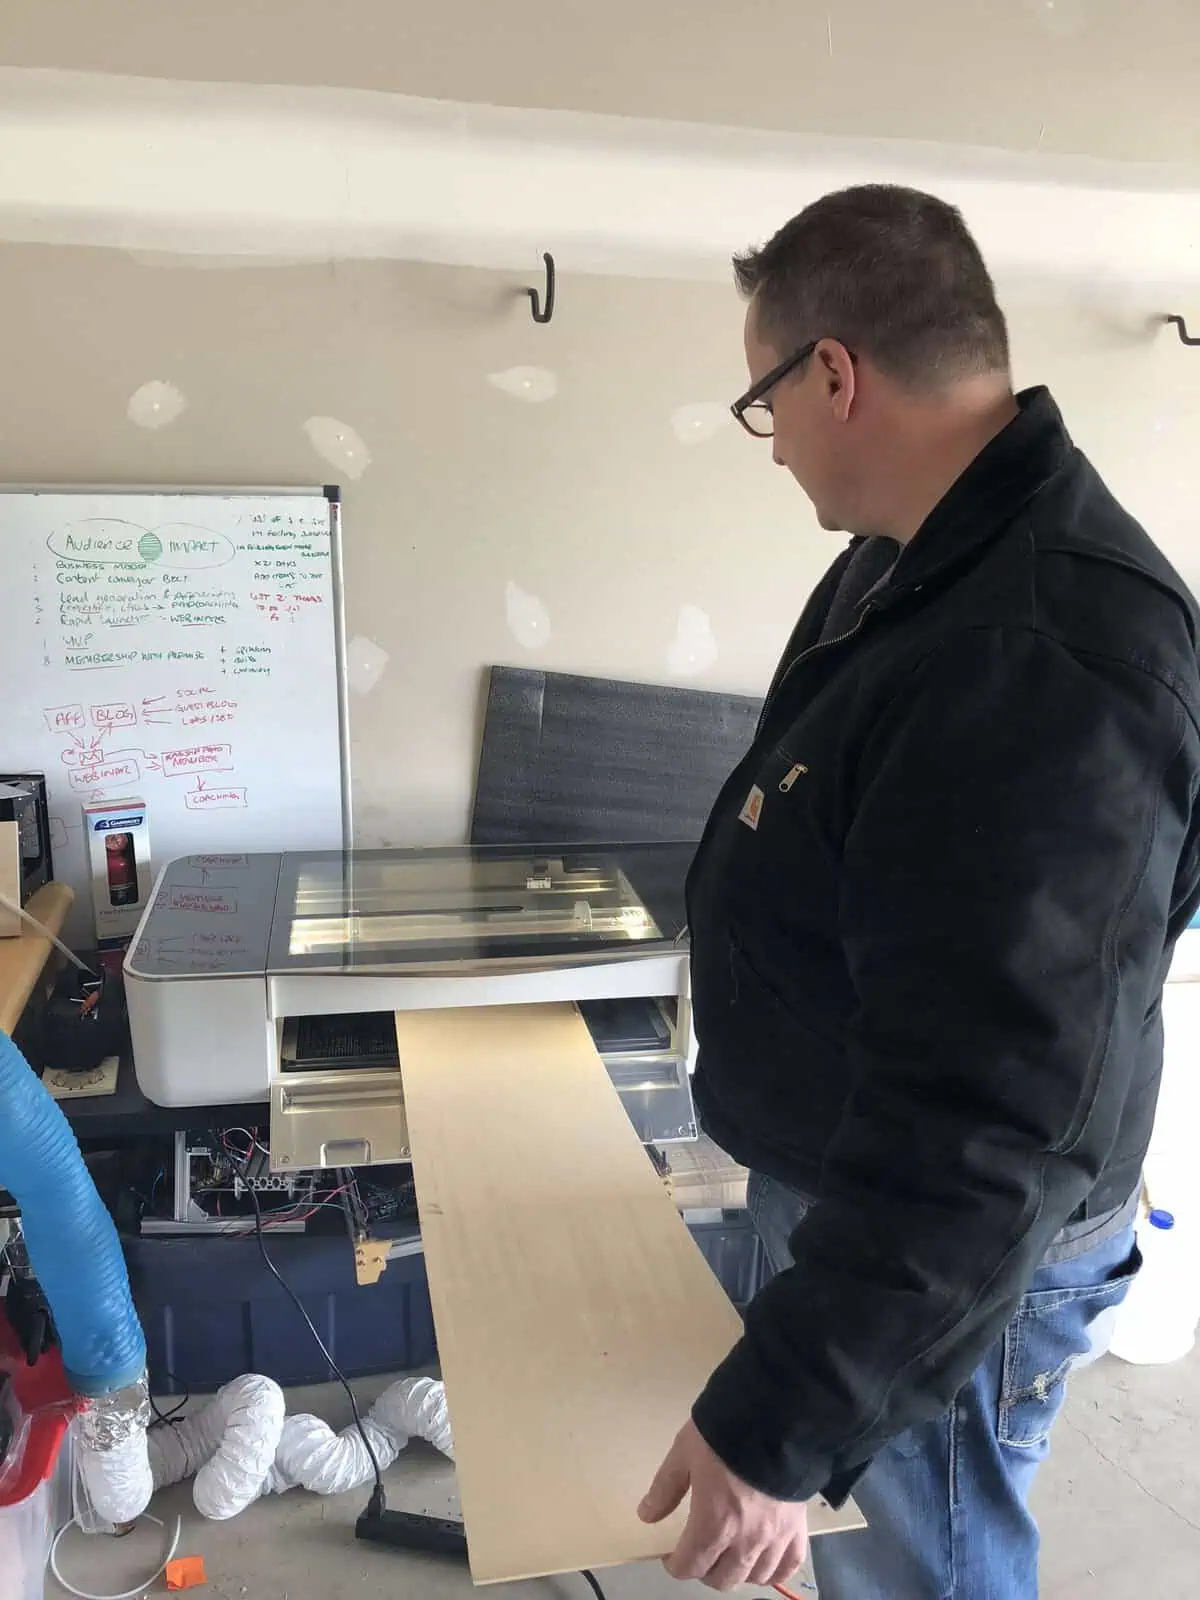
Tricking the flap in this way simply allows you to fit longer pieces of material, or awkward shaped material, onto your bed.

In my case, I had acquired a large amount of off-cut plywood from a friendly guy at one of my makerspaces. I had quickly cut it on the table saw just enough to transport it, but I still needed to reduce the length for it to fit on my Glowforge.

This trick allows you to accept more generosity from materials-having friends!

Get up to $500 off your Glowforge

Save on your order with my referral link

Get Discount!

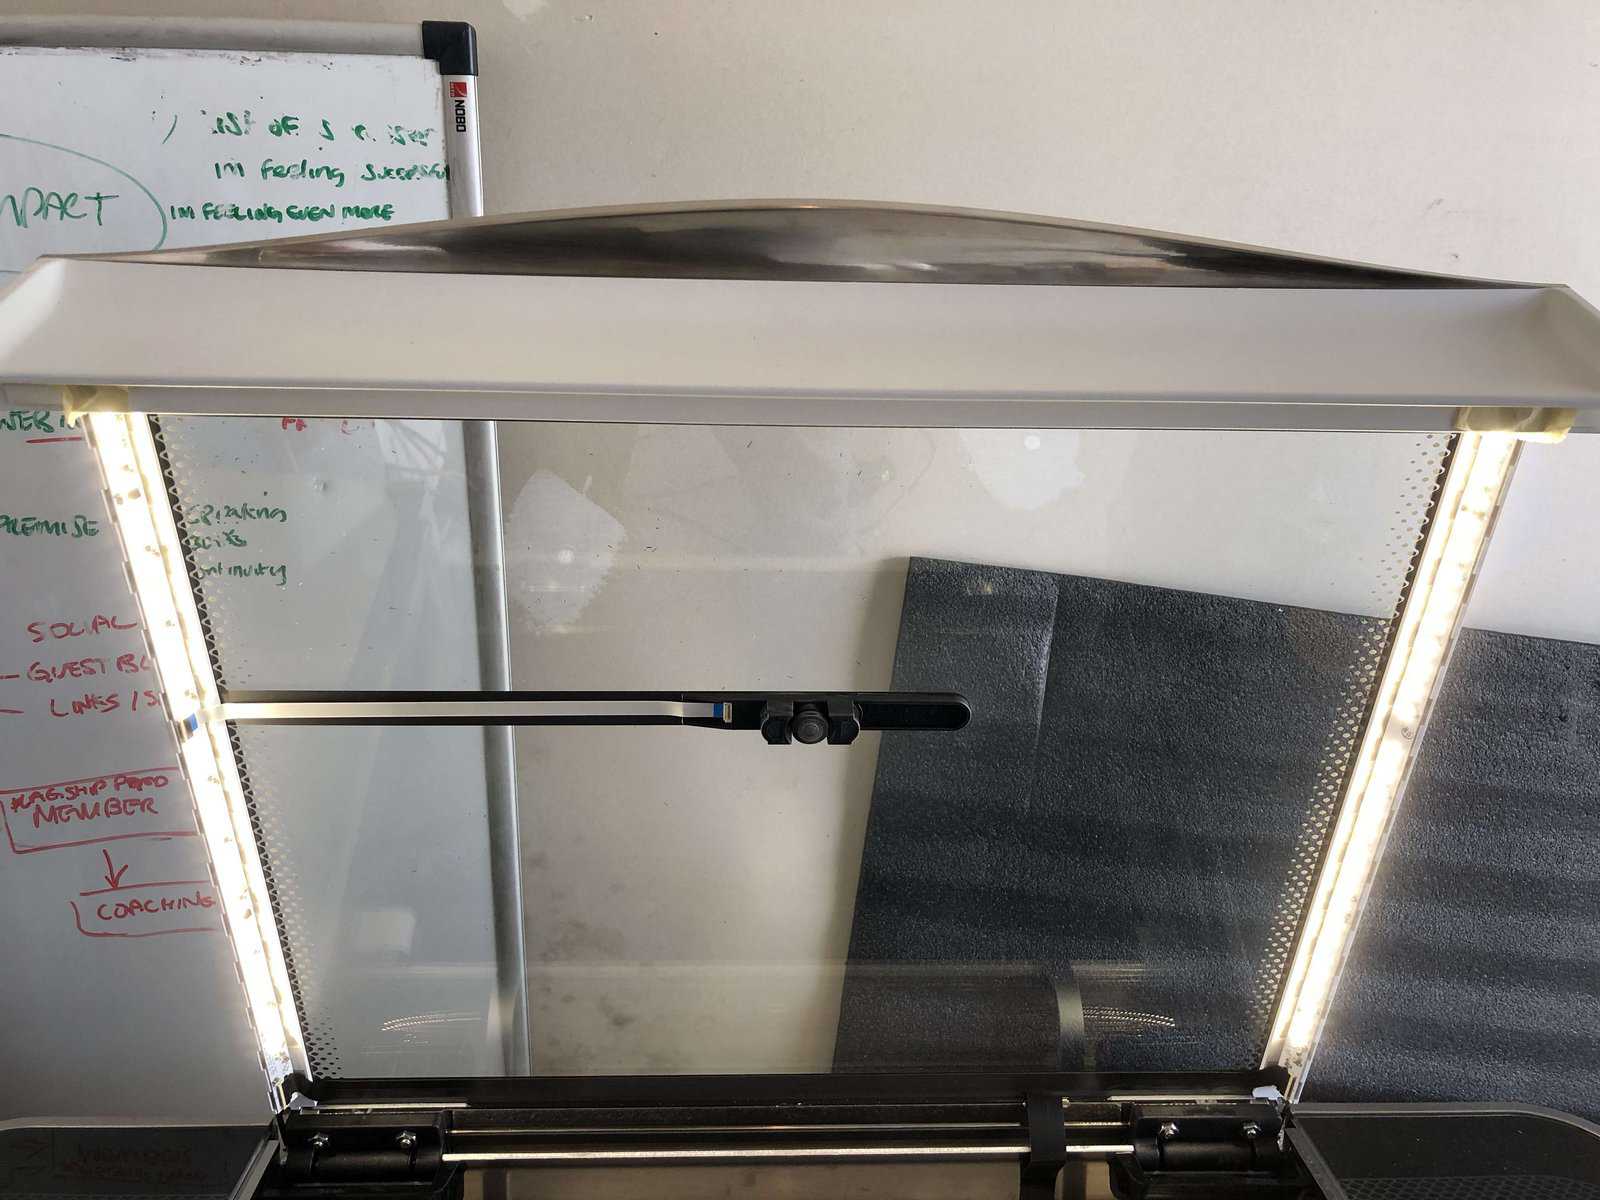
The Passthrough Hack – AKA How to Trick the Glowforge Front Door with Magnets

Passthrough as if by magic!
Magnets + Tape = Win
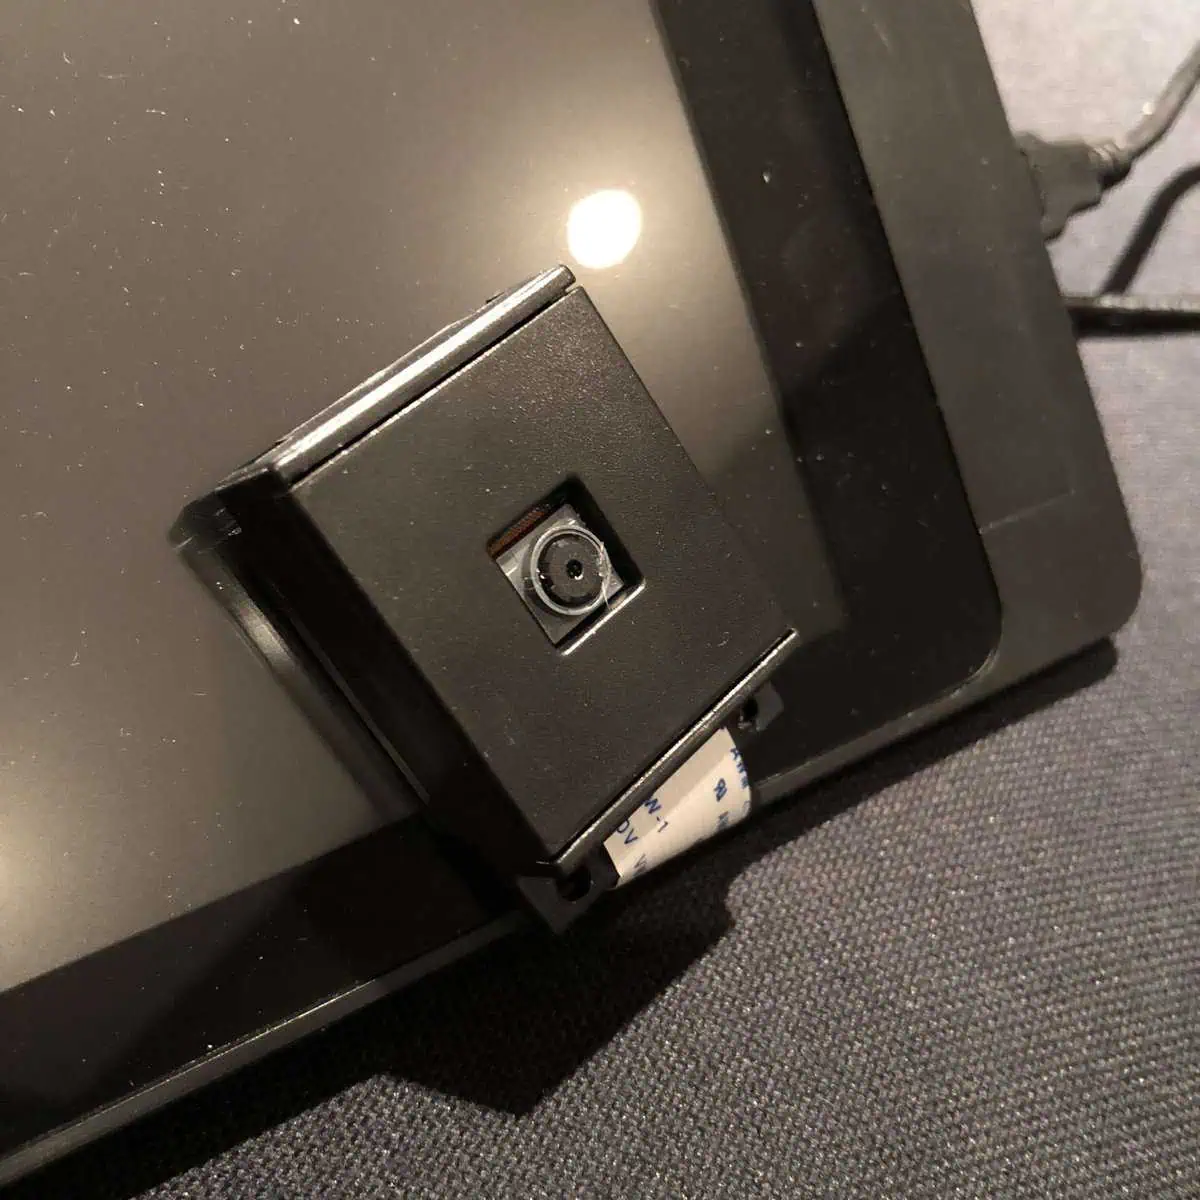
  1. Load the Glowforge UI so you can monitor in the top right of the screen where it says the lid is open. We need that to switch to “scanning” so we know we fooled it.
  2. Get a couple of cheap magnets. They don’t need to be especially strong.
  3. Move them as shown until the LED lights change – that means it thinks the lid is closing.
  4. When the screen changes from lid open to scanning, you know you have the right spots either side and can tape down.
  5. Once you are done needing the front flap open, simply un-tape the magnets and you can close it as usual.
Passthrough hack in practice
Glowforge with Front Flap Hack (and improvised material stand/Ben)

That’s it!

Thank you to Kevin Meinert from the Facebook Glowforge group for alerting me that this was even possible!

Get up to $500 off your Glowforge

Save on your order with my referral link

Get Discount!

Related

Category: Laser CuttingTag: glowforge, Hacks, making
FacebookTweetPin

About Chris Garrett

Marketing nerd by day, maker, retro gaming, tabletop war/roleplaying nerd by night. Co-author of the Problogger Book with Darren Rowse. Husband, Dad, 🇨🇦 Canadian.

Check out Retro Game Coders for retro gaming/computing.

☕️ Support Maker Hacks on Ko-Fi and get exclusive content and rewards!

Previous Post:Creality Ender 3 3D Printer Kit Review
Next Post:Raspberry Pi Security Cameraraspberry pi security camera

Sidebar

  • Facebook
  • Twitter
  • Instagram
  • YouTube

Recently Popular

  • Gweike Cloud Review
  • How to choose the right 3D printer for you
  • Glowforge Review – Glowforge Laser Engraver Impressions, Plus Glowforge Versus Leading Laser Cutters
  • Prusa i3 Mk3S Review
  • Best 3D Printing Facebook Groups
  • xTool D1 Pro Laser Cutter Review
  • Elegoo Mars Review – Review of the Elegoo Mars MSLA Resin 3D Printer
  • Glowforge ‘Pass-Through’ Hack: Tricking the Front Flap of the Glowforge with Magnets to Increase Capacity
  • How to Make a DIY “Internet of Things” Thermometer with ESP8266/Arduino
  • Wanhao Duplicator i3 Review
  • IKEA 3D Printer Enclosure Hack for Wanhao Di3
  • Creality CR-10 3d printer review – Large format, quality output, at a low price!
  • 3D Printed Tardis with Arduino Lights and Sounds
  • Anet A8 Review – Budget ($200 or less!) 3D Printer Kit Review
  • Make your own PEI 3D printer bed and get every print to stick!
  • Upgrading the Wanhao Di3 from Good to Amazing
  • How to Install and Set Up Octopi / Octoprint
  • Creality CR-10 S5 Review
  • Glowforge Air Filter Review
  • Thunder Laser Review
  • 3D Printing
  • CNC
  • Hardware
  • Laser Cutting
  • News
  • Retro Computing
  • Software

amiga amos arduino basic programming budget buying cad cnc commodore corexy c programming creality crypto doctor who emulation esp32 esp8266 filament fpga glowforge Hacks Ideas kids lighting linux Makes making Monoprice Parts pc props prusa python raspberry pi ratrig resin Reviews robots software sounds technology tips upgrades wanhao xtool

.

Maker Hacks Blog Copyright © 2023 · All Rights Reserved · Powered by Mai Theme