Have you been wanting a wifi camera? Maybe for some added security, or perhaps to monitor the kids/pets/roommate?
Turn your Raspberry Pi into an internet camera!
Raspberry Pi projects abound, but this is a circumstance when I knew the solution for a while but only just got around to implementing it. It turns out it is really easy.
Many people use this set up rather than expensive internet security cameras. Rather than worrying about security, I wanted to know if it was worthwhile going to the front door when the dog barks!
Benji Dog is going deaf, so he tends to bark even if there is nobody there. If there really is a person at the door, I want to know if it is a parcel, girl guide cookies, or some other good reason to answer, or if I should ignore it because it is a salesperson or something equally annoying.
With Halloween just around the corner I thought it would be fun to use the motion detection and Python to trigger some scary stuff too …

What you need
- Raspberry Pi – I am using a Raspberry Pi 3 for the built-in wifi and because it has 4 USB ports.
- Camera – You can use USB cameras or you can use the official Pi camera. I went with the official Pi camera alone for now.
- Power – Supply your Pi with 5v, 2amps.
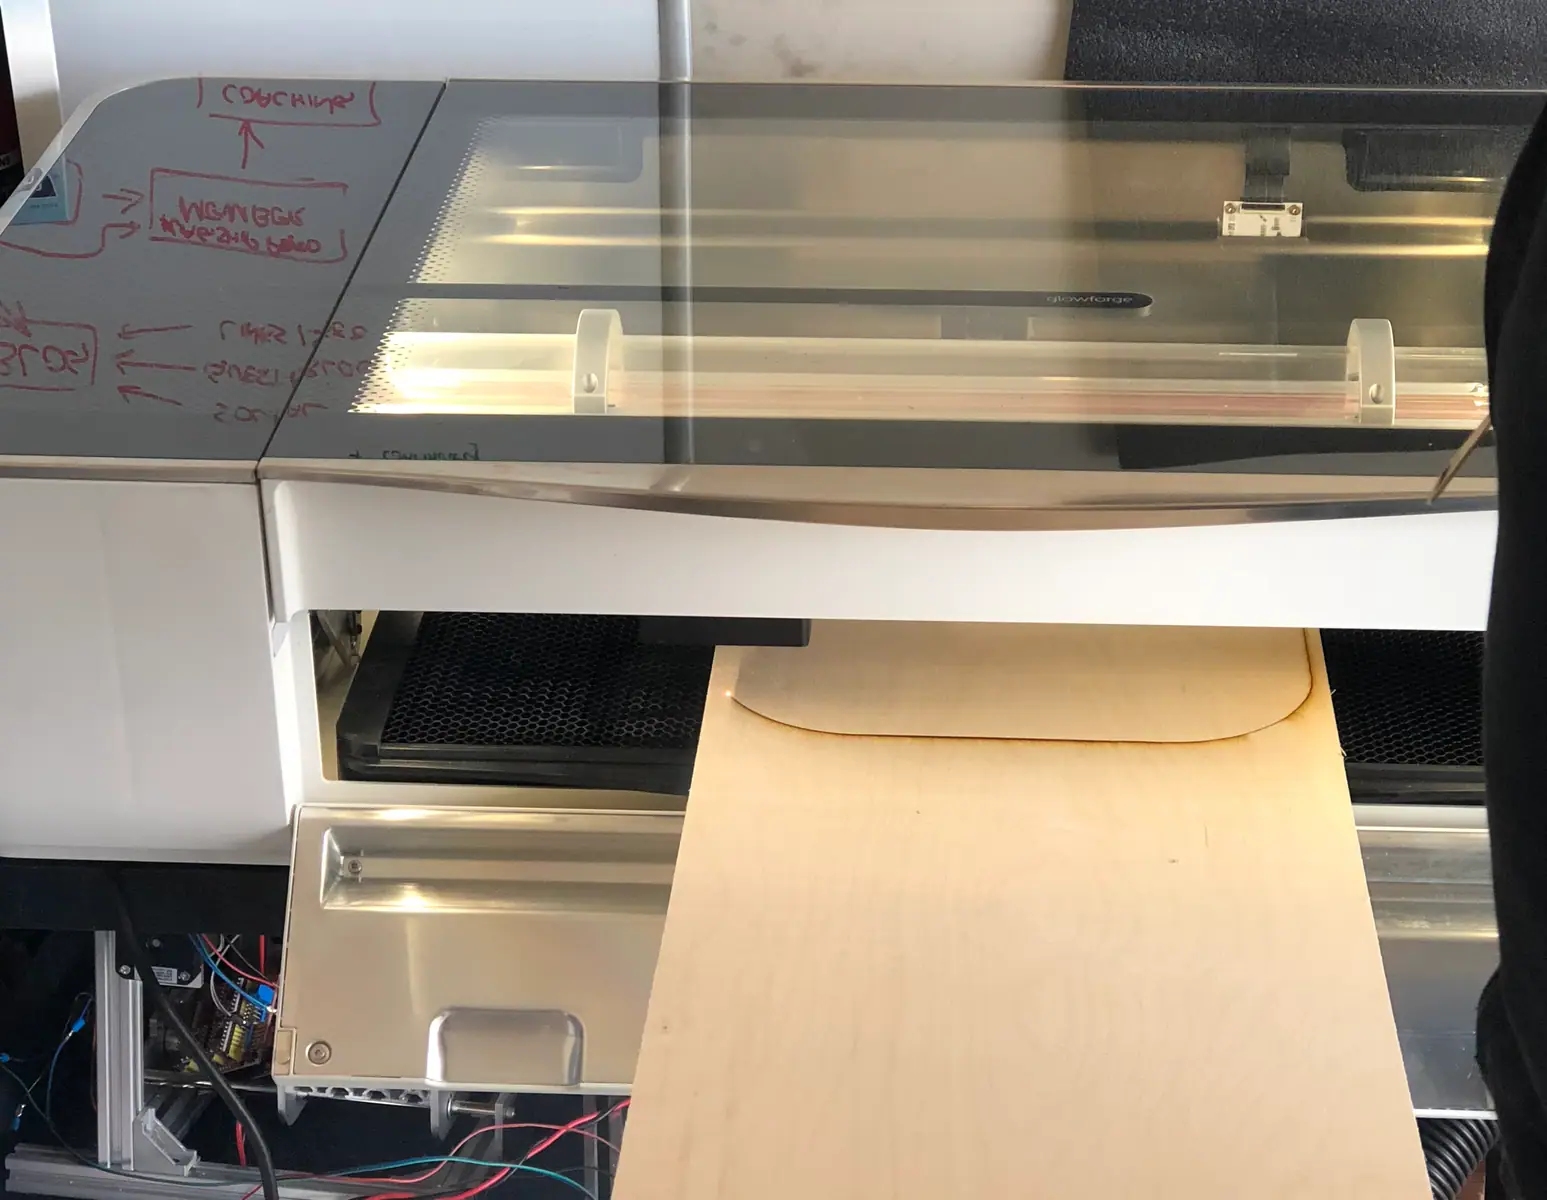
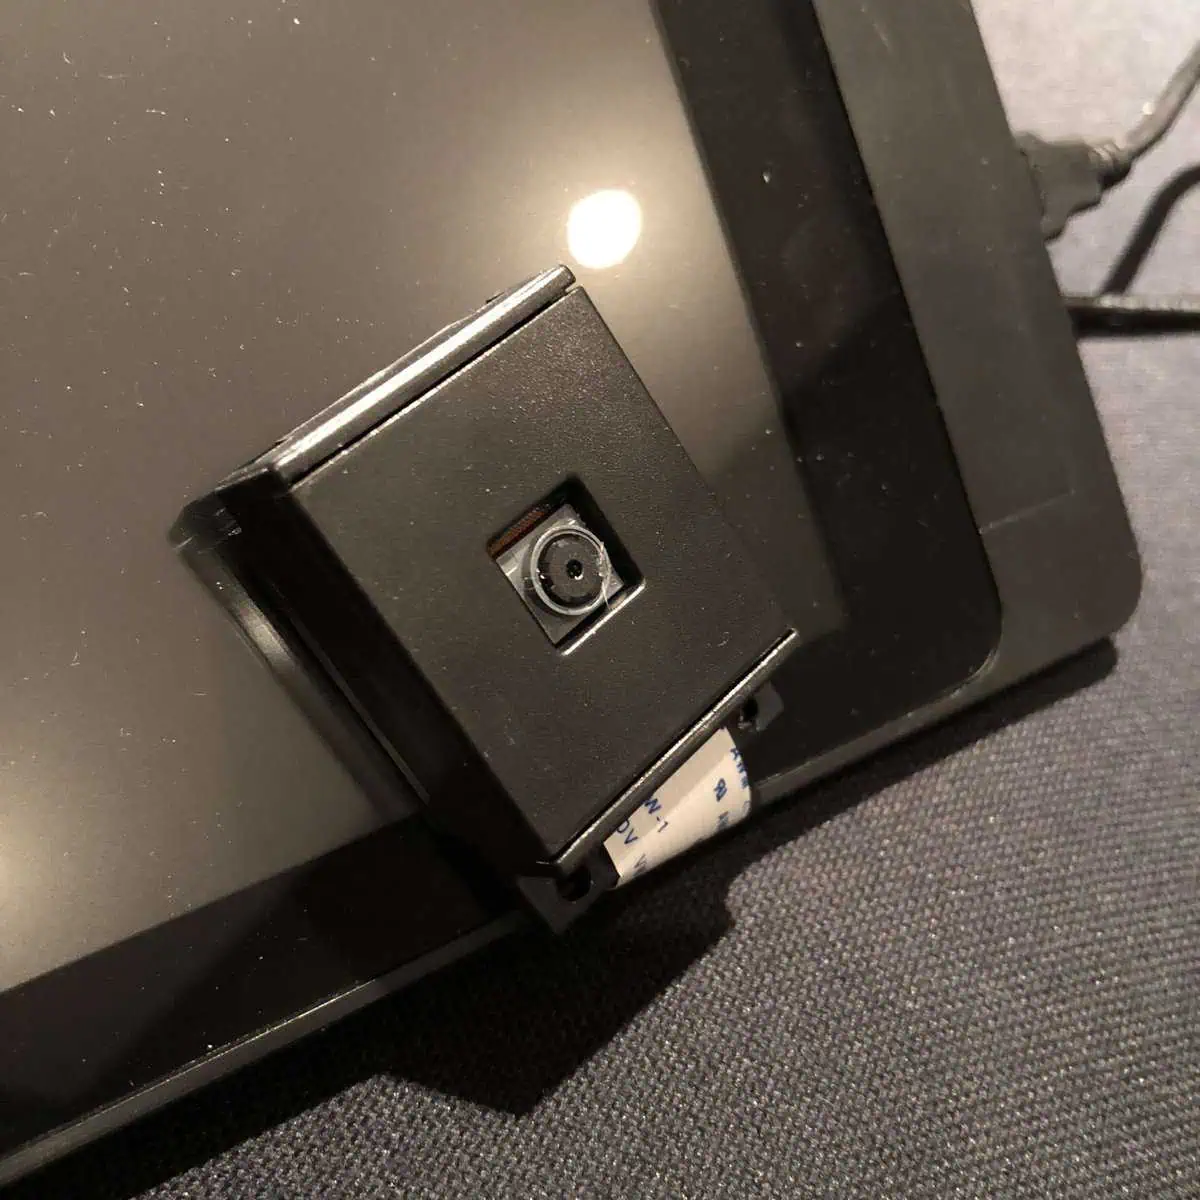
- Optional Extras – Due to where and how the front door is located, I am using an extra long Pi camera ribbon cable from Adafruit, and a Zero View camera holder that suctions to the glass. Using my 3d printers and Glowforge I will be creating a more permanent solution, check back for that!
Installation
The magic is all performed by MotionEyeOs. You can also install onto an existing operating system installation, but the disk image does all the heavy lifting for you.
While there are, of course, installation instructions, I simply downloaded the operating system image and burned it as I usually do
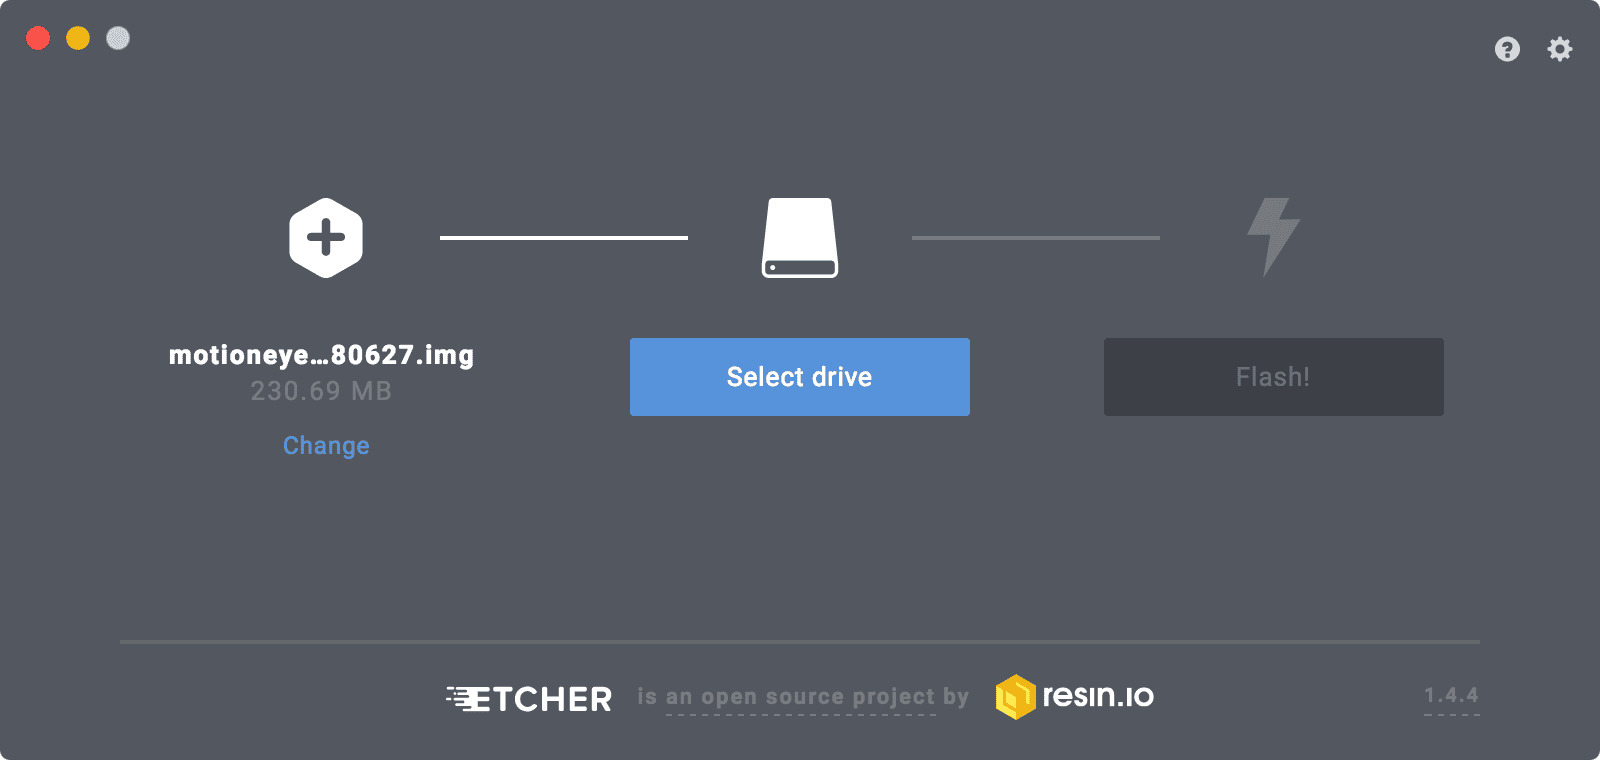
If you are new to using Etcher to make Raspberry Pi boot disks, follow the instructions in my Octopi tutorial and simply use the MotionEyeOs image file instead.
For
A really cool feature is you can set up the Pi as its own access point and access the camera that way.
Once your Pi has booted and is on the network, you can point your browser at the IP address. The default user is Admin with no password – you will want to change that as soon as you can!
On the web UI in the top left is a burger menu with all the options. You can expand the options to change the user passwords, set your timezone, and so on.

Motion Detection
As mentioned earlier, there is built-in motion detection. You can get it to send you an email, but also there are options for webhooks and launching commands.
The easiest option after email is to use IFTTT.
Enter the URL to IFTTT in the form of the following …
https://maker.ifttt.com/trigger/*event_name*/with/key/*yourkey*
Swap in your API key that you get from the documentation linked from this page here.
Set up an app to text you, tweet you, or whatever.

Following the instructions here you can set up Google Drive storage.
Programming Your Own Scripts
The operating system comes with Python 2 installed, as the web UI is written in Python, and it being Linux you can also use shell scripting, but the OS is not really intended to be used this way so you would be better using webhooks or installing on top of Raspbian.
I will look at this in a future tutorial!
Accessing Your Camera from the Internet
Want to keep an eye on your house/pets/guests while you are away?
You will need to set up your pi for remote access. Follow that previous tutorial to get working over the external web.