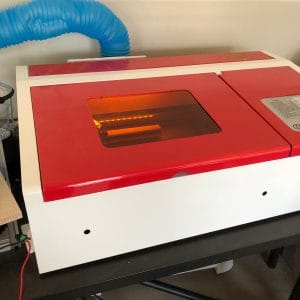
Previously I mentioned my Chinese K40 40w laser and how I was planning some upgrades. This is the first follow up – this weekend I fitted a couple of them and did some test cuts!
- Smoothie board replacement for the main GRBL controller board
- Activated Carbon filter
- Lightburn software
Can the upgraded machine achieve USA Brand-Name laser quality, at 1/10 the price?
Let’s see …
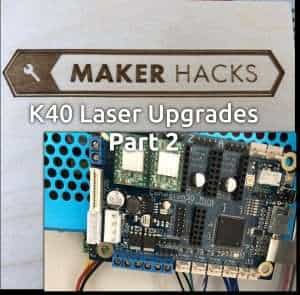
Smoothie Controller
I bought my controller and software license from Cohesion3D (the website seems to be no longer working).
This board is a 1:1 replacement for the existing electronics, but offers much better performance.
While the original board “works”, using my upgrade I have more control, using PWM to fire the laser, giving the opportunity for greyscale rather than simply power the laser on/off.
Technology-wise you can see a visible improvement, due to the higher performance processor and more advanced firmware (lots of math that I don’t understand!).
It took me minutes to swap out the boards without checking instructions. Unfortunately, I did have to swap one stepper around due to the controls driving the laser head in the wrong direction ;)

This upgrade alone has seen a huge increase in capability and performance. Highly recommended!
Air Filter
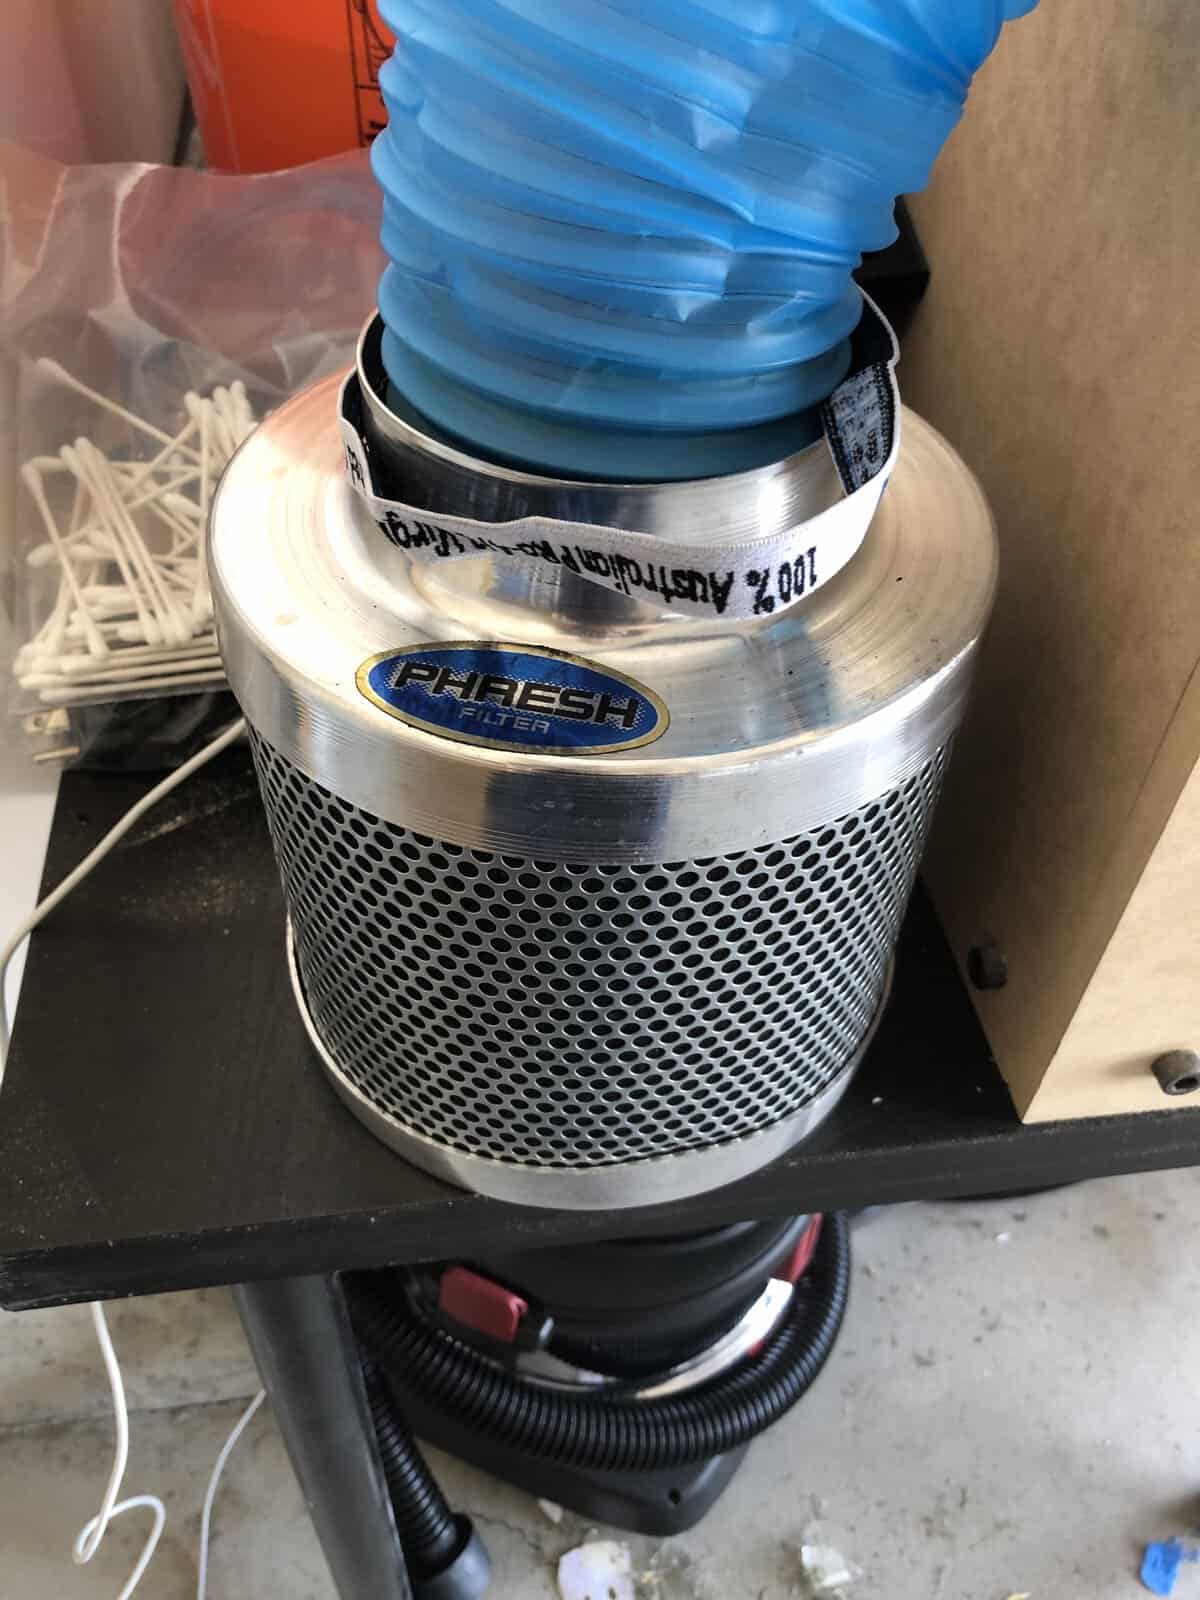
This was a bit more of a let-down. Not because of the principal, or even necessarily the product, but my experience with my filter specifically was sub-par.
When I opened the box it was full of carbon, the packet had burst, plus the filter itself appears used. I will contact Amazon.
If I don’t manage to get a replacement or instructions to put it right, I may just go with a longer hose. I’m not keen on the idea of making a whole in my garage wall right now.
Software Upgrade
I’m a big fan of Open Source, but there are times when free software just doesn’t … um … cut it ;)
LightBurn will appear familiar to people who are accustomed to the software that often comes with laser cutters, but this software is in English and actually works.
So, while it operates in a familiar way, it produces better results.
Previously, I had been using InkScape and a plugin, then a GRBL sender. I will probably continue to create my vectors in InkScape, but this software handles SVG files well, and allows you to finely control speeds and power.
Definitely check this software out.
Next Upgrades
Next time I will work on the lenses, mirrors, air assist, and try and resolve the lack of Z axis/focus …

