I am on a mission to make my Chinese K40 Laser Engraver work like a much more expensive USA name-brand machine.
Update to Previous K40 Upgrades
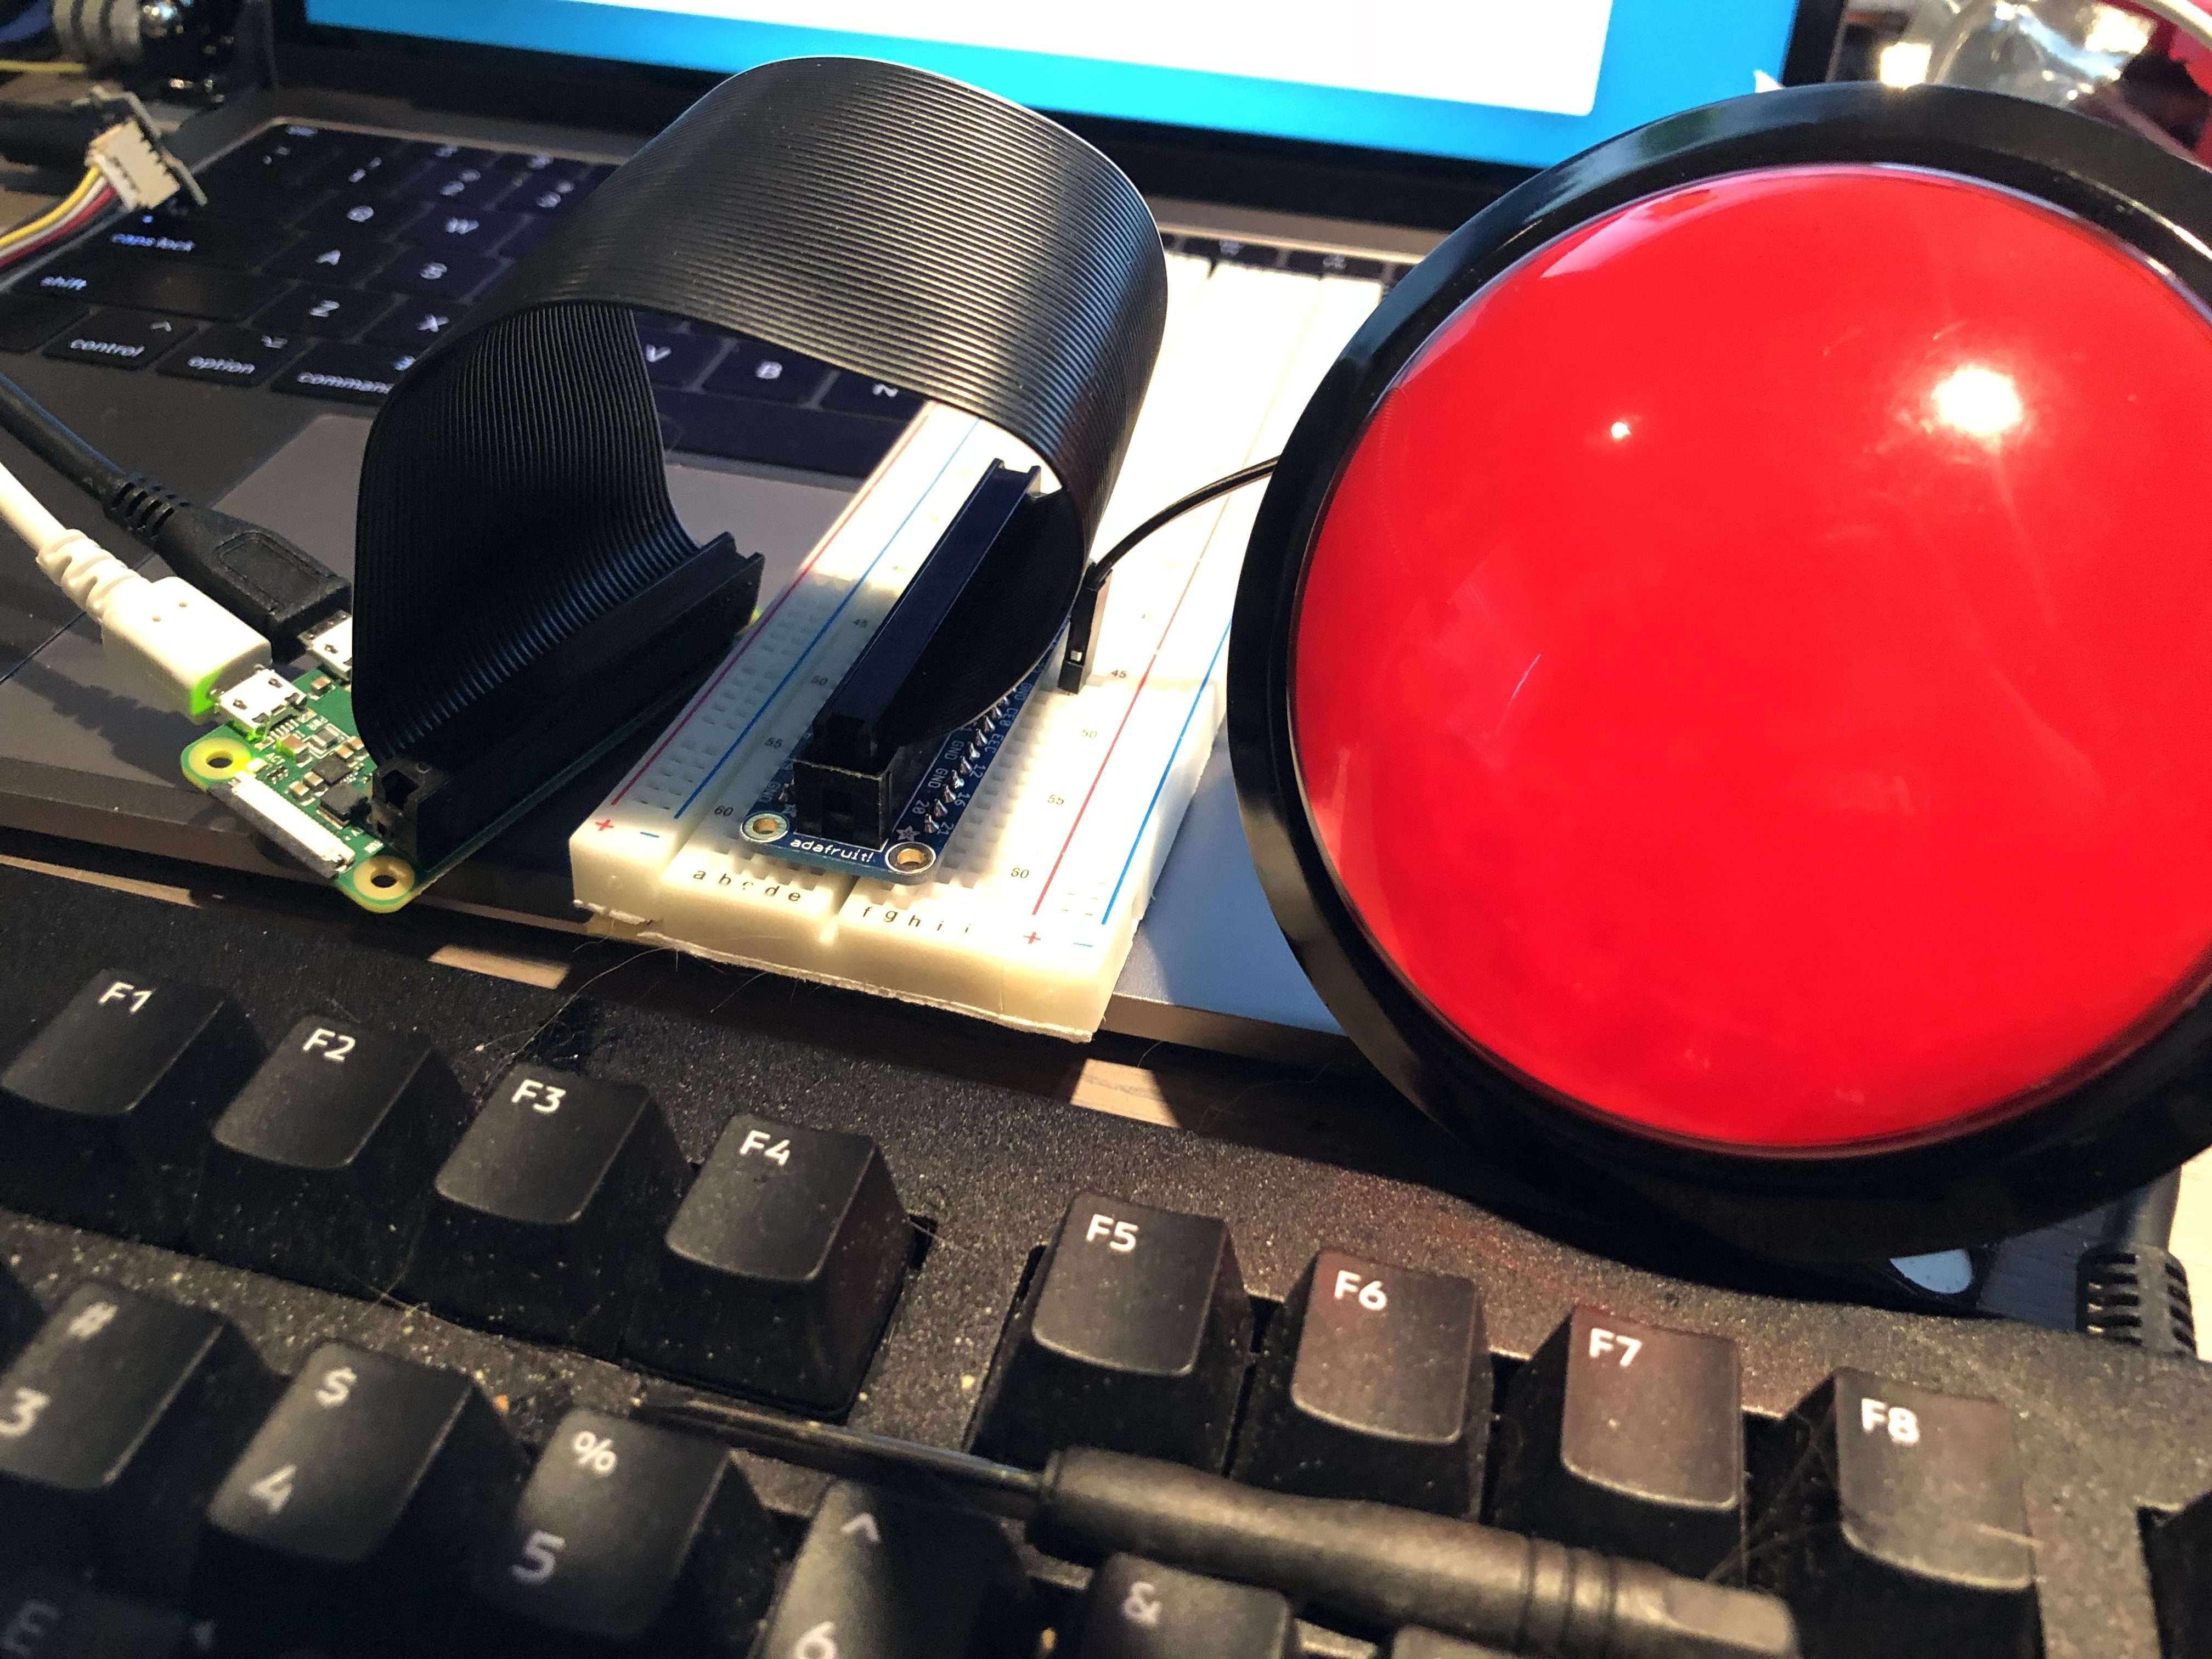
Previously, I bought and installed a new mainboard of electronics, and a filter for the pungent smoke.
I am happy to say, while the filter still feels a let-down, the Smoothie board has been a fantastic success when combined with the LightBurn software.
Read about the purchase in the previous article.
K40 Optics Upgrade
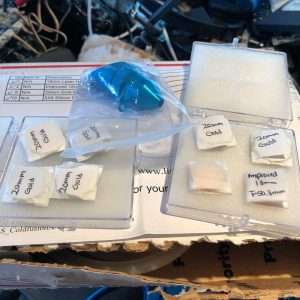
While the laser was purchased as unused, I did notice some wear, either from actual use, or just as likely, testing.
Also, from what I could tell, the optics were not the best in the first place.
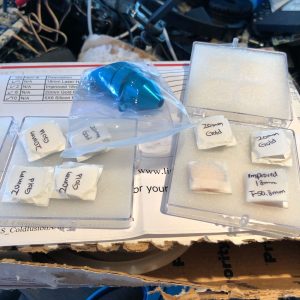
I bought a lot of moist cleaning wipes, but really I needed new mirrors and
I went ahead and bought some not-top-of-the-line-but-good ones.
Right away I seemed to get a little more power out of the machine, allowing me to cut deeper (while still getting noticeable burn).

Bed Removal
The K40 comes with a metal bed that seems like a good idea, but in fact it makes focusing the laser more difficult, because your z height is not adjustable, and obviously focus is vital if you are going to get clean, strong cuts.
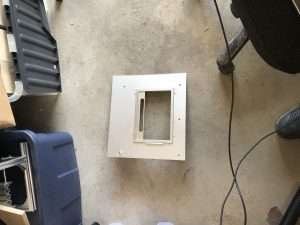
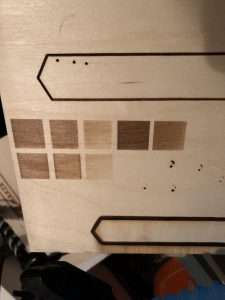
Once I had removed the bed, I could do a ramp test then cut a focus-tool.
For my next tests I stacked material under the
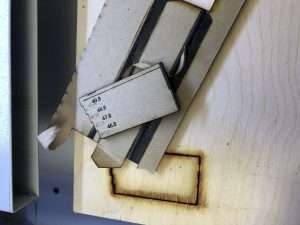
This is the sweet-spot for “top focus” (ie. engraves), then you compensate appropriately for deeper cuts.
Air Assist
To mitigate the charring and smoke seen above, which is not just an issue on the workpiece, but also damages the lens, I bought an air-assist nozzle.
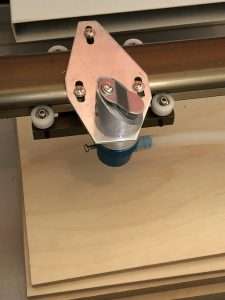
Now, some experts say you don’t want to do it this way – the air should blow horizontally – but for now it will be an improvement on no air.
Another speed bump here. My airbrush compressor would not switch on, regardless of how I set the pressure dial, plus the connections were of the wrong type.
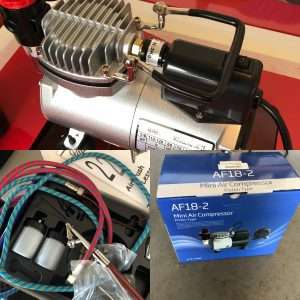
Fortunately, I had a temporary fix – an air pump that runs off D batteries for inflating, well, inflatables. Things like camp beds and floaties.
Exhaust
-

Inline Bilge Pump -
Requires 12v into +/- -

Venting far, far away


As mentioned, the air filter didn’t really filter anything. For now I am using an inline pump (12v) and piping the smoke out of the garage using an extension tube. It’s better, but I am hoping new pumps/fans I have ordered to test will do a better job.
Clean power with UPS
I was getting some strange chatter in comms between the Dell laptop and the laser. The USB cable I bought along with the Smoothie board was supposedly good quality, so assuming it was power fluctuations, I bought a new UPS for the office and placed my old one out in the garage.
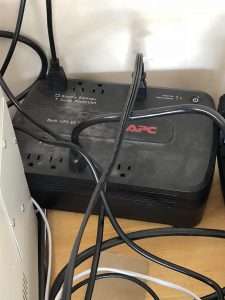
Seemed to help a lot – especially when I blew power using the shop vac AND 3d printing AND running the CNC AND the laser.
What next?
Right now, in total, I probably spent around $1,300 CAD, including the laser itself. That’s still gives some room to further upgrade, considering even the most basic Glowforge is, what, $2,500 USD before shipping? And a Full Spectrum or Thunder Laser would be much much more than that.
The smoke extraction and ventilation
Next, cooling. These laser tubes operate best below 18c and even before firing the laser the ambient temperature out in the garage has been hitting 35c.

The bucket of distilled water approach to cooling was not going to work for me.
Yeah, lots of people swear by it, and it is the cheap solution, but I could already tell for my situation it wasn’t ideal.
I ordered a CW-5200 industrial chiller. It’s an actual chiller, as it refrigerates rather than just circulates water. So far after the laser, it is my biggest purchase for this setup. The more reasonably priced 3000 is just a commercial version of the bucket approach.
It’s sat in the house waiting for me to feel fit and strong right now.
Was it worth it?
At the time I wrote this in 2018 I believed it was worthwhile doing the upgrades.
Since that time a lot of laser cutter options came on the market, and not least a branded K40 – the Omtech K40+.
Today, writing as present day me, unless you want the experience of upgrading a machine yourself, I would go for a unit with as many features as you need from a company with support and save yourself the time and effort.