

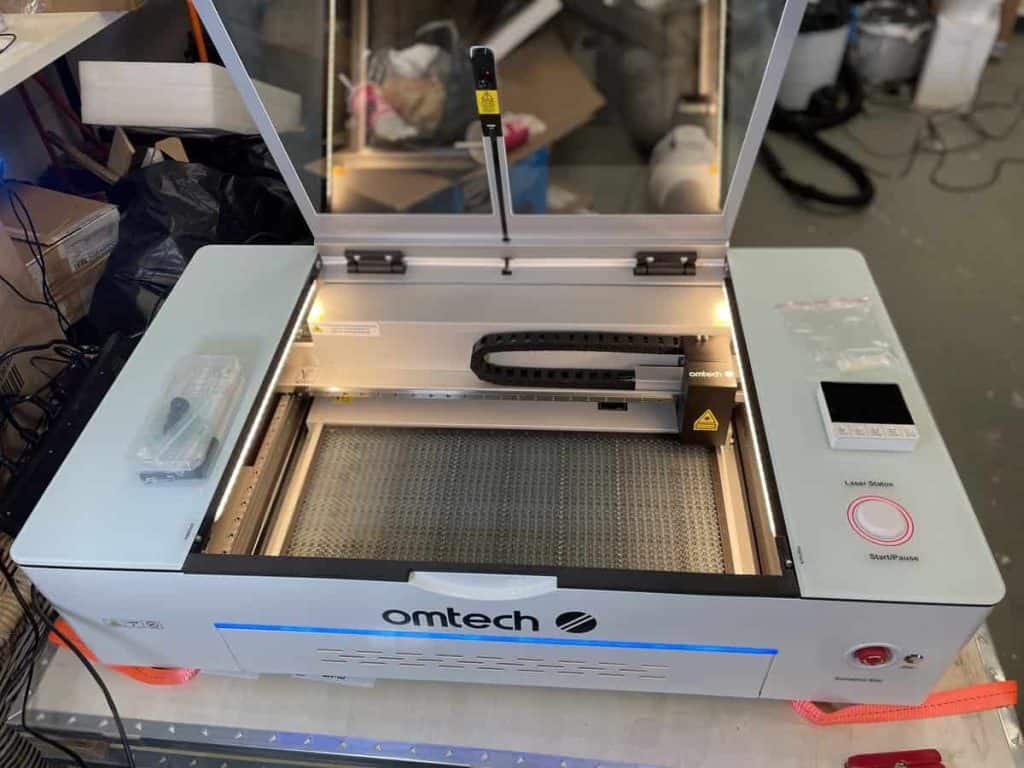
This review is for the OMTech Polar 350, a 50W desktop CO2 laser that you might already be familiar with.
Why would I review it now, you might ask?
Soon there will be a new option to consider, the Polar+, with some upgrades and a higher price, making this the budget-conscious sibling.
OMTech released the Polar desktop CO2 laser last year and judging by the number of reviews and online discussions, it was one of their most successful launches.
This particular machine in my hands is the UK version of the standard 350, it has some changes that make it a tiny bit different from the reviews you might have already seen, and from its sibling, the Gweike Cloud that I reviewed before.
OMTech Polar 350 Overview
The OMTech Polar, as mentioned, is a 50W CO2 laser, and it can cut and engrave materials up to 510mm (20 inches) wide and 300mm (12 inches) deep.
The machine came in a plywood crate on a pallet and definitely required two people to lift it safely. Bend with your knees!

Once you unbox it you can see why it is so heavy and so well packaged for shipping. It has metal and glass construction and comes with a 5mp fish eye camera, air assist, internal cooling, external fan, and a rotary tool.
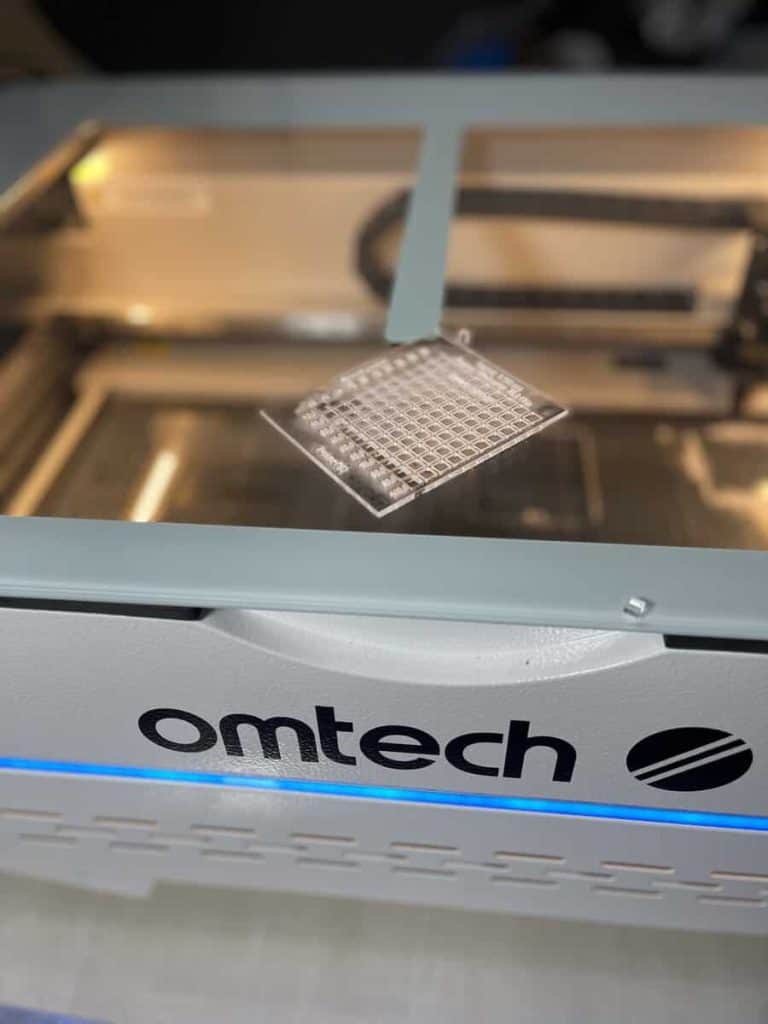
I love the shiny, smooth white aesthetic and blue LED lights on the outside, and the well-lit interior. I’m less impressed with the sticky labels, but I expect I can remove those …
For software, the Polar bundles the free RDWorks but I think most people will set up to work with LightBurn.
Key OMTech Polar Features
- Camera Positioning: The 5mp fisheye camera helps you to position designs on your material and to trace images. Unlike other lasers when setting up with LightBurn, you do not need to go through the full calibration, however. LightBurn camera setup is not fun or plug and play, and that is a downside of LightBurn, so it is nice that they provided a configuration file for the Polar.
- Cooling & Compressor Built-In, Inline Fan Included: The Polar is all built-in so you can just plug in and start working. Other machines, even machines from OMTech, usually require separate chillers (or a bucket of water!) and air-assist units, adding to the price and the machine footprint. Having a nice remote-controlled inline fan further adds to the money savings, as it is the first additional thing most laser owners buy.
- Connectivity: While the machine has Ethernet and Wifi, that does NOT mean you can connect to it over your home or office network. This is a weird ommission, and I can’t really understand why it is this way. That said, unlike the Glowforge, you can use the machine offline, even if the company goes away!
- Software-Controlled Z-axis: Although the Polar does not feature autofocus, it does have a way to set the focus from within LightBurn. The way you do this is to set the material depth and you are good to go. In most cases this will give a good focus, but if not, or you have installed an after-market nozzle or lens, you need to figure out the correct ofset for your specific machine by checking the difference between your setup and the original, or doing a ramp test.
Specifications
| Laser Power | 50W |
| Working Area | 510x300mm (20″ x 12″) |
| Max Engraving Speed | 500 mm/s |
| Max Cutting Depth | 0.4″ (10mm) on acrylic, plywood, basswood |
| Positioning Accuracy | ±0.04 mm |
| Software | RDWorks or LightBurn |
| Camera | 5MP built-in camera |
| Focus | Software-controlled Z axis (not autofocus) |
| Offline Operation | With Ruida control panel upgrade |
| Rotary Attachment | Yes, Included |
| Water Cooling | Built-in water chiller |
| Price | ~$2,299.99 |
Problems and Solutions
LightBurn will not detect the OMTech Polar
The first problem I encountered was trying to get my old Dell Windows laptop to recognize the laser. During LightBurn setup you are meant to plug everything in and then ask it to check for the new addition.
Solving this issue requires:
- Ensure you have an up-to-date FTDI driver, which is how the computer communicates over USB with the Ruida laser board on the machine.
- Have only one USB device plugged in when detecting the laser. Once installed you can select which port you are using or leave it on auto.
- If the above fails, switch USB cable or USB port on the computer, it could be the cable is faulty or it might be that switching USB port wakes the computer up to the device change.
The OMTech Polar will not fire the laser
On my machine, I have to boot up the laser, wait for it to home in the top right, and then I have to hit the reset button so that the ring goes green.
Even so, for a long time, it would jog around, run the motion of the jobs, and home but it would not fire the laser.
It turned out the crumb tray safety switches were not being depressed fully.
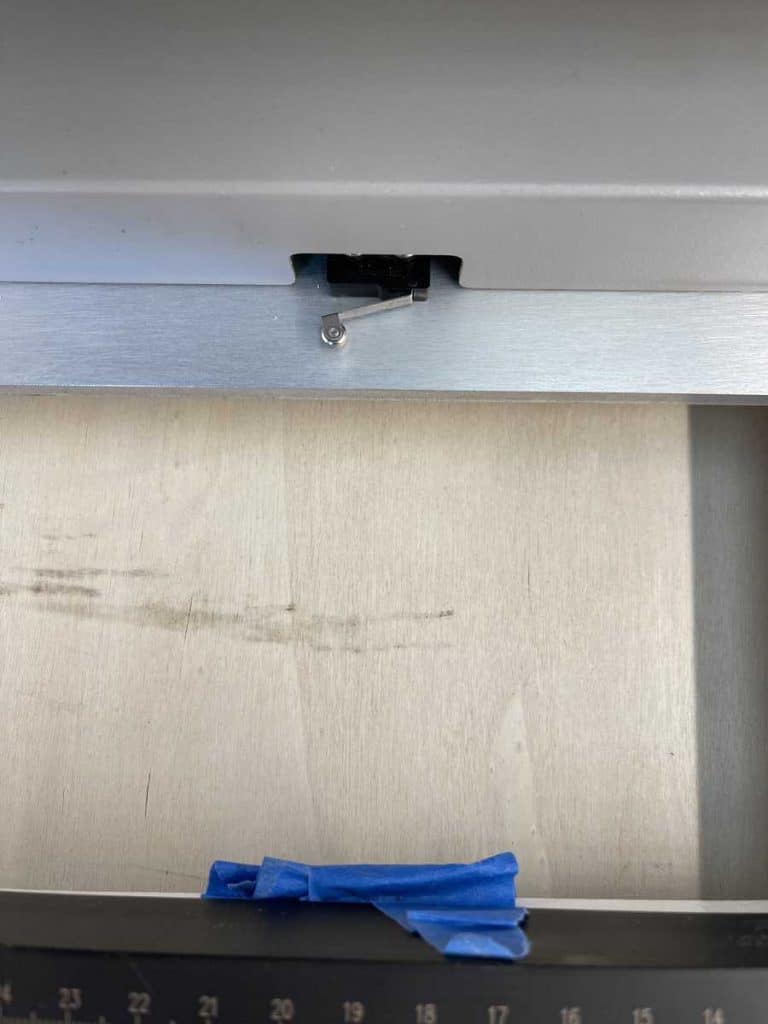
The red ring did not show during jobs but it refused to engrave, score, or cut.
To test the theory I used some rolled-up masking tape and hurrah, it lasered. Then I cut a strip of 4mm plywood and wedged that between the crumb tray and the switches.
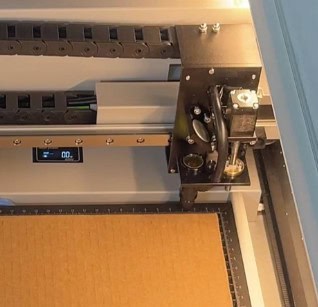
In LightBurn you can turn off all the safety warnings but I didn’t think that would be prudent.
Another reason I didn’t get any pew pew when there should have been pew pew was my mistake.
I had run the nozzle into some material and it loosened, thus when the laser started moving the nozzle was at enough of an angle that it was lasering itself rather than the material! There is a thread on the nozzle where you can tighten a ring to hopefully mitigate this. Worth checking.
OMTech Polar camera accuracy & calibration
OMTech provides a LightBurn camera calibration file on the USB stick but that only gives you the broad strokes, to ensure your camera is as accurate as possible you need to get some test lines and boxes then see how far off the camera image your results are.

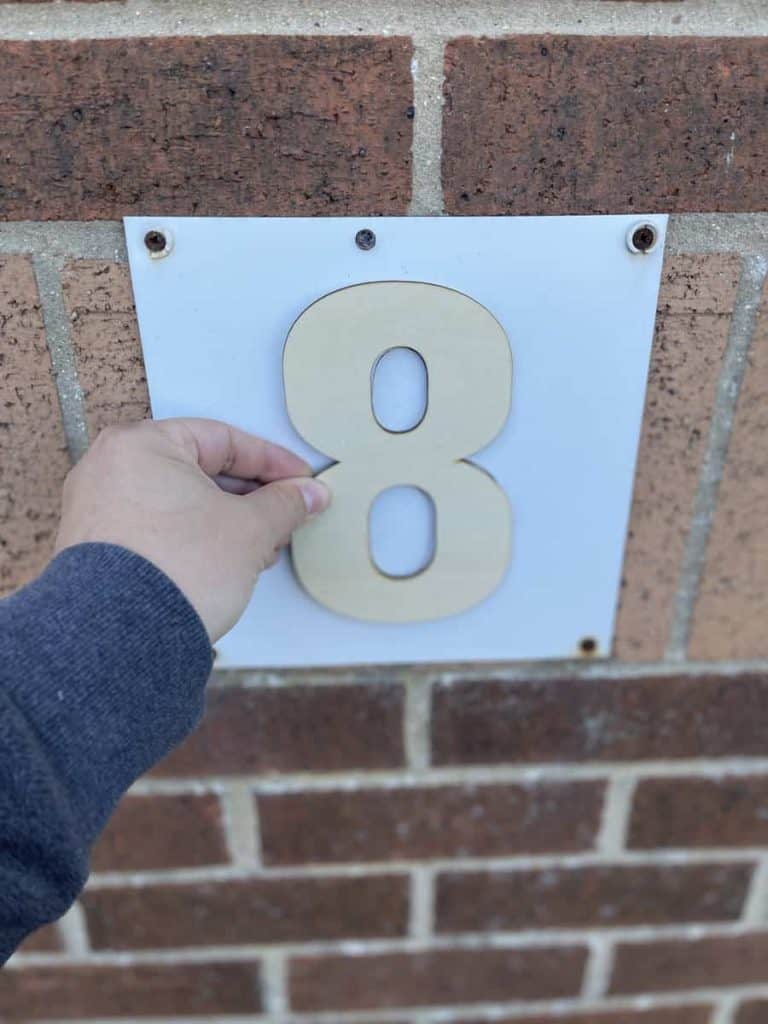
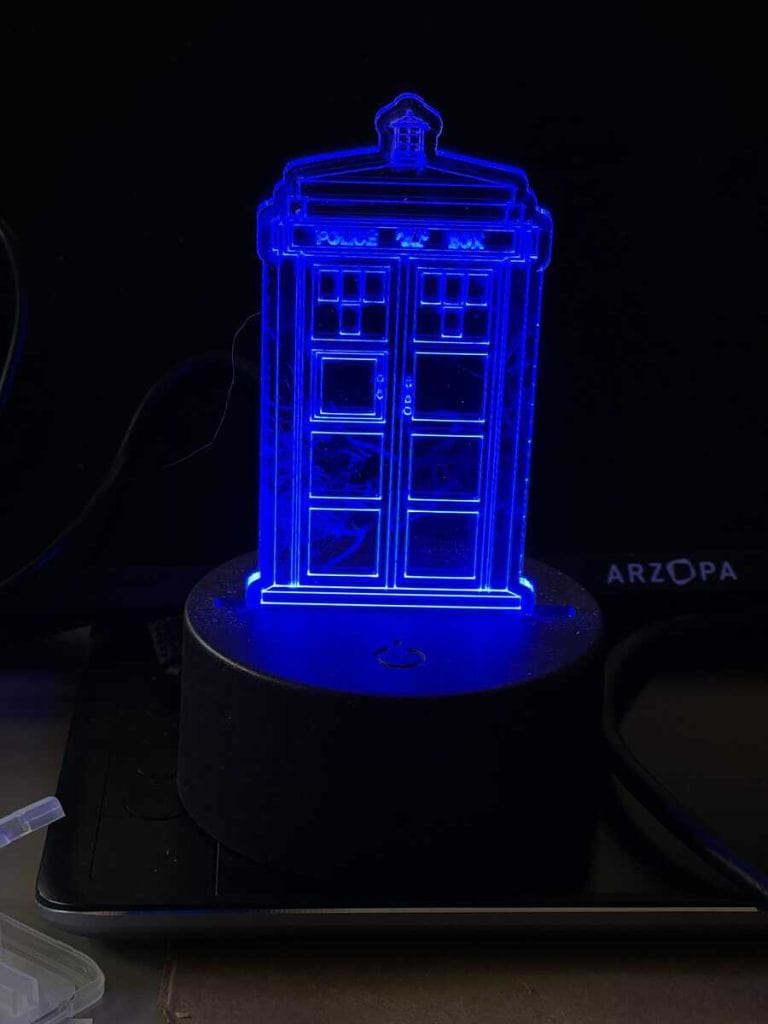
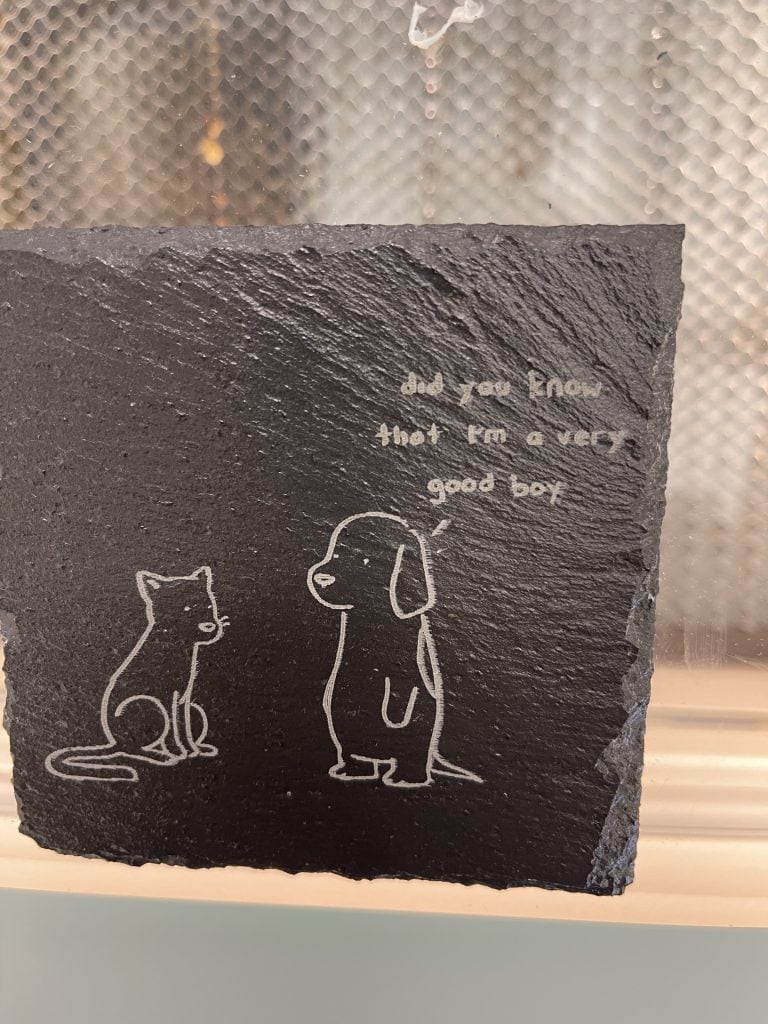
What Can You Make with the Polar?
The OMTech Polar is a 50W co2 laser so you can cut or engrave pretty much anything that is A) safe and B) capable of being cut on a regular laser.
So that means you can engrave most organic materials, including slate, wood, acrylic, etc, and you can cut anything less than, say, half an inch that does not give off nasty chemicals or made of metal.



OMTech Polar Compared to Competitors
You are likely wanting to know how the OMTech compares to other lasers such as the xTool P2 and the Glowforge.
Price
The OMTech Polar is aggressively priced, even outside of promotions it sits around the $2500 mark or less. This is a great price point given the powerful 50W laser, internal chiller, inline fan, the good-sized work area, and the camera.
Power
The 50W Polar is obviously going to be compared to the Glowforge lasers which top out at 45W, depending on the model. Both the AtomStack Hurricane and xTool P2 are 55W.
Speed
The Polar can engrave at 500-600 mm/second which in my experience is considerably quicker than the Glowforge even after their recent firmware update (though they do not share their speed figures, generally the community conservatively puts the Glowforge Pro speed at a maximum of 200-300mm/sec).
Work Area
My UK version does not have the passthrough slot you will see on other units. I imagine this is due to a safety certification. That means competitors have an advantage at least in the UK, but even then the work area is very decent at 510x300mm.
The Glowforge is slightly smaller than the Polar and my Glowforge basic forced me to trick the safety features to “pass in” materials, though the upper-end Glowforge does have a passthrough.
The xTool P2 has a wider available work area by three and a half inches and not only has a passthrough but an optional conveyor system, but you do pay extra for that.
Focusing
The Polar does not autofocus but it does have software-controlled Z height now in LightBurn.


Simply set up the device in LightBurn to use Z axis, OMTech Polar, and Optimize Z. Then a setting will appear on your layers allowing you to specify the material thickness in mm.
The xTool P2, the AtomStack Hurricane and Glowforge all have autofocus features, which is useful if you can’t measure, there are curves, or your material is warped.
So long as your material is flat, or can be held flat, though this is not a huge issue in 80% of jobs, and it is much improved from when you had to home the Z, do math to calculate the Z movement, jog the Z, and do that routine each time you hit go.
OMTech Polar vs. Gweike Cloud
In terms of the machines themselves, the OMTech Polar and Gweike Cloud are nearly identical in design and features.

My Gweike doesn’t have the safety stop button, but did come with the passthrough slot. Unfortunately it also came with some mirror alignment required, which was not easy as they are not set up for user adjustment.
While it might be possible to get the Geike for slightly less money, OMTech has a well-established USA and UK presence, which might help with delivery and their experienced customer support.
Is the OMTech Polar Right for You?
If you need a larger work area, autofocus, and slightly more power, then the xTool P2 might be a better fit.
A fairer comparison would be against the budget lasers and diodes, and this is where it shines because the OMTech Polar has a lot to offer, especially when you consider it is the cheapest branded desktop 50W CO2 on the market. That price point makes it amazing value.
The OMTech Polar is the cheapest but still good laser that you can buy.
Thanks to LightBurn compatibility, zero assembly, and built-in chiller, it has excellent almost plug and play ease of use.
Get the Best Possible Price
Check the Polar Lite at OMTech
Check out the OMTech Polar 350 on the official site and get the best possible price by using the button link below
Use the coupon code: MHPR

 Using AI for Programming