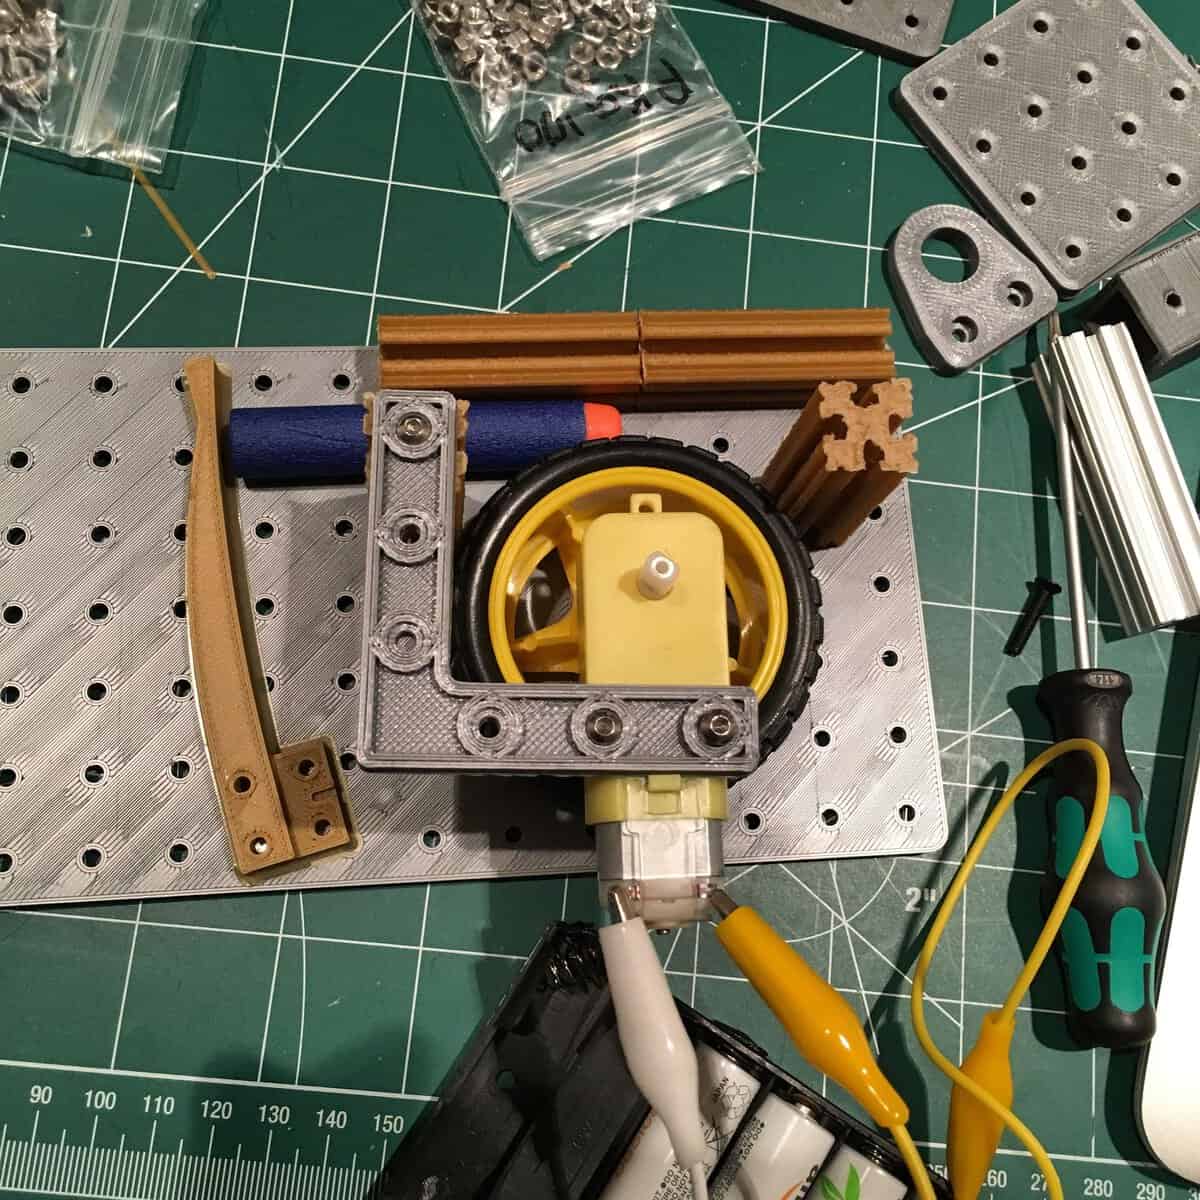
As mentioned elsewhere, DC motors are pretty simple. Get four AA batteries in a battery case, then connect the terminals to the + and – of the motor, and watch it move!
A really tiny motor can be pulsed straight from a microcontroller pin, as in the example below, but treat it as a demonstration rather than a habit. Every real motor in this course goes through a driver.
Driving a Tiny Motor
I have some tiny, tiny brushed motors that were intended for a miniature drone. They are powered at 3v and draw very little, plus I have spare Arduinos if I fry my board, so let’s try the most simple microcontroller controlled motor driving circuit!
Check your board first. An Arduino Uno R3 pin is happiest at 20mA (40mA is the absolute maximum, not a target), and the newer Uno R4 is rated at only 8mA per pin, so on an R4 skip this example and go straight to the driver lessons. Motors also kick back voltage spikes when they switch off, which is why the proper way is a transistor plus a flyback diode, or a motor driver board, as we do next.
(The video that went with this lesson is no longer available.)
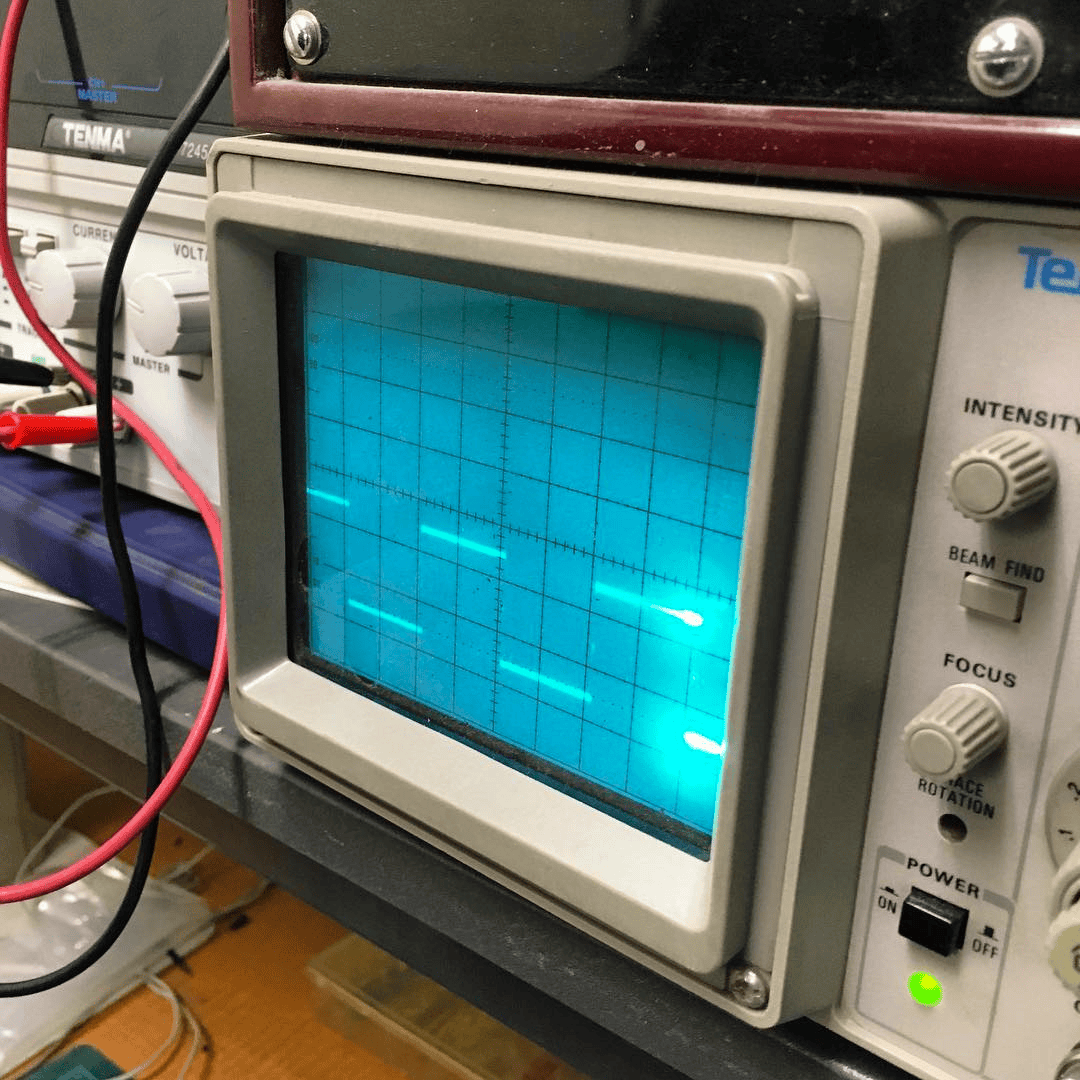
We wire up our tiny motor to GND (Ground) and a PWM pin (marked with a ‘~’). PWM stands for Pulse Width Modulation and basically means we are going to “pulse” the motor on and off at a set rate using analogWrite(). You can think of it as being “pseudo-analog” because we are outputting on/off very, very quickly to give the effect of analog without it actually being analog :)
The faster and more often you turn your pin on, the faster the motor will run. This means we can easily control the speed of our tiny motor without anything more than our Arduino, a couple of wires, and the motor itself.
If you are worried about frying your stuff, or in any doubt about the power requirements of your motor, try a later example. This is just to show you the basics before moving on to more advanced (and safer for your equipment) examples.
Serial Monitor settings: in the Arduino IDE, open the Serial Monitor, set the speed to 115200 baud and the line ending to “Carriage return”, then type a speed from 0 to 255, such as 150, and press Enter.
/*
 In this example we pulse a tiny motor.
 We can only do this safely because it IS tiny!
 If in doubt, follow one of the later examples.
 You do not want to fry your kit.
 The analogWrite() function outputs PWM,
 A PWM pin is usually marked with a '~'
 We are using pin 9 for this example.
 */

int pin = 9;           // the PWM pin the motor is attached to
int power = 0;         // how much power to send


// set things up ...
void setup() {

  // start the serial connection
  Serial.begin(115200);

  // declare pin 9 to be an output:
  pinMode(pin, OUTPUT);
}

// keep doing this forever:
void loop() {

  // play with the power setting to see
  // the effects
  while (Serial.available() > 0) {

    // look for the next power number in the serial monitor
    // turn it into an integer and place in our power var:
    int power = Serial.parseInt();

    // look for the carriage return (Enter)
    if (Serial.read() == '\r') {

        // report back the number we were provided:
        Serial.print(power);

        // output text to say we got it
        Serial.println(" - Roger!");

        // set the power of pin 9:
        analogWrite(pin, power);

    }
  }
}