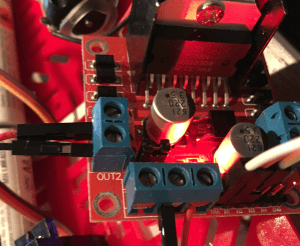
You might find the code below familiar! That’s because the code to drive a breakout is very similar to driving the chip.
Really the board is just an easier and more convenient way of working with the L298N chip.
The motor battery goes to the screw terminal marked 12V (it is happy with anything from about 6V up to 12V), and its ground to GND, along with a wire back to your Arduino’s GND so they share a ground. Leave the 5V jumper in place: the board then makes its own 5V for its logic, and the terminal marked 5V is an output, not where the battery goes. We also have two control pins, to direct if forward or backward, and the Enable pin where we can set speed.
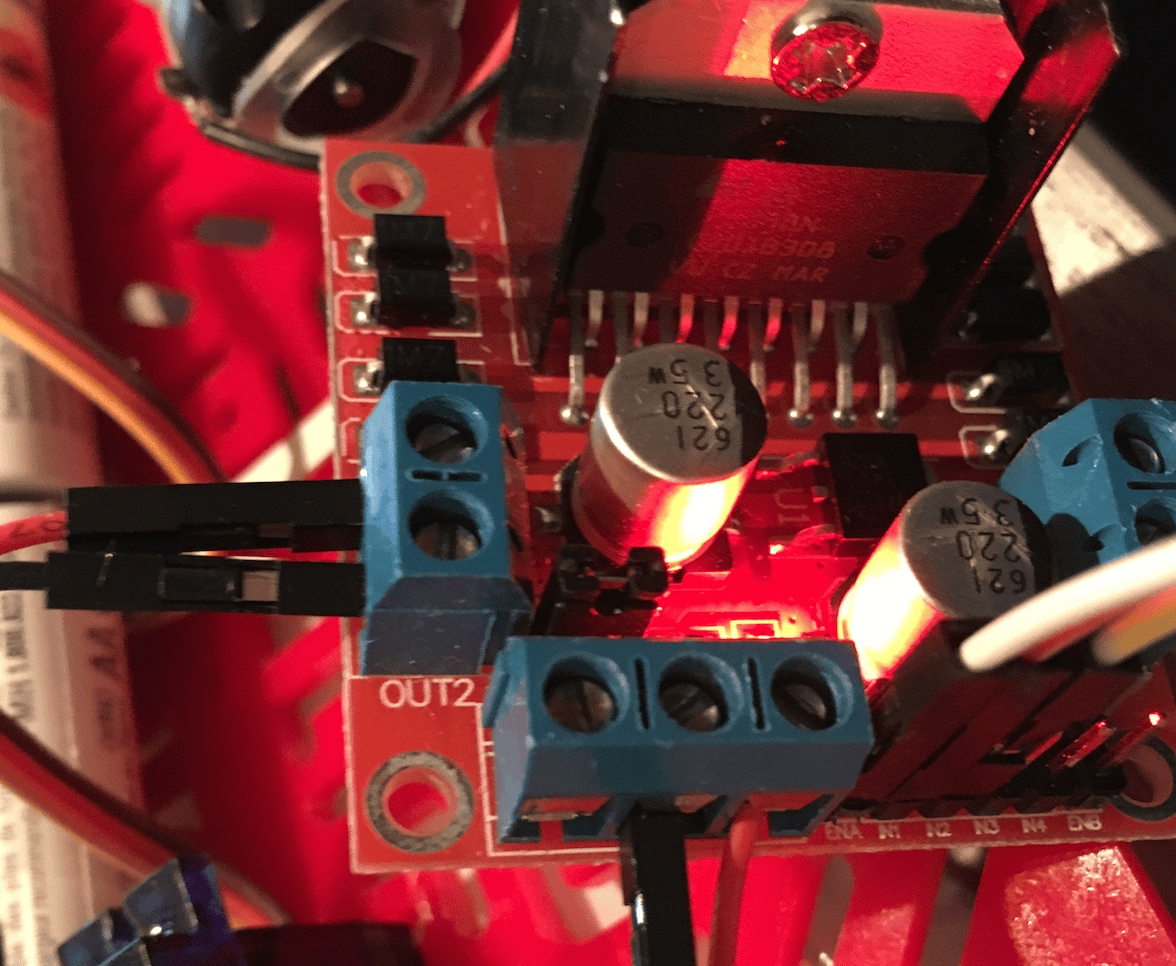
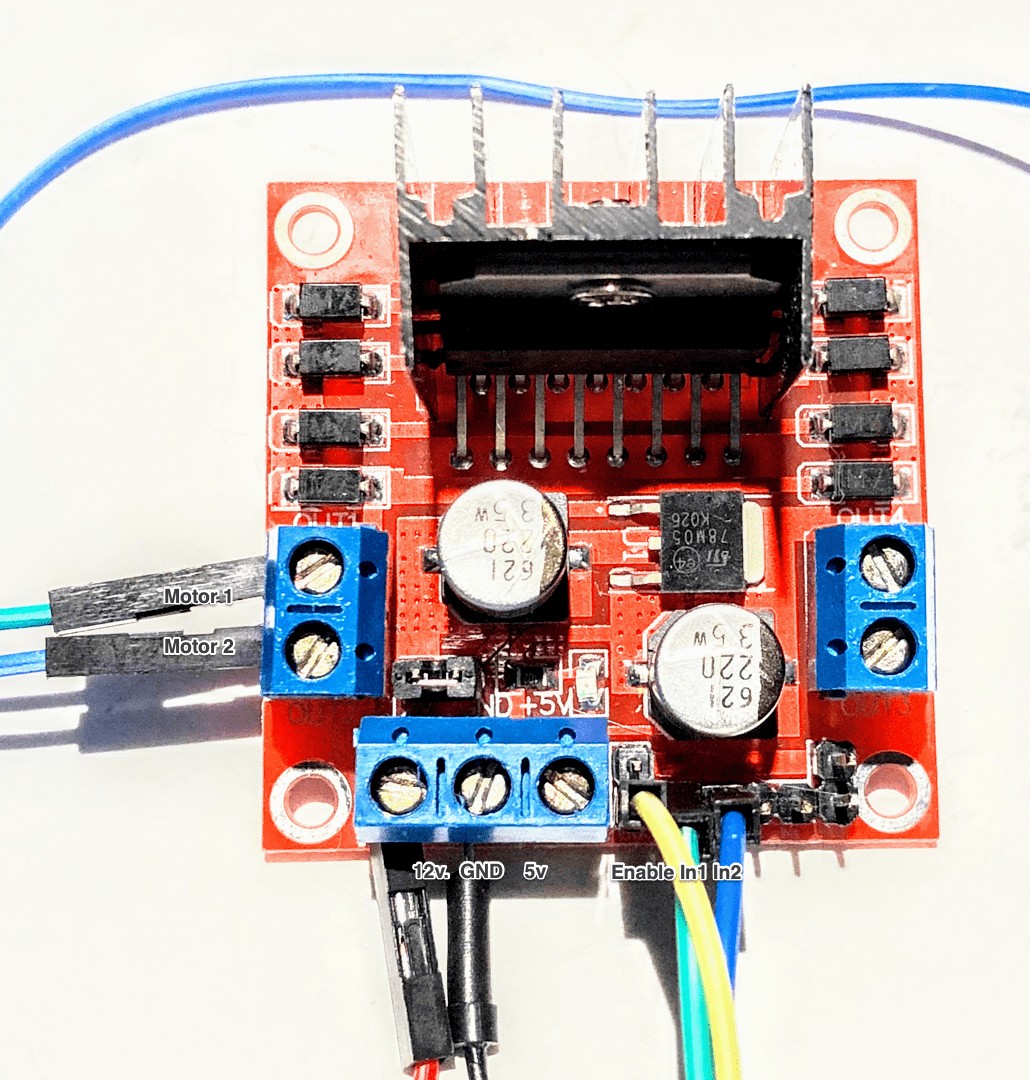
As before, we can make the motor run forward or backward using serial input.

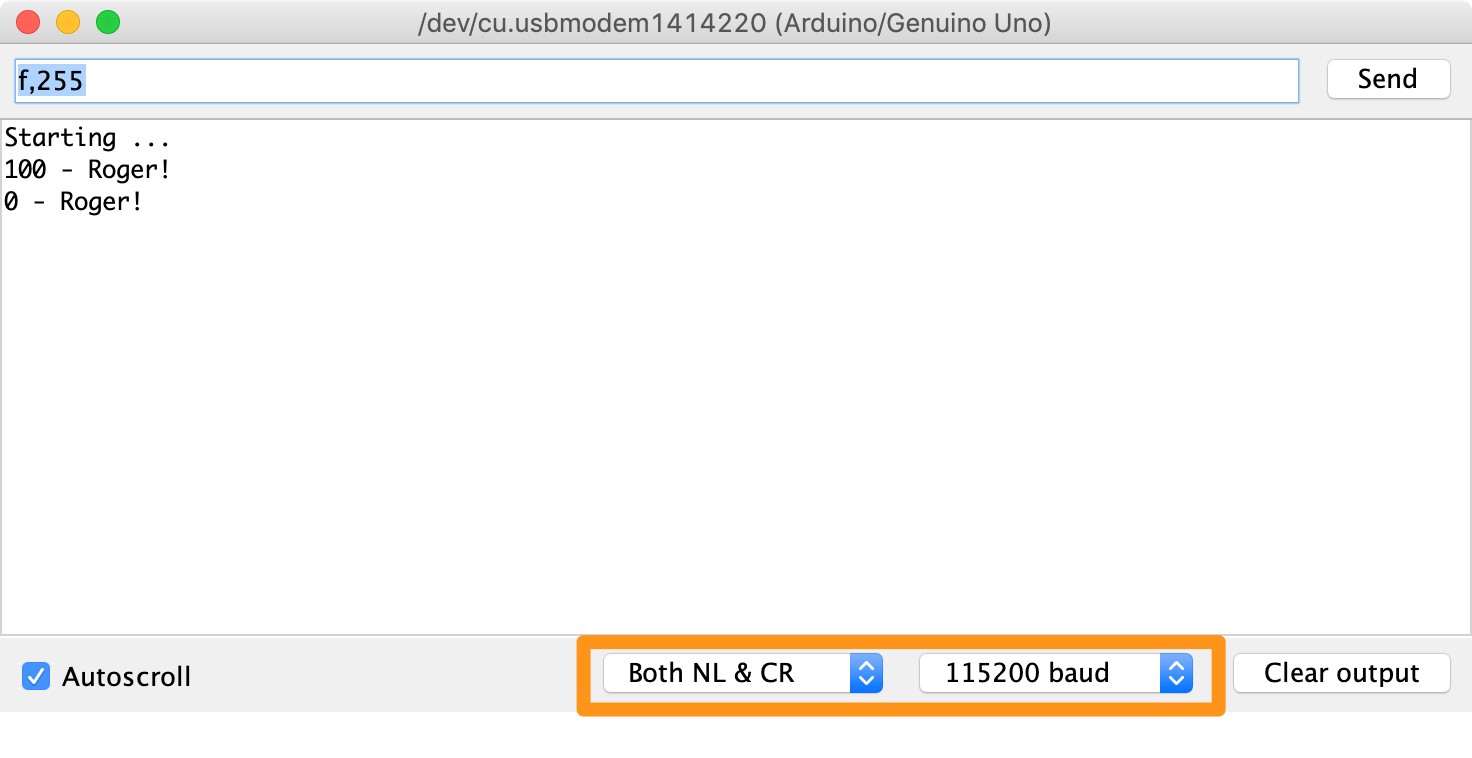
Enter the direction and speed with no spaces, just a comma to separate. Ensure your baud rate is set to 115,200, and you are sending NL & CR:
Code
Serial Monitor settings: in the Arduino IDE, open the Serial Monitor, set the speed to 115200 baud and the line ending to “Carriage return”, then type f or r, a comma and a speed from 0 to 255, such as f,200, and press Enter.
/*

 In this sketch we control a motor using
 the L298N H-Bridge breakout.

 We use pins 4, 5 and 3 for this example.

 */


// input pins
// these control direction
int pin1 = 4;
int pin2 = 5;

// set on/off and speed
int enablepin = 3;

// how much power to send
int power = 0;

// set things up ...
void setup() {

 // start the serial connection
 Serial.begin(115200);

 // tell us we are starting
 Serial.println("Starting ...");

 // declare both pins to be output:
 pinMode(pin1, OUTPUT);
 pinMode(pin2, OUTPUT);

 // enable pin is also output
 pinMode(enablepin, OUTPUT);

}

// keep doing this forever:
void loop() {

 // play with the power setting to see
 // the effects
 while (Serial.available() > 0) {

 // F or R
 String direction = Serial.readStringUntil(',');
 direction.trim(); // ignore any stray newline from the Serial Monitor

 // look for the next power number in the serial monitor
 // turn it into an integer and place in our power variable:
 int power = Serial.parseInt();

 // look for the carriage return (Enter)
 if (Serial.read() == '\r') {

 // report back the number we were provided:
 Serial.print(power);

 if(direction == "f") {
 digitalWrite(pin1, LOW);
 digitalWrite(pin2, HIGH);

 // set the speed
 analogWrite(enablepin, power);


 } else {
 digitalWrite(pin1, HIGH);
 digitalWrite(pin2, LOW);

 // set the speed
 analogWrite(enablepin, power);
 }


 // output text to say we got it
 Serial.println(" - Roger!");
 }
 }
}