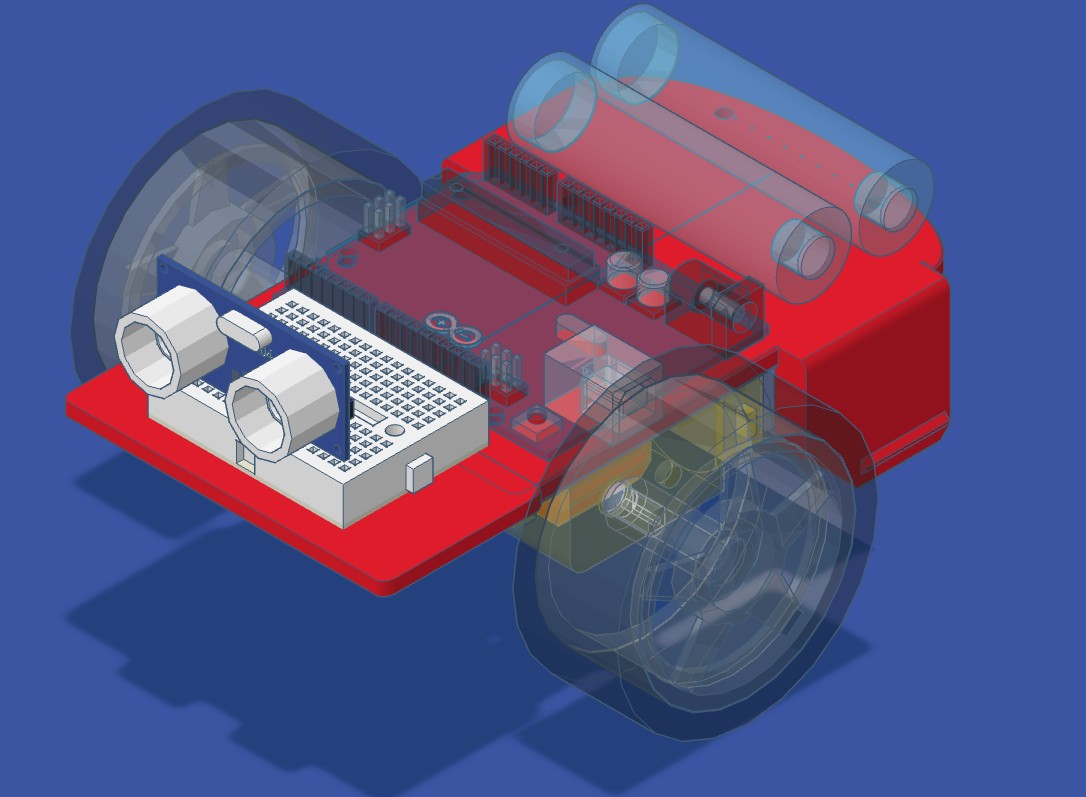
I have put together a tiny robot chassis for you to 3D print, but you can also buy off the shelf robot chassis at reasonable prices.
The most famous is probably the “Magician” chassis, plus there are more luxurious chassis available for higher prices.
For added space, my friend Ben Eadie designed a handy mini breadboard riser for the Arduino Uno.
Maker Hacks chassis at MakerWorld
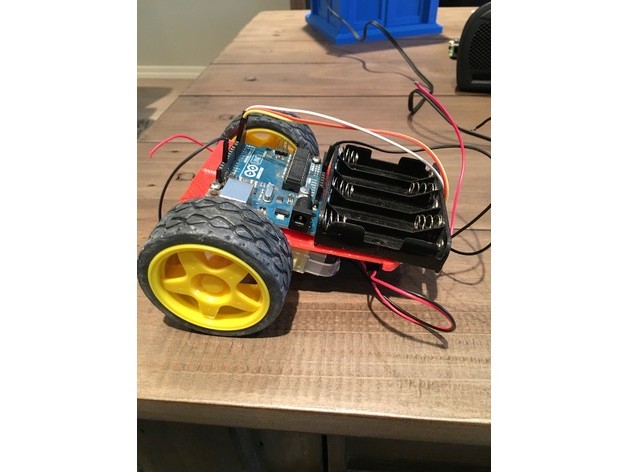
You can download the latest 3D printable chassis here.
Putting it together
The chassis prints in about an hour with no supports (the MakerWorld print profile is ready to go).
Alongside the printed chassis, you will need …
- Two TT gear motors with wheels
- An L298N motor driver
- An Arduino Uno
- Two 18650 cells or 6xAA batteries in a holder
- A handful of M3 screws, nuts and optionally, standoffs.
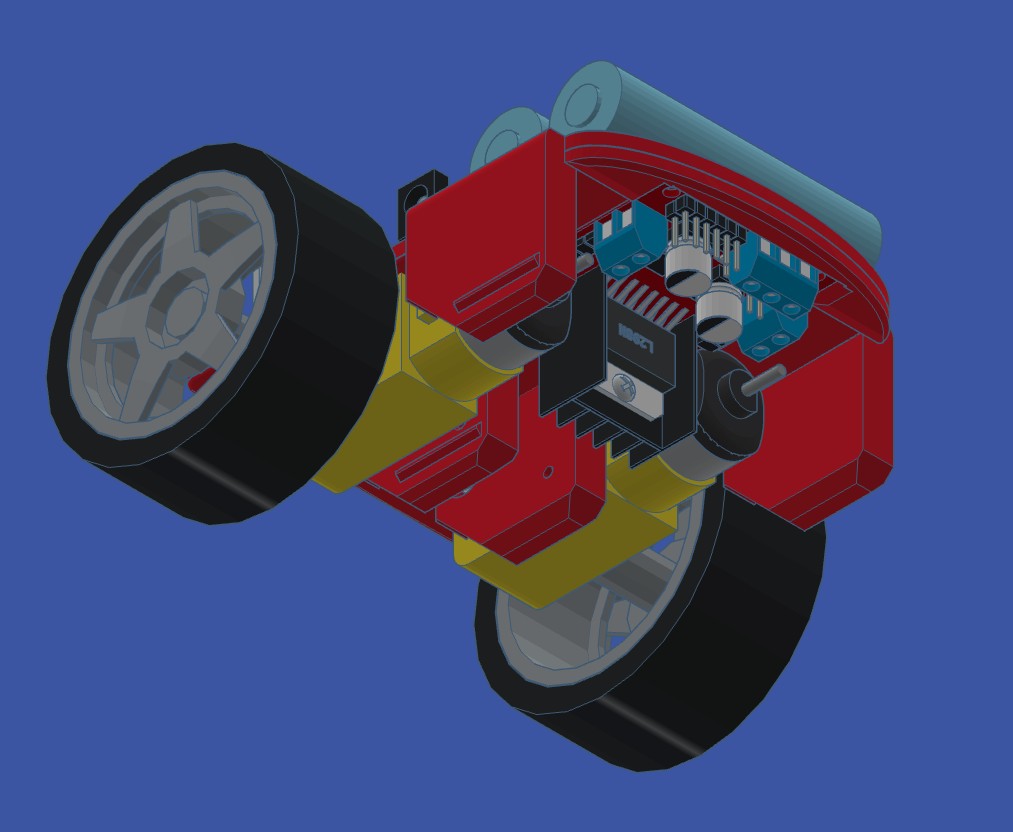
- Motors. Turn the chassis over. Each TT motor sits in its pair of brackets on the underside with the shaft pointing outwards, held with M3 screws and nuts through the bracket holes.
- Wheels. Push a wheel onto each motor shaft.
- Motor driver. The L298N fits in the well between the motors, on its four corner holes. Stand it off by at least 3mm so its pins clear the plastic. Run the motor wires to its two output terminals.
- Arduino. Turn the chassis the right way up and mount the Uno on top with M3 standoffs.
- Power. The battery box should sit across the back, over the curved skid end, so the weight is over the skid rather than the wheels.
- Wiring. Wire the L298N to the Uno and the battery exactly as in the tank turning lesson, and upload that sketch to test it.
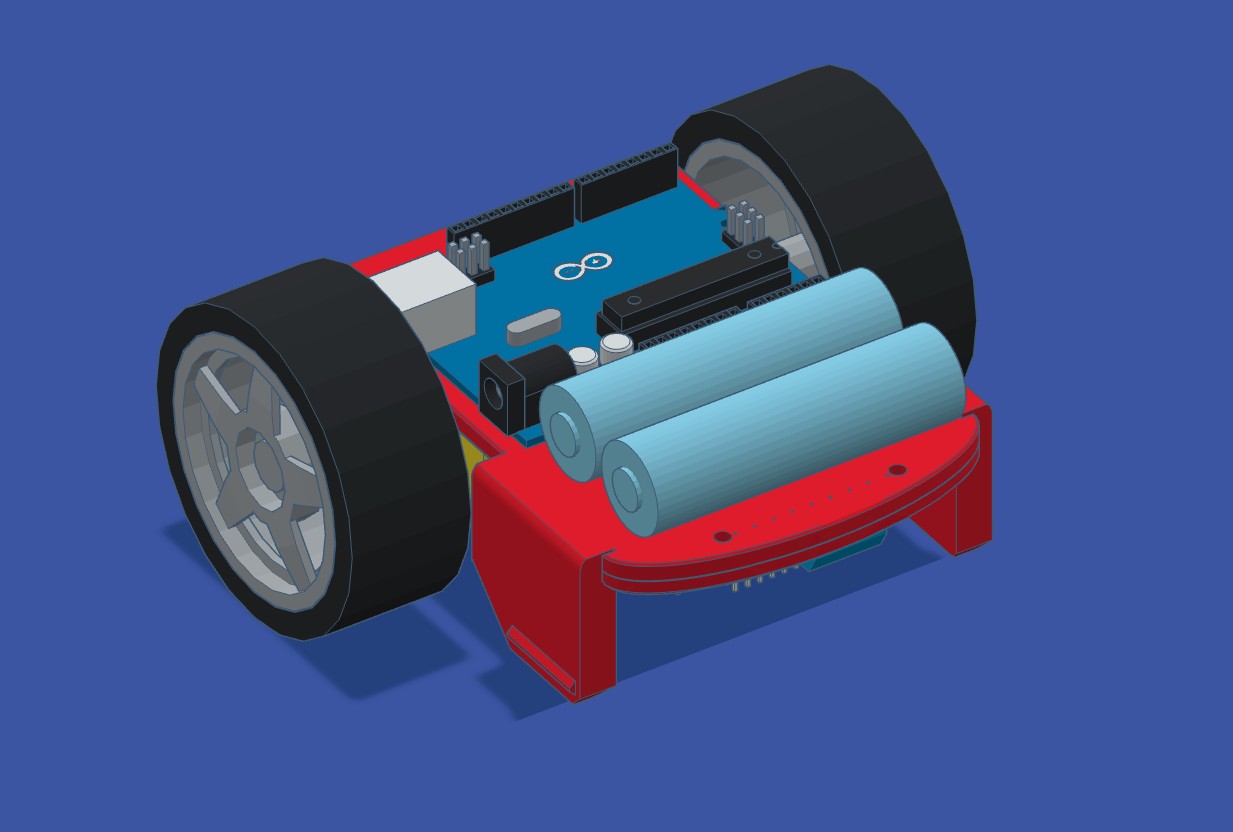
The flat front edge is free for a mini breadboard and an HC-SR04 ultrasonic sensor, ready for obstacle avoidance. A new version with a longer front deck to hold the mini breadboard is on the way.