In the previous lesson we powered a small DC motor and could even control its speed. we just had to supply power to the motor to make it go, and the faster we pulsed the faster the motor would go.
That’s great if the motor is tiny, we can supply the power from a pin. Anything bigger than the most humble motor, though, is going to damage your microcontroller or computer. Motors need a lot of juice!
We also have the problem that the example only provided a way to go forwards. If you want to go in reverse, well, you are out of luck.
So what is the answer?
We need some more features:
- We need to protect our circuit from frying.
- Ideally the power needs to come from an external source, but under control of the robot’s brain.
- The motor needs to be able to be powered forwards and backwards.
The solution is some kind of motor controller.
For the first two elements we can make use of various electronic “switches”, for example a transistor or MOSFET will allow you to switch on a circuit that is much higher powered than an Arduino or Raspberry Pi pin can handle, isolating your board while providing enough juice to make your motor run.
To make our motors run in both directions, though, requires a special arrangement of transistors called a “H-Bridge”. You can make these yourself if you want to, but why bother when there are cheap off the shelf products to use? You can get just the chip, or you can get a “shield” or “breakout” as we will see in the next lesson.
First, while we look at smaller motors, we should look at an alternative to the regular brushed DC motor. As mentioned earlier, there is more choice available. We are talking about servos and steppers.
Motion with Servos
A servo is a special type of motor because it actually includes controller circuitry. While they are more often used for things like controlling flaps on RC airplanes, or steering remote controlled cars, they are also the workhorse of many robots, and especially special effects projects.
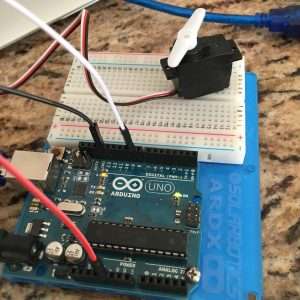
Remember the code from the previous example? If you plug in a small 9g servo into your circuit instead of a DC motor, you will be able to give the servo commands in the serial monitor the same way you set the power for your motor.
In the case of the servo it takes three wires instead of two. In addition to power and ground it now needs “signal”, so you need to use pin 9 as signal and put the power into 5v.
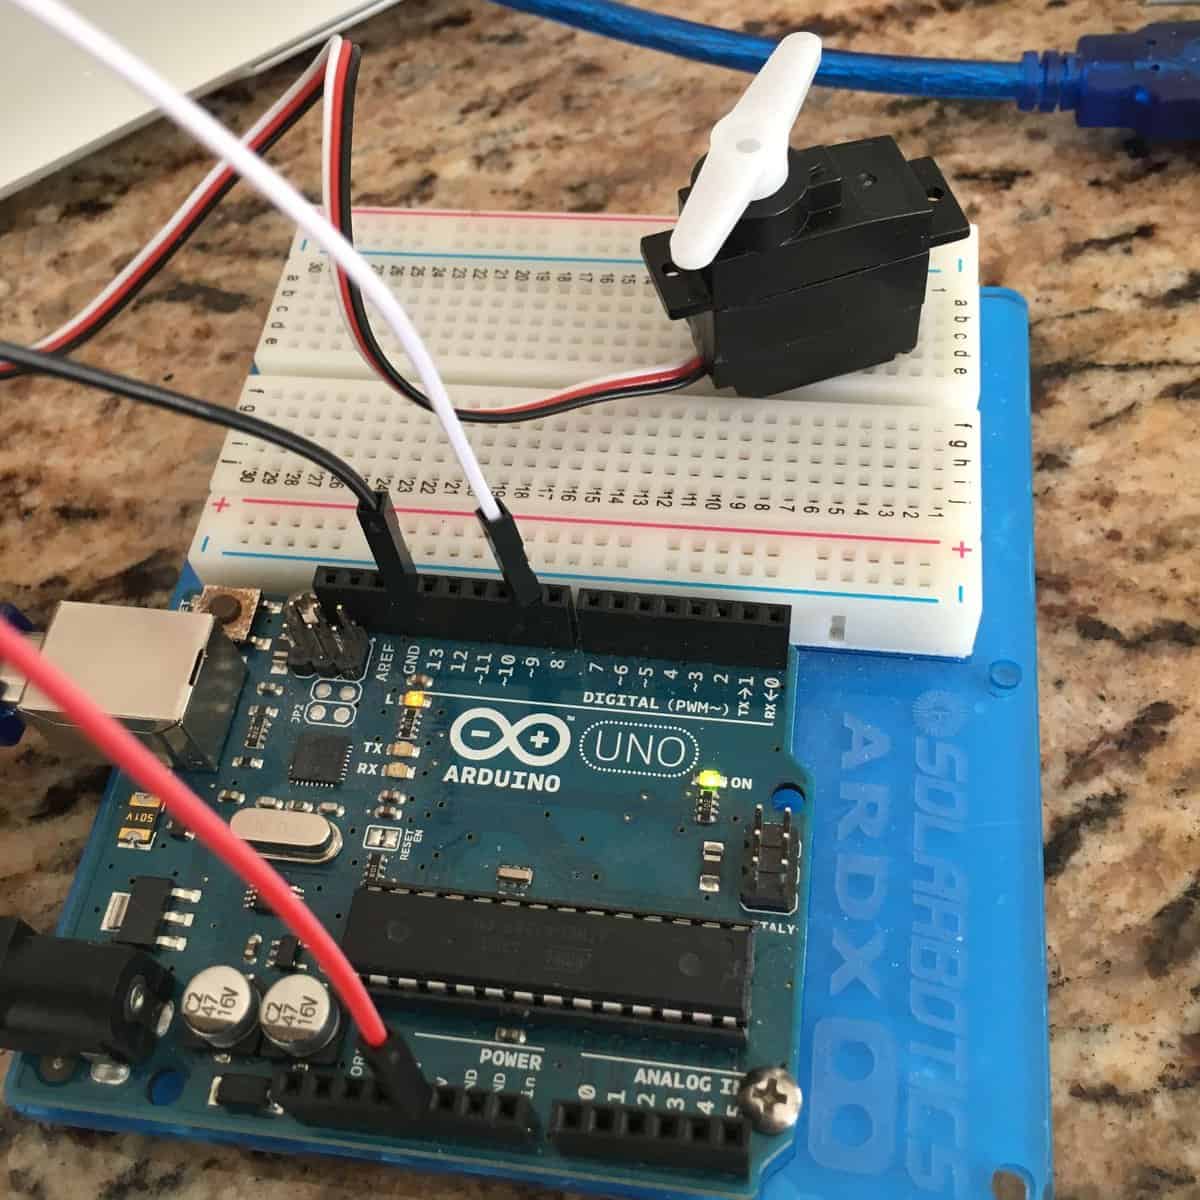
Enter a value into the serial monitor and press enter and you will see the servo move … probably – Servos don’t actually use the same PWM as driving our DC motor or, say, fading an LED.
How Servo PWM Actually Works
You need to pulse every 20 milliseconds, and the duration of the pulses set how much the motor will turn. So servos, instead of standard PWM signals, expect a pulse every 20 milliseconds (50Hz), between about 1 and 2 milliseconds long, with 1.5 milliseconds being the middle position. Many servos accept a slightly wider range, roughly 0.5 to 2.5 milliseconds.
The good news is we don’t actually need to worry about any of this math because on both Arduino and Raspberry Pi people have already done the hard work for us :)
Setting Servo Speed and Direction
Instead of power, the number will be translated as pulses that direct the servo motor to go to a position.
So pulses on a regular servo can set an angle, somewhere between 0 and 180 degrees (most are limited to a little less than the full motion in practice).
Here is the real fun part … swap the regular servo out for a continuous rotation servo and instead of a regular servo and instead of setting an angle you get speed in one direction or the other – the bigger the angle the faster it goes in that direction.
Now, don’t get me wrong, this is not the right way to work servos, it just demonstrates that these pulses are the way we communicate with the servo electronics.
The proper way to control a servo on Arduino is with the Servo library. We now also need to use external power so we don’t draw too much from our little Arduino.
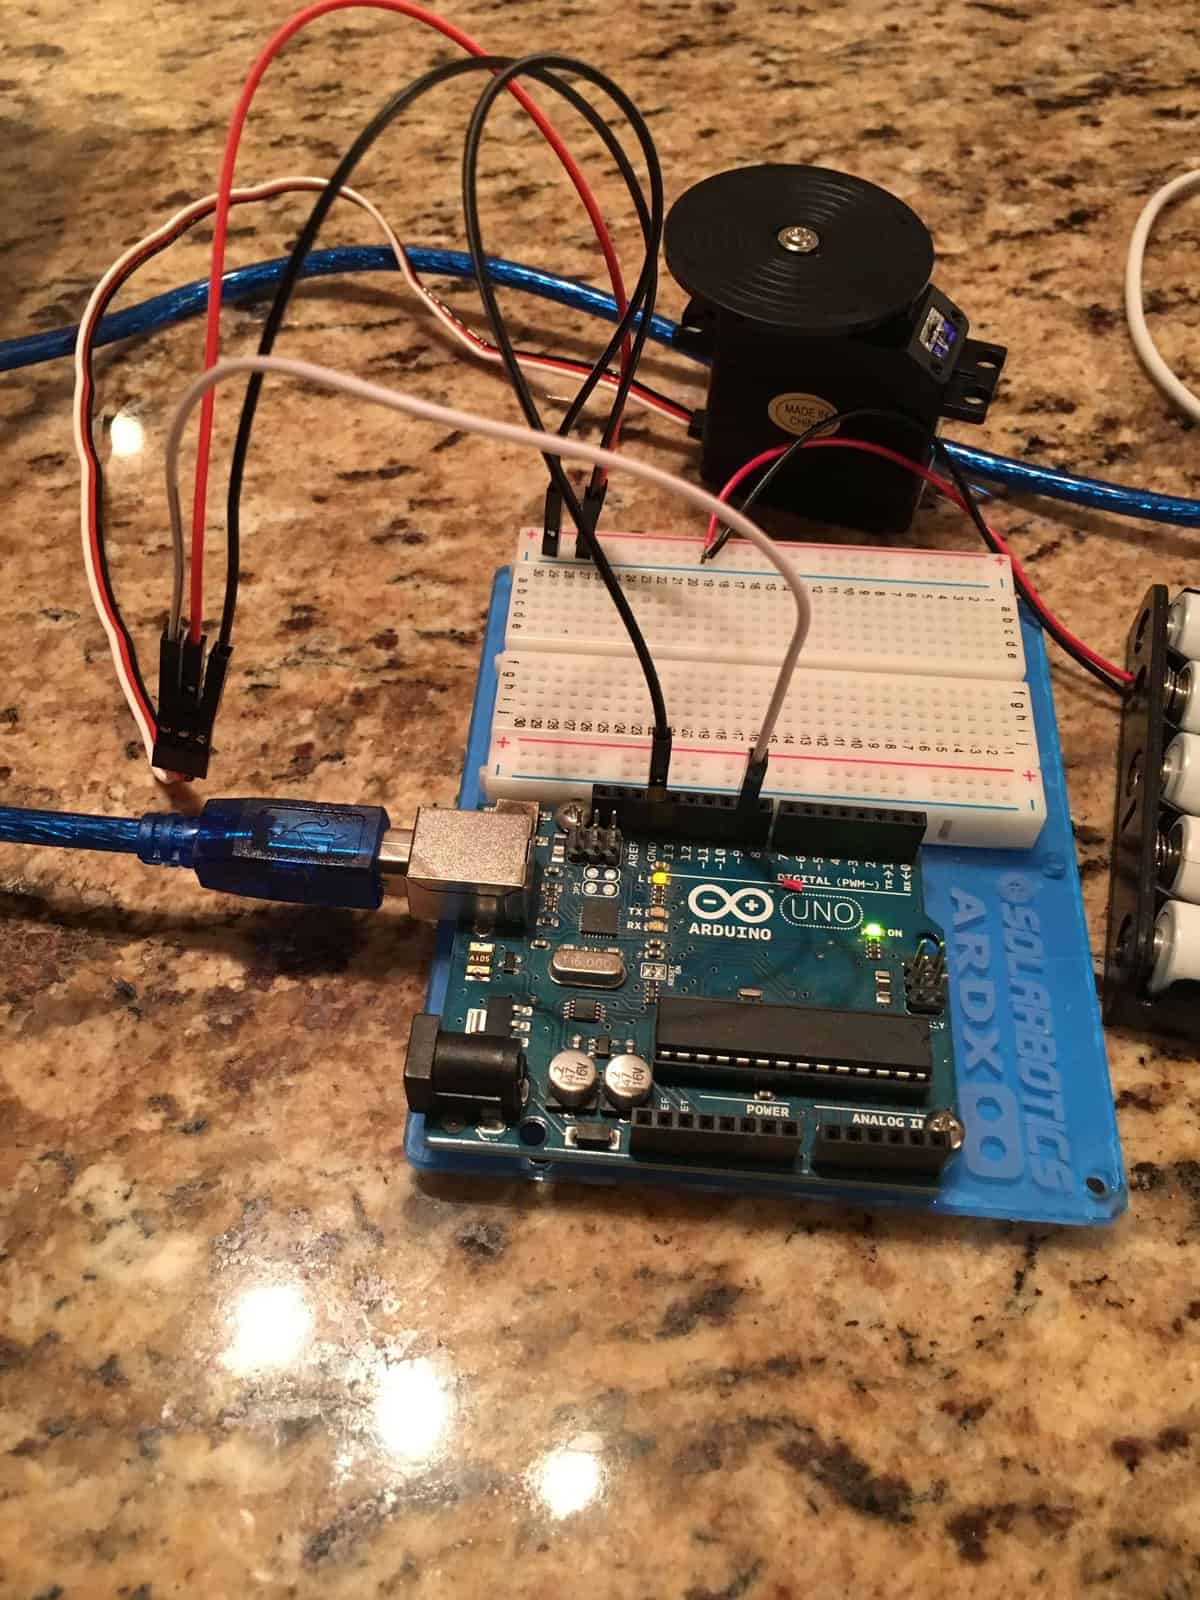
Here I am using a battery case containing 5x 1.2v rechargeable AA batteries, providing 6v in total. This is wired to the servo power and ground via the power and ground rails of the breadboard. Also plugged into the ground rail is the ground from the Arduino to keep them all connected, and as before we have signal coming from pin 9.
Servo Control Code
Serial Monitor settings: in the Arduino IDE, open the Serial Monitor, set the speed to 115200 baud and the line ending to “Carriage return”, then type an angle from 0 to 180, such as 90, and press Enter.
/*

 In this sketch we control a servo.

 We use the Servo library and are using
 pin 9 for this example.

 */

// Using the servo library to make it easy
#include <Servo.h>

int pin = 9;           // the PWM pin the servo is attached to
int power = 0;         // how much power to send

Servo myservo;         // this will be our servo

// set things up ...
void setup() {

  // start the serial connection
  Serial.begin(115200);

  // declare pin 9 to be an output:

  // tell the servo it is on pin 9
  myservo.attach(9);

}

// keep doing this forever:
void loop() {

  // play with the power setting to see
  // the effects
  while (Serial.available() > 0) {

    // look for the next power number in the serial monitor
    // turn it into an integer and place in our power var:
    int power = Serial.parseInt();

    // look for the carriage return (Enter)
    if (Serial.read() == '\r') {

        // report back the number we were provided:
        Serial.print(power);

        // output text to say we got it
        Serial.println(" - Roger!");

        // set the power on the servo:
        myservo.write(power);

    }
  }
}
Now, because we are using the servo library, things are slightly different. Instead of a number between 0 and 255, we set an “angle” between 0 and 180, with 90 being “off”. Over 90 is forward, and under is reverse, and if you go all the way to 180 or 0, that is full power.
You might be wondering how much more you need … well actually for a small robot, servos are all you need! Our own Trilobot robot uses one small servo for steering and a larger, Continuous Rotation servo to drive. The popular EZ-Robot kits that DJ Sures has built Daleks and Star Wars AT-AT robots with also predominantly uses servos!
That said, DC motors are where it is at when you want to scale up, so we will look at better control of DC motors next …